Plan Before You Plumb
Are you thinking about hooking your Micra, Mini or GS3 to a water line and drain? This is a common upgrade,
but requires some planning. Mapping out the details up front will help you avoid leaks, scale, and warranty issues.
____
1. Water Plan
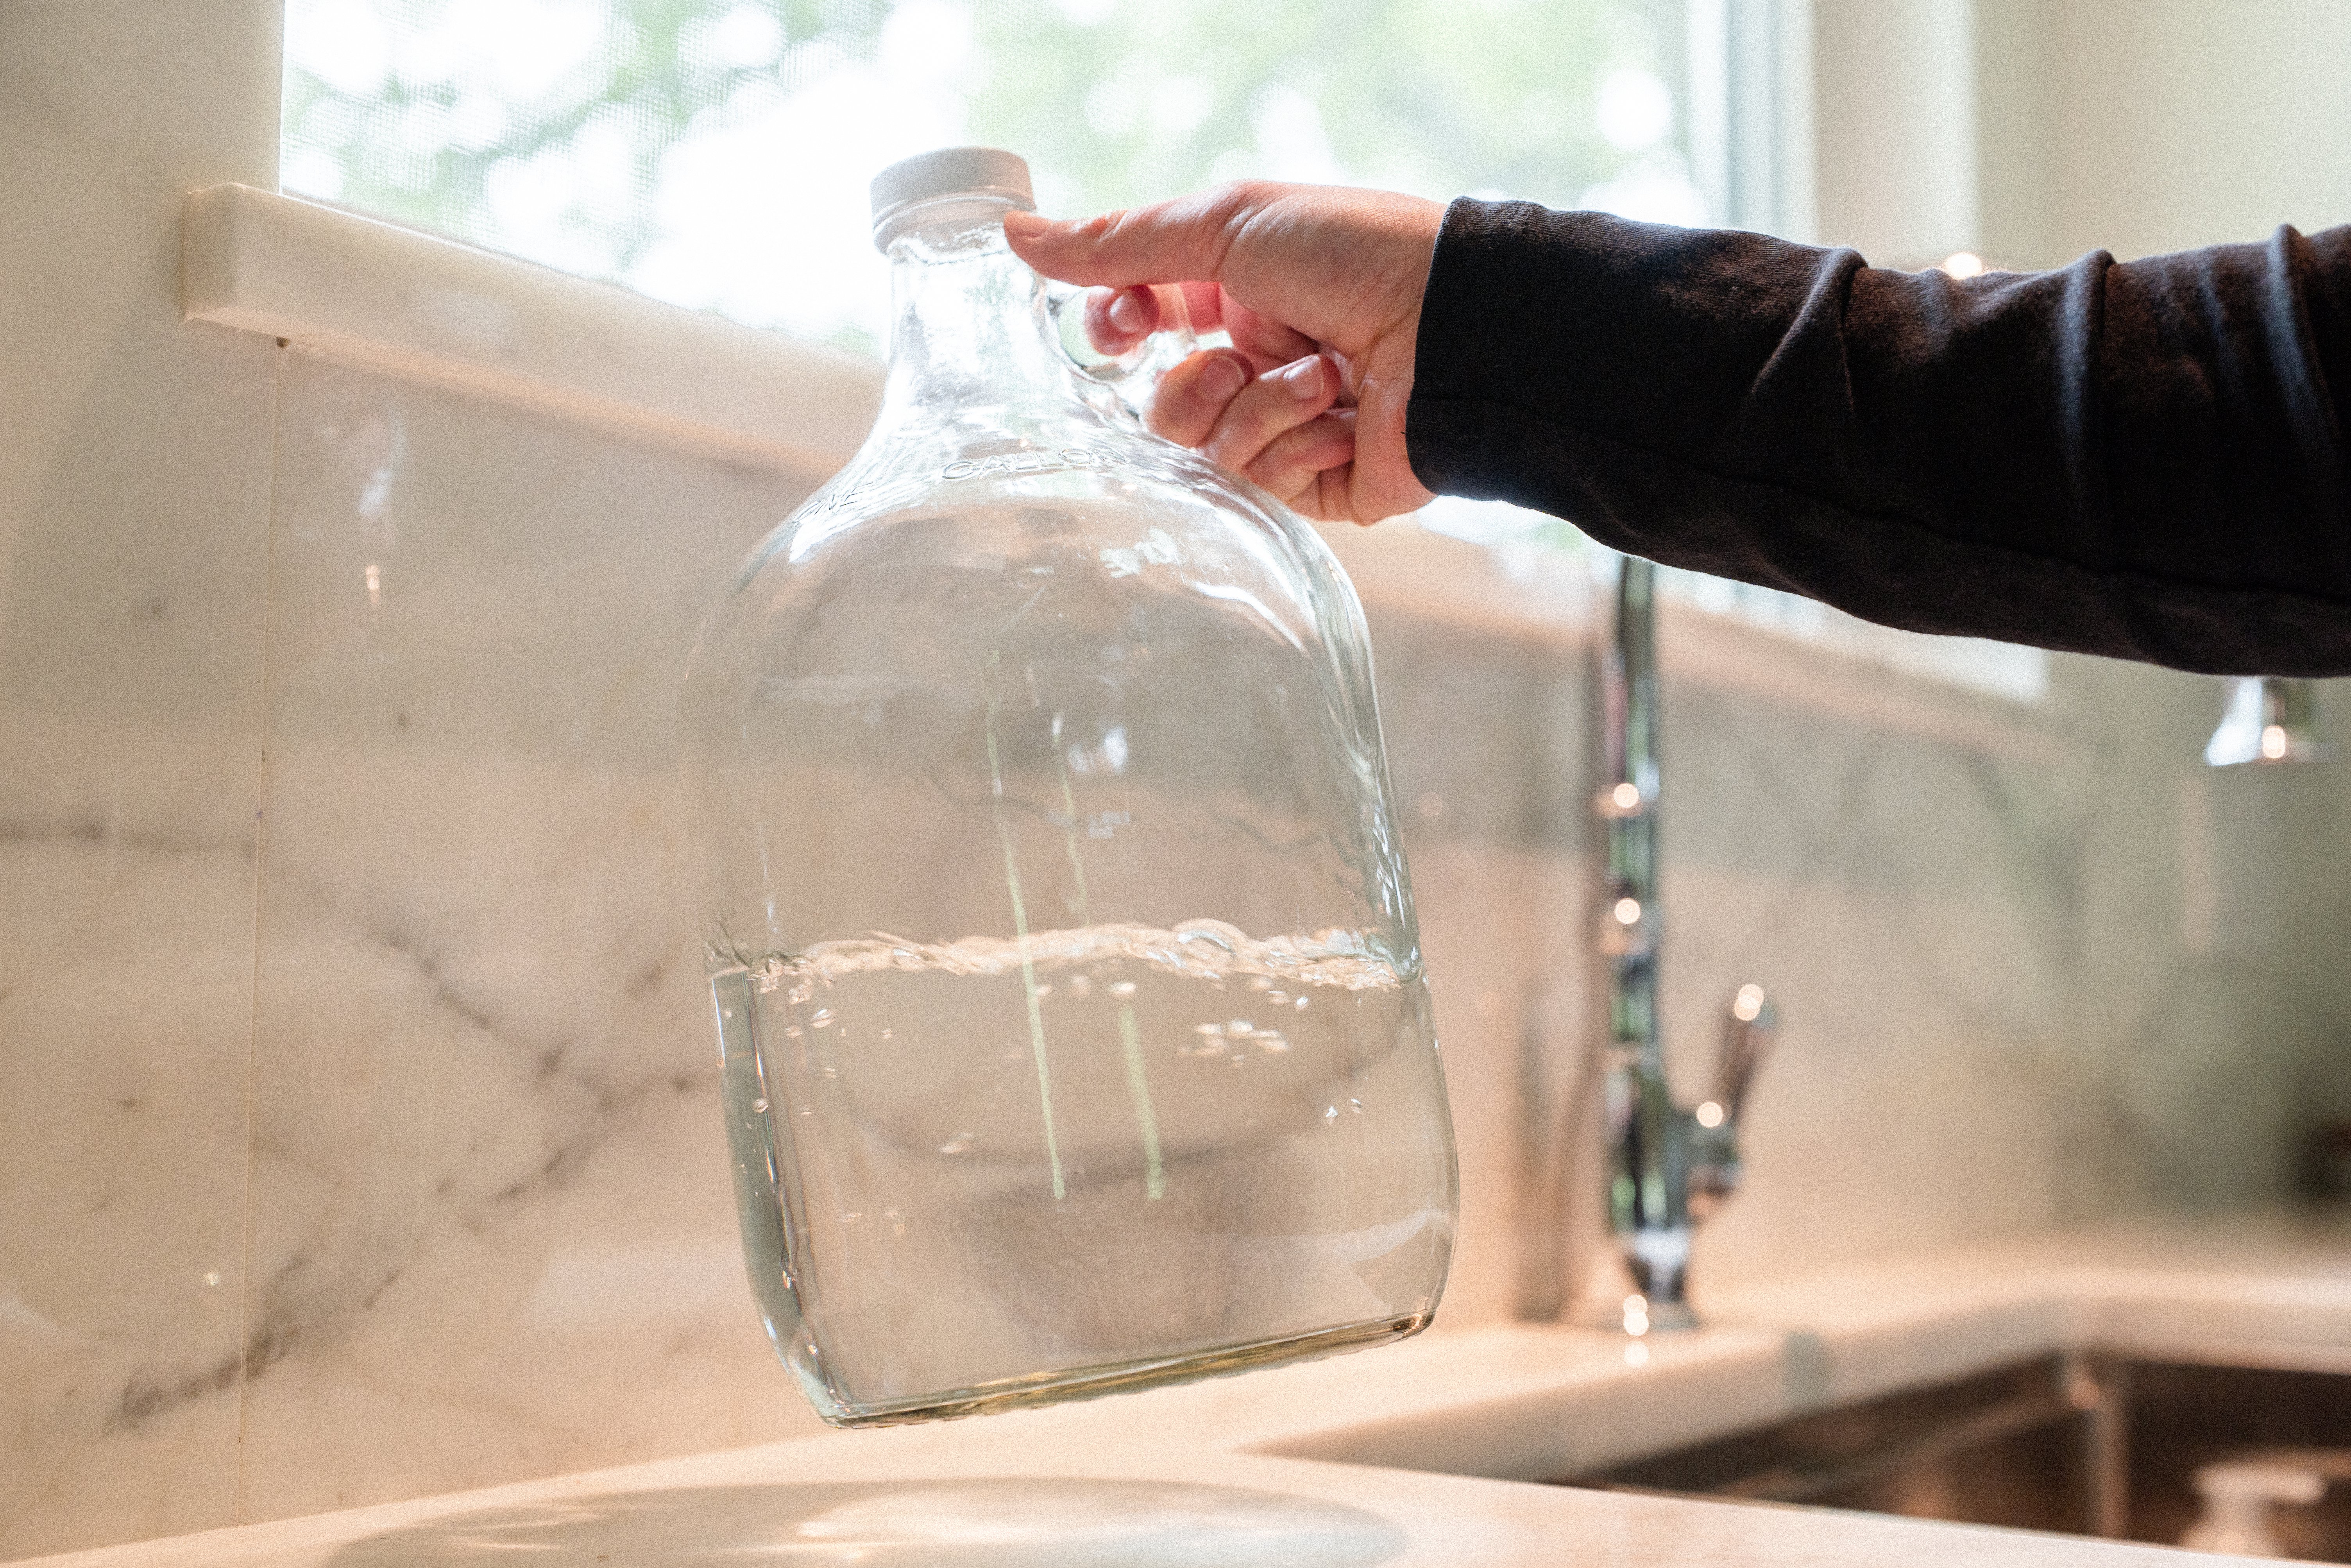
Let’s talk about the water and minerals going into your espresso machine.
Water treatment: The quality of your water has a direct impact on both the taste of your espresso and longevity of your
machine. Unfiltered or incorrectly treated water can lead to scale buildup, corrosion, or flavor issues in your espresso.
Installing proper filtration (and in some areas, softening) is essential to protect your investment. It’s also important to
replace filter cartridges on schedule.
Things to check:
- Check your water pressure, La Marzocco machines are happiest around 2 to 4 bar at the inlet.
Add a shutoff valve you can reach quickly. - Compare your local water to our specifications : La Marzocco Water Specification PDF
2. Drain Plan
Let’s talk about the water and liquids leaving your espresso machine.
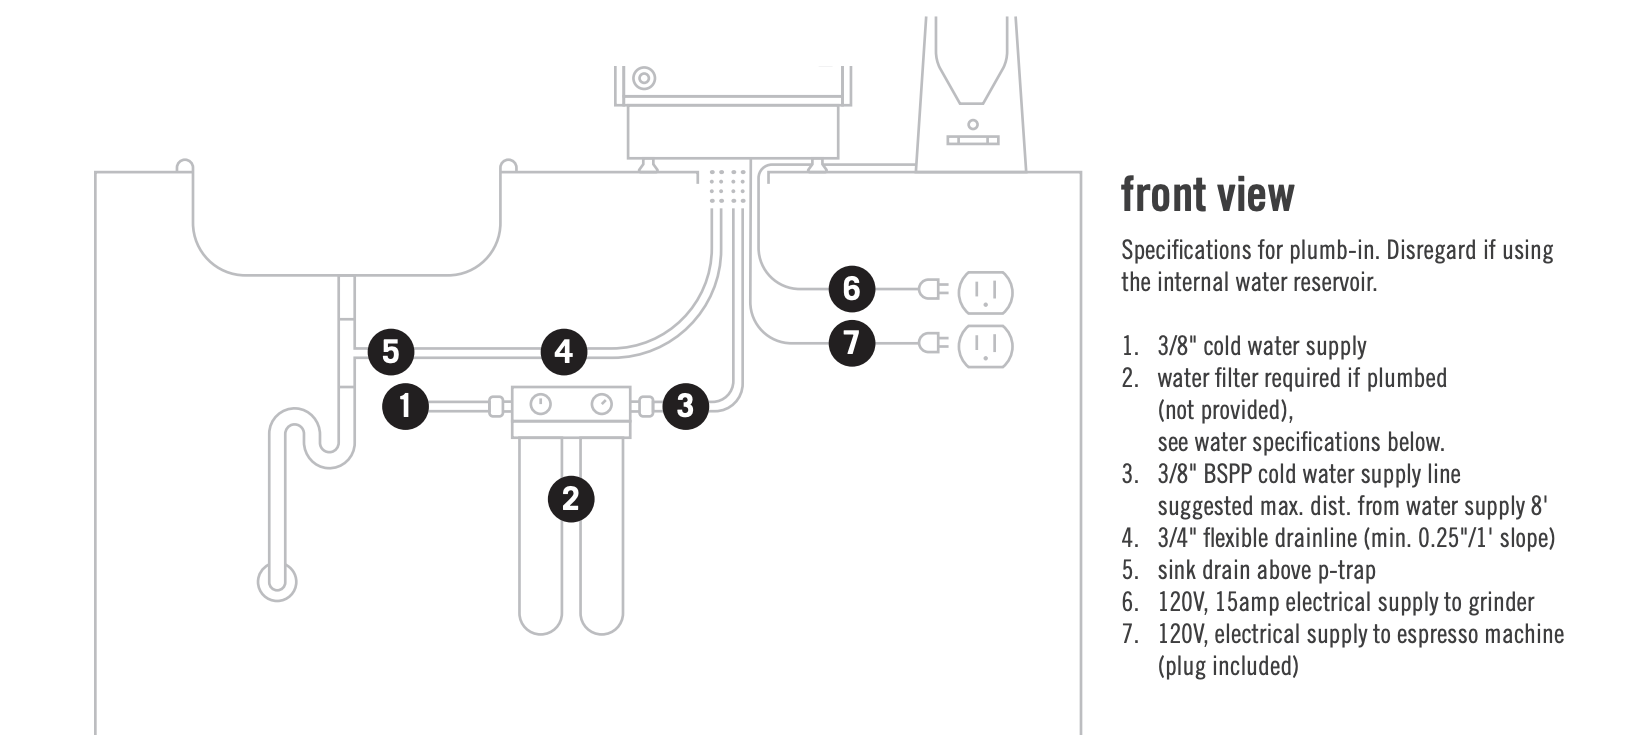
Drainage: If you are planning to plumb in your machine, you will also need to set up a proper drain solution. Espresso machines produce wastewater from backflushing, group rinsing, expansion valve discharge, and drip tray overflow during normal use.
When a machine is direct plumbed, it is being supplied with a constant source of water, so it’s important to make sure there is a safe place for excess water to go in the event of an issue. Proper drainage helps prevent flooding, overflow, and potential water damage. Without it, you may end up dealing with an overflow situation or having to constantly empty a separate waste container.
Things to check:
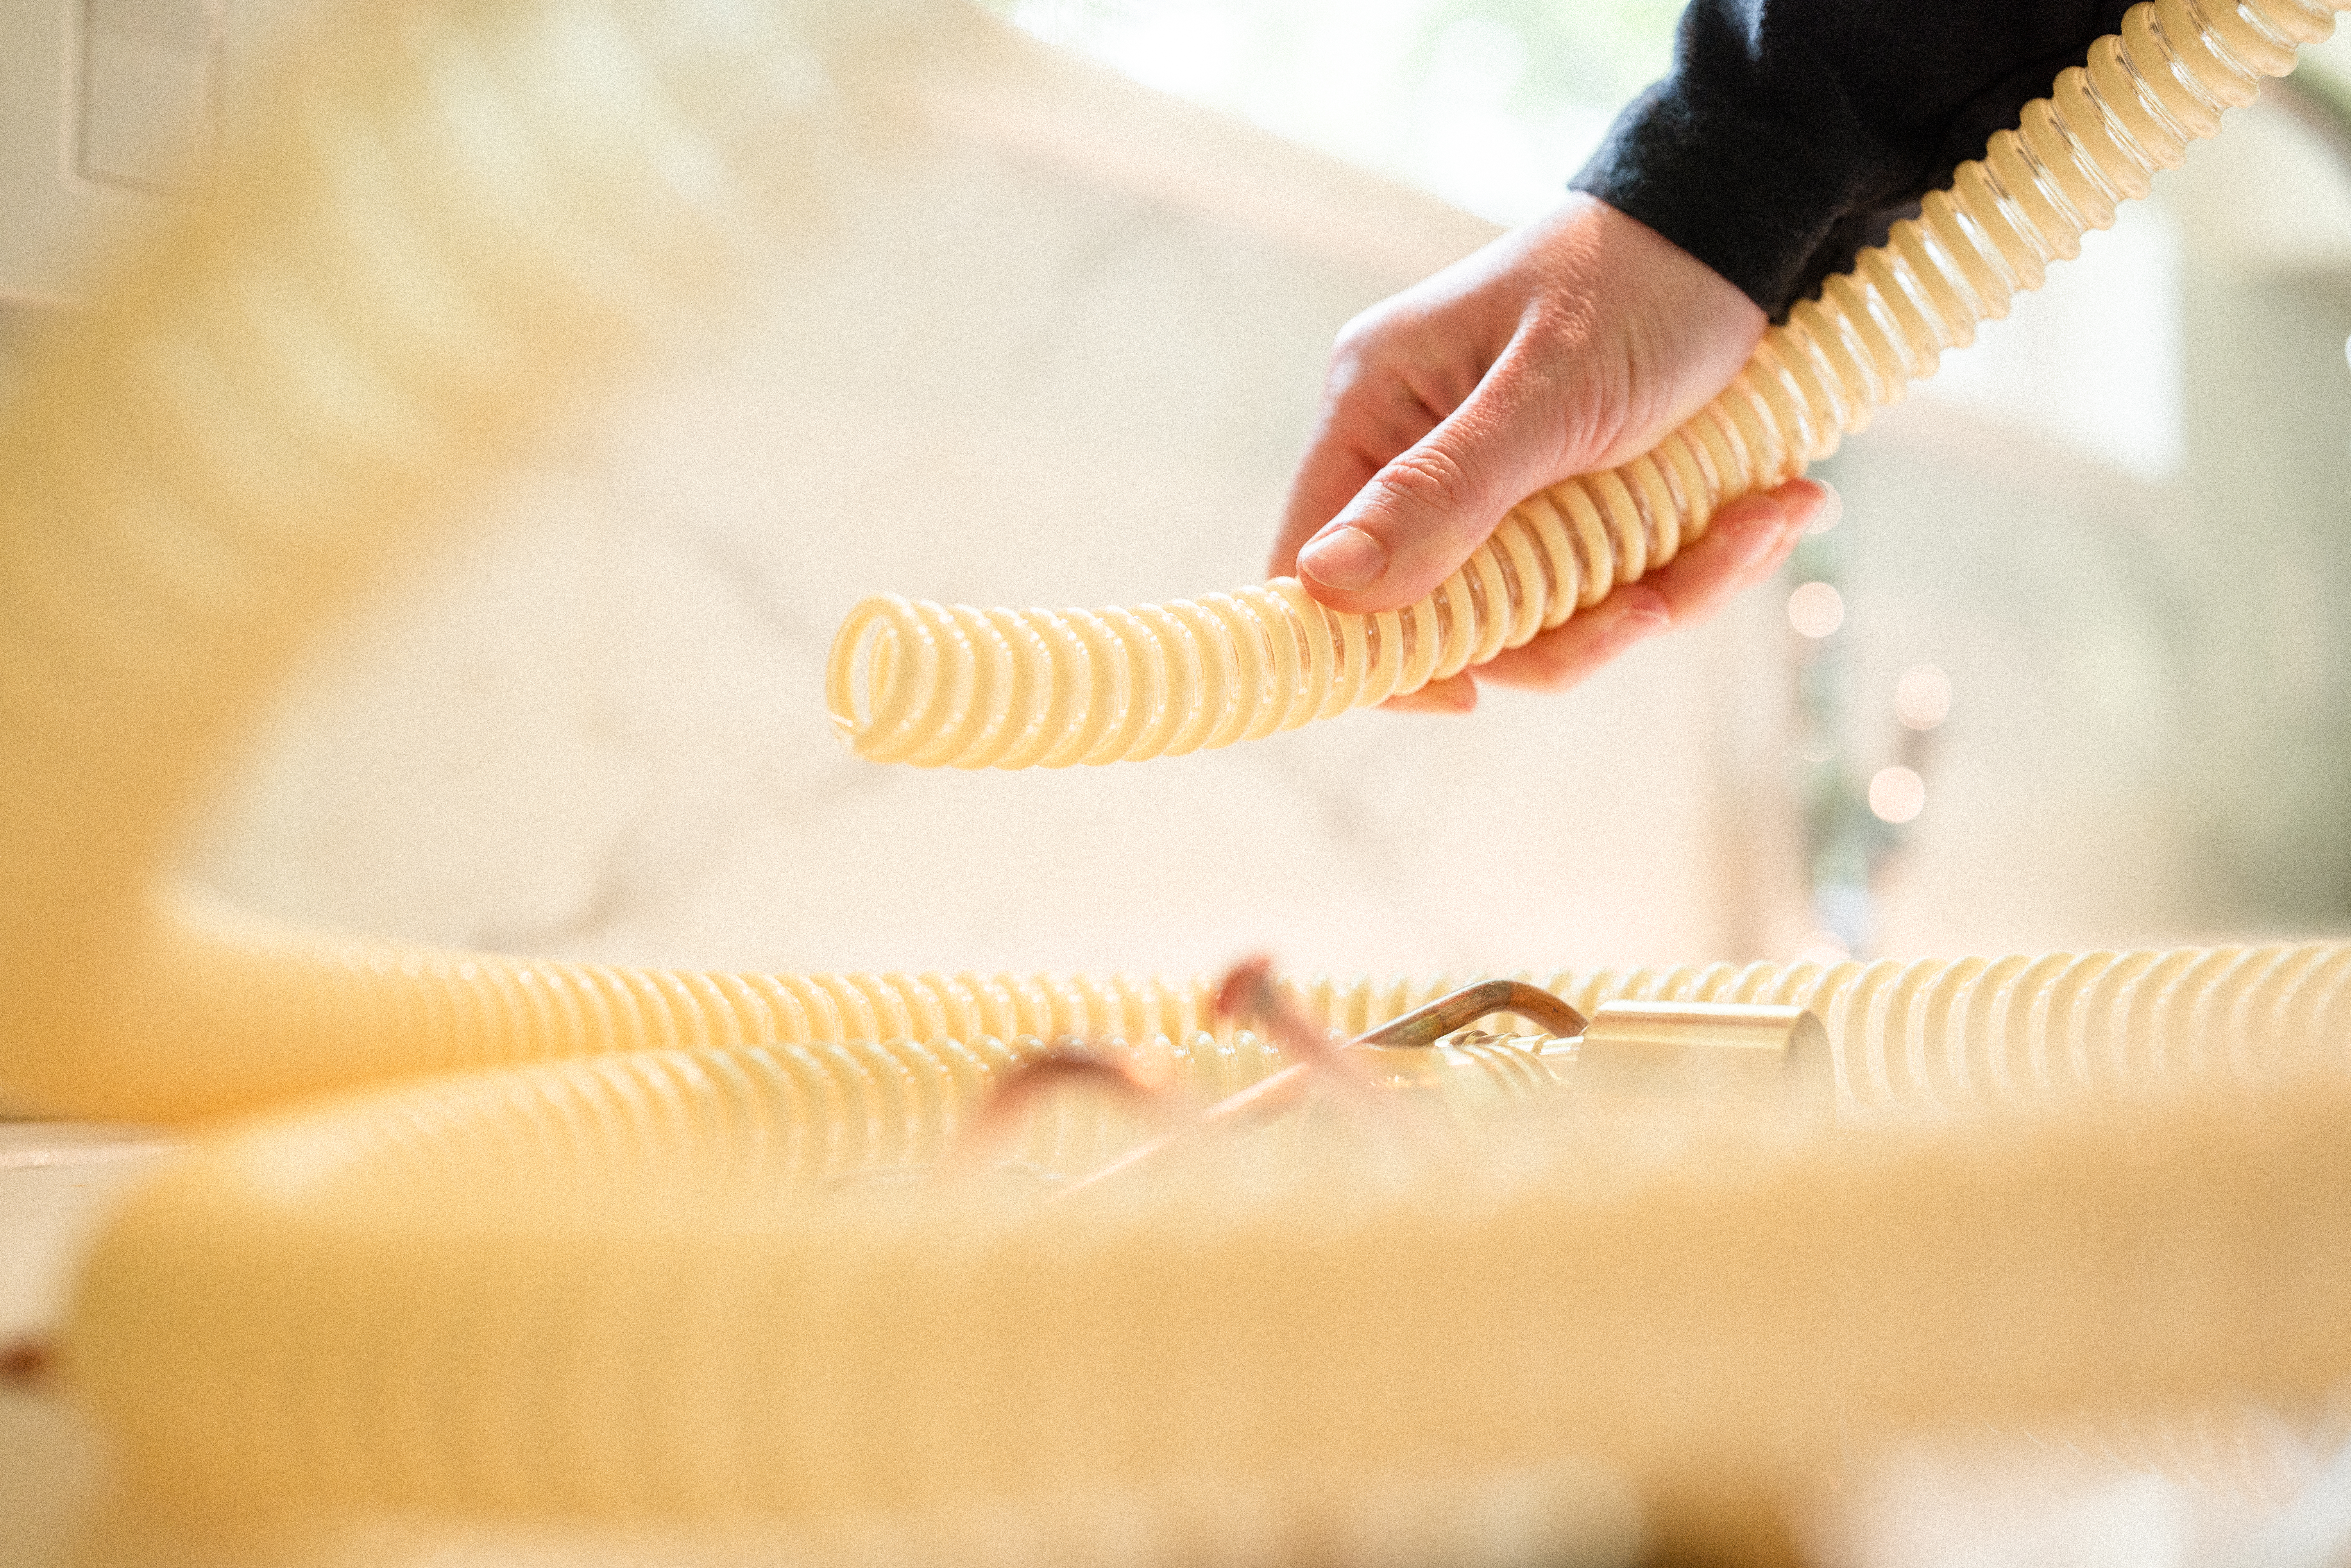
- Many installations, require drilling a small, discreet hole through the countertop so the drain line from the drip tray can pass down to a dedicated drain connection below the counter.
- It’s also important to note that the drain system is gravity-fed and not pressurized. Because of this, the drain line should be routed as vertically as possible with minimal bends to allow for the best drainage flow and to help prevent backups. Your floor drain should also be within 4 feet of your espresso machines.
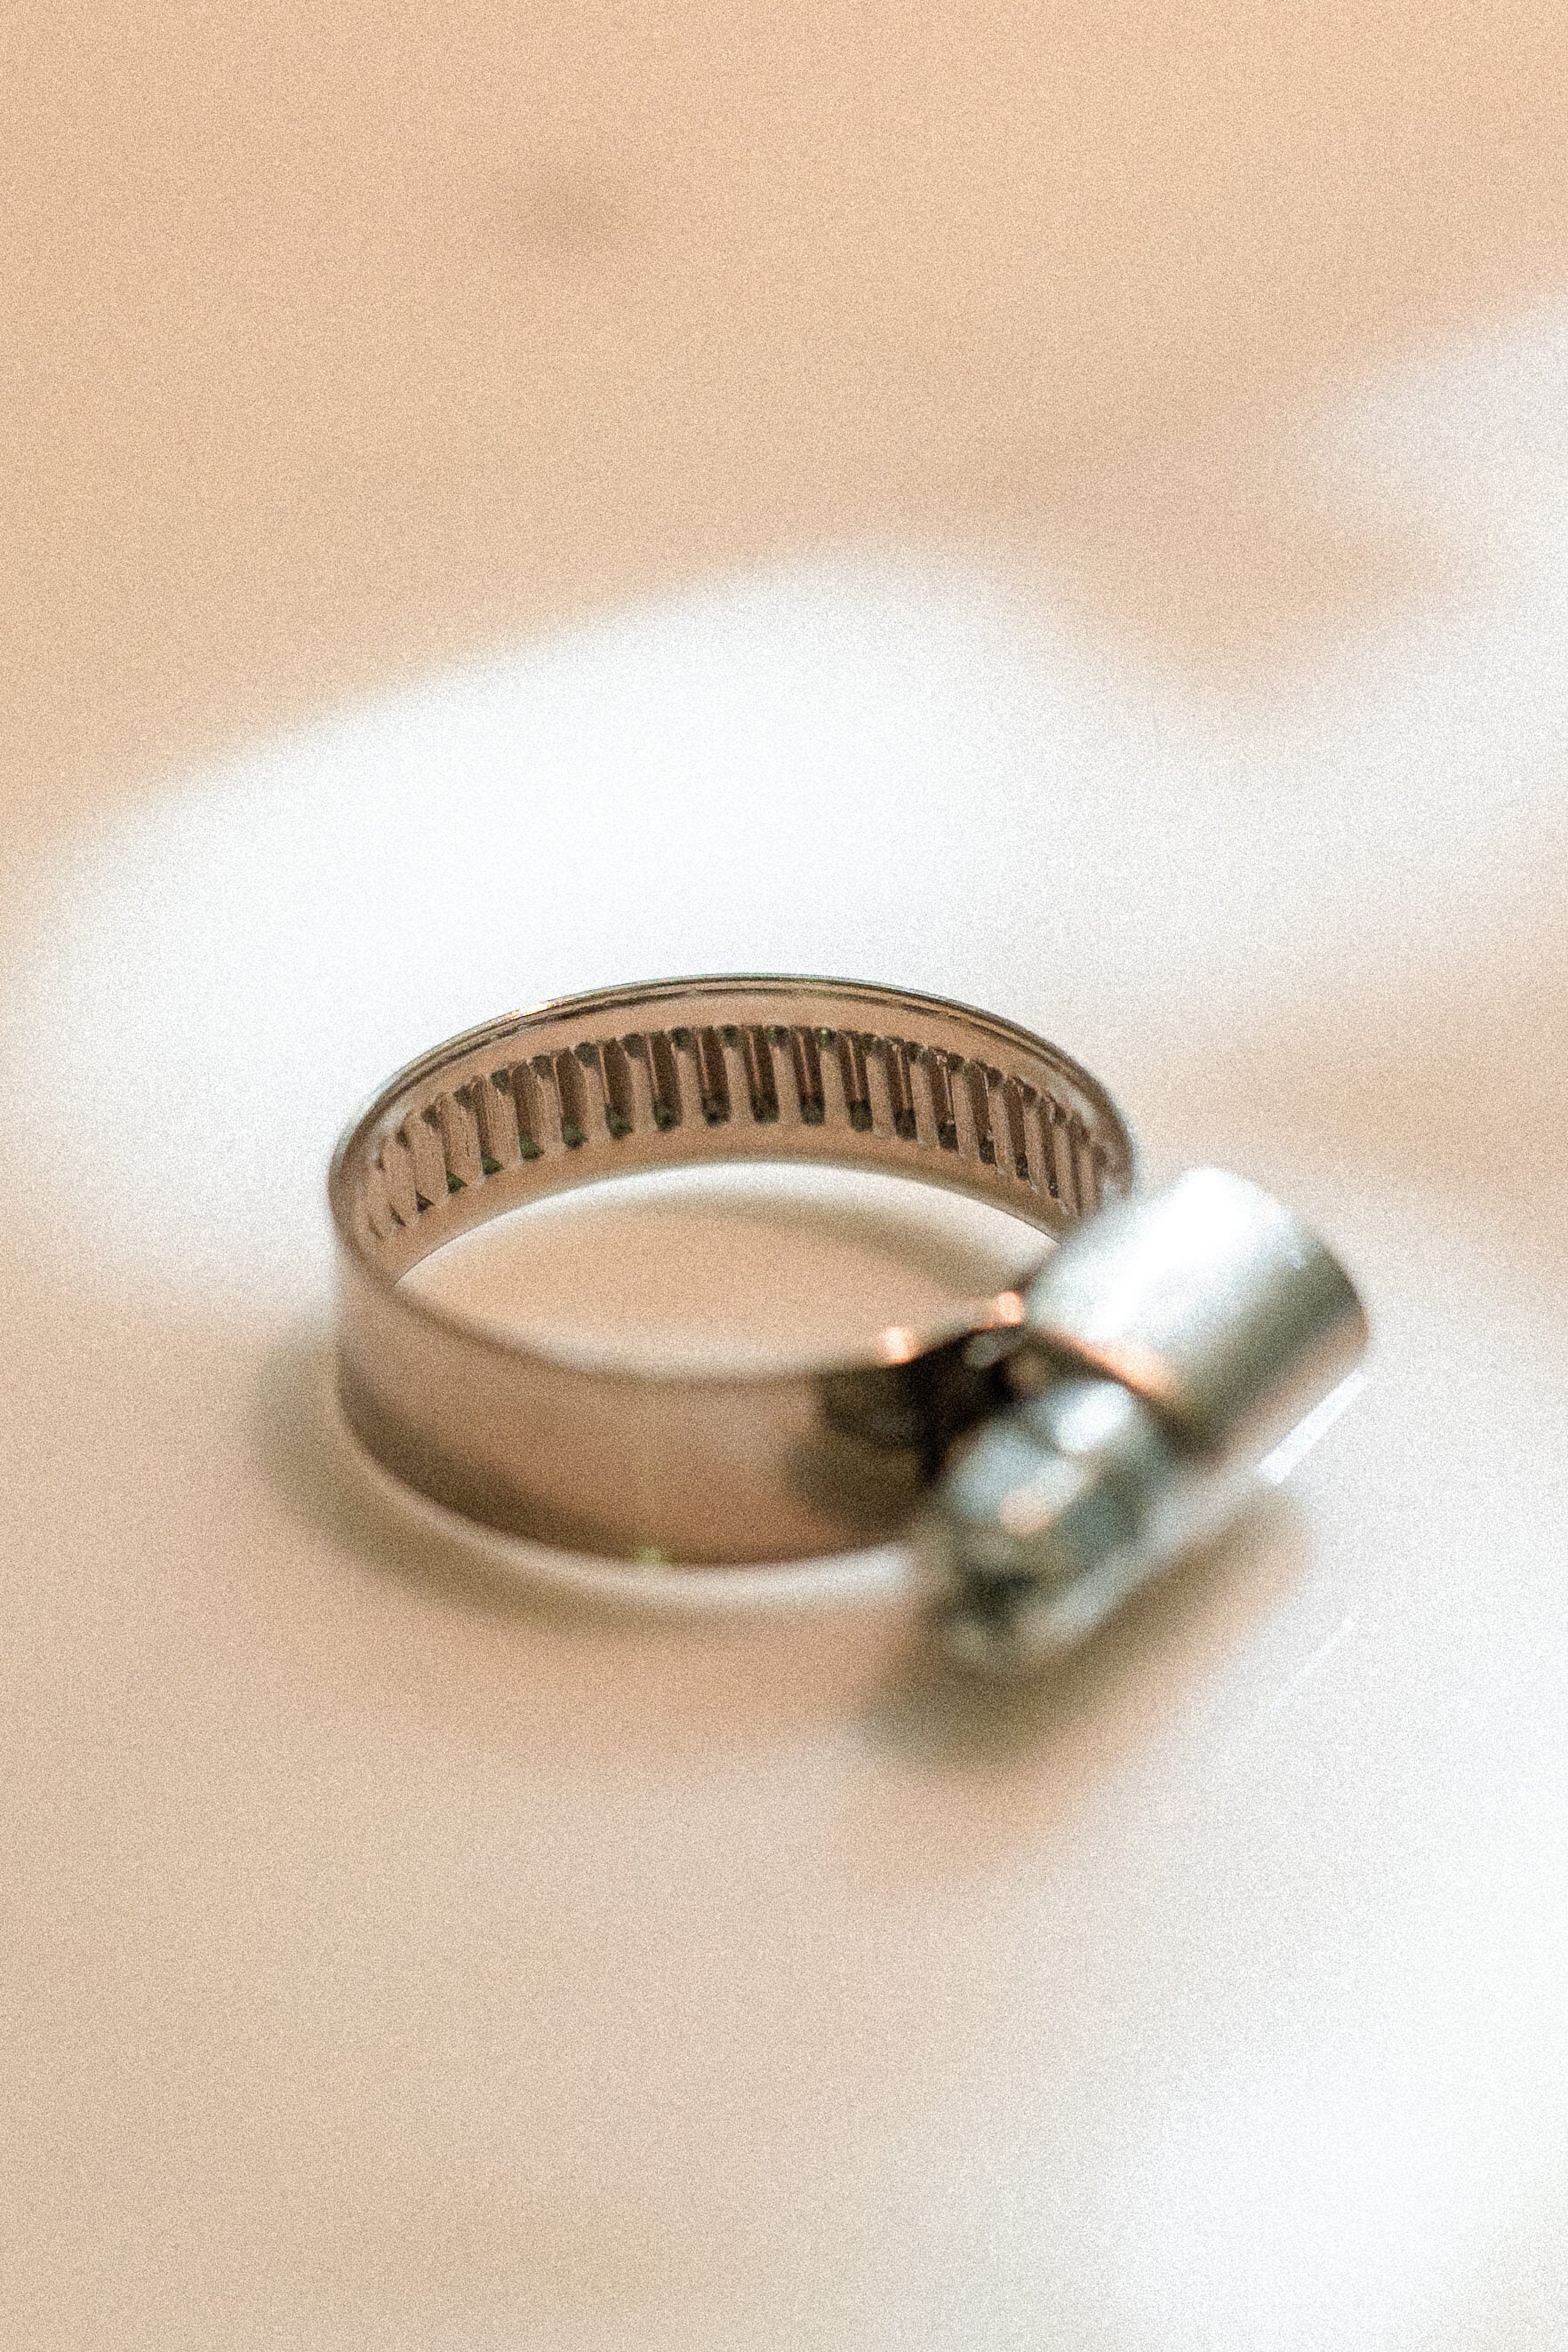
3. Get Help Plan
Let’s talk about getting it done right the first time.
Professional help: Plumbing in a machine involves working with pressurized water lines, drainage, and sometimes local code compliance. A local espresso technician can ensure connections are secure, flow and pressure are correct, and everything is installed safely, avoiding costly leaks or damage.
They can also assist with water treatment options as they are going to be more familiar with the local water in your area!
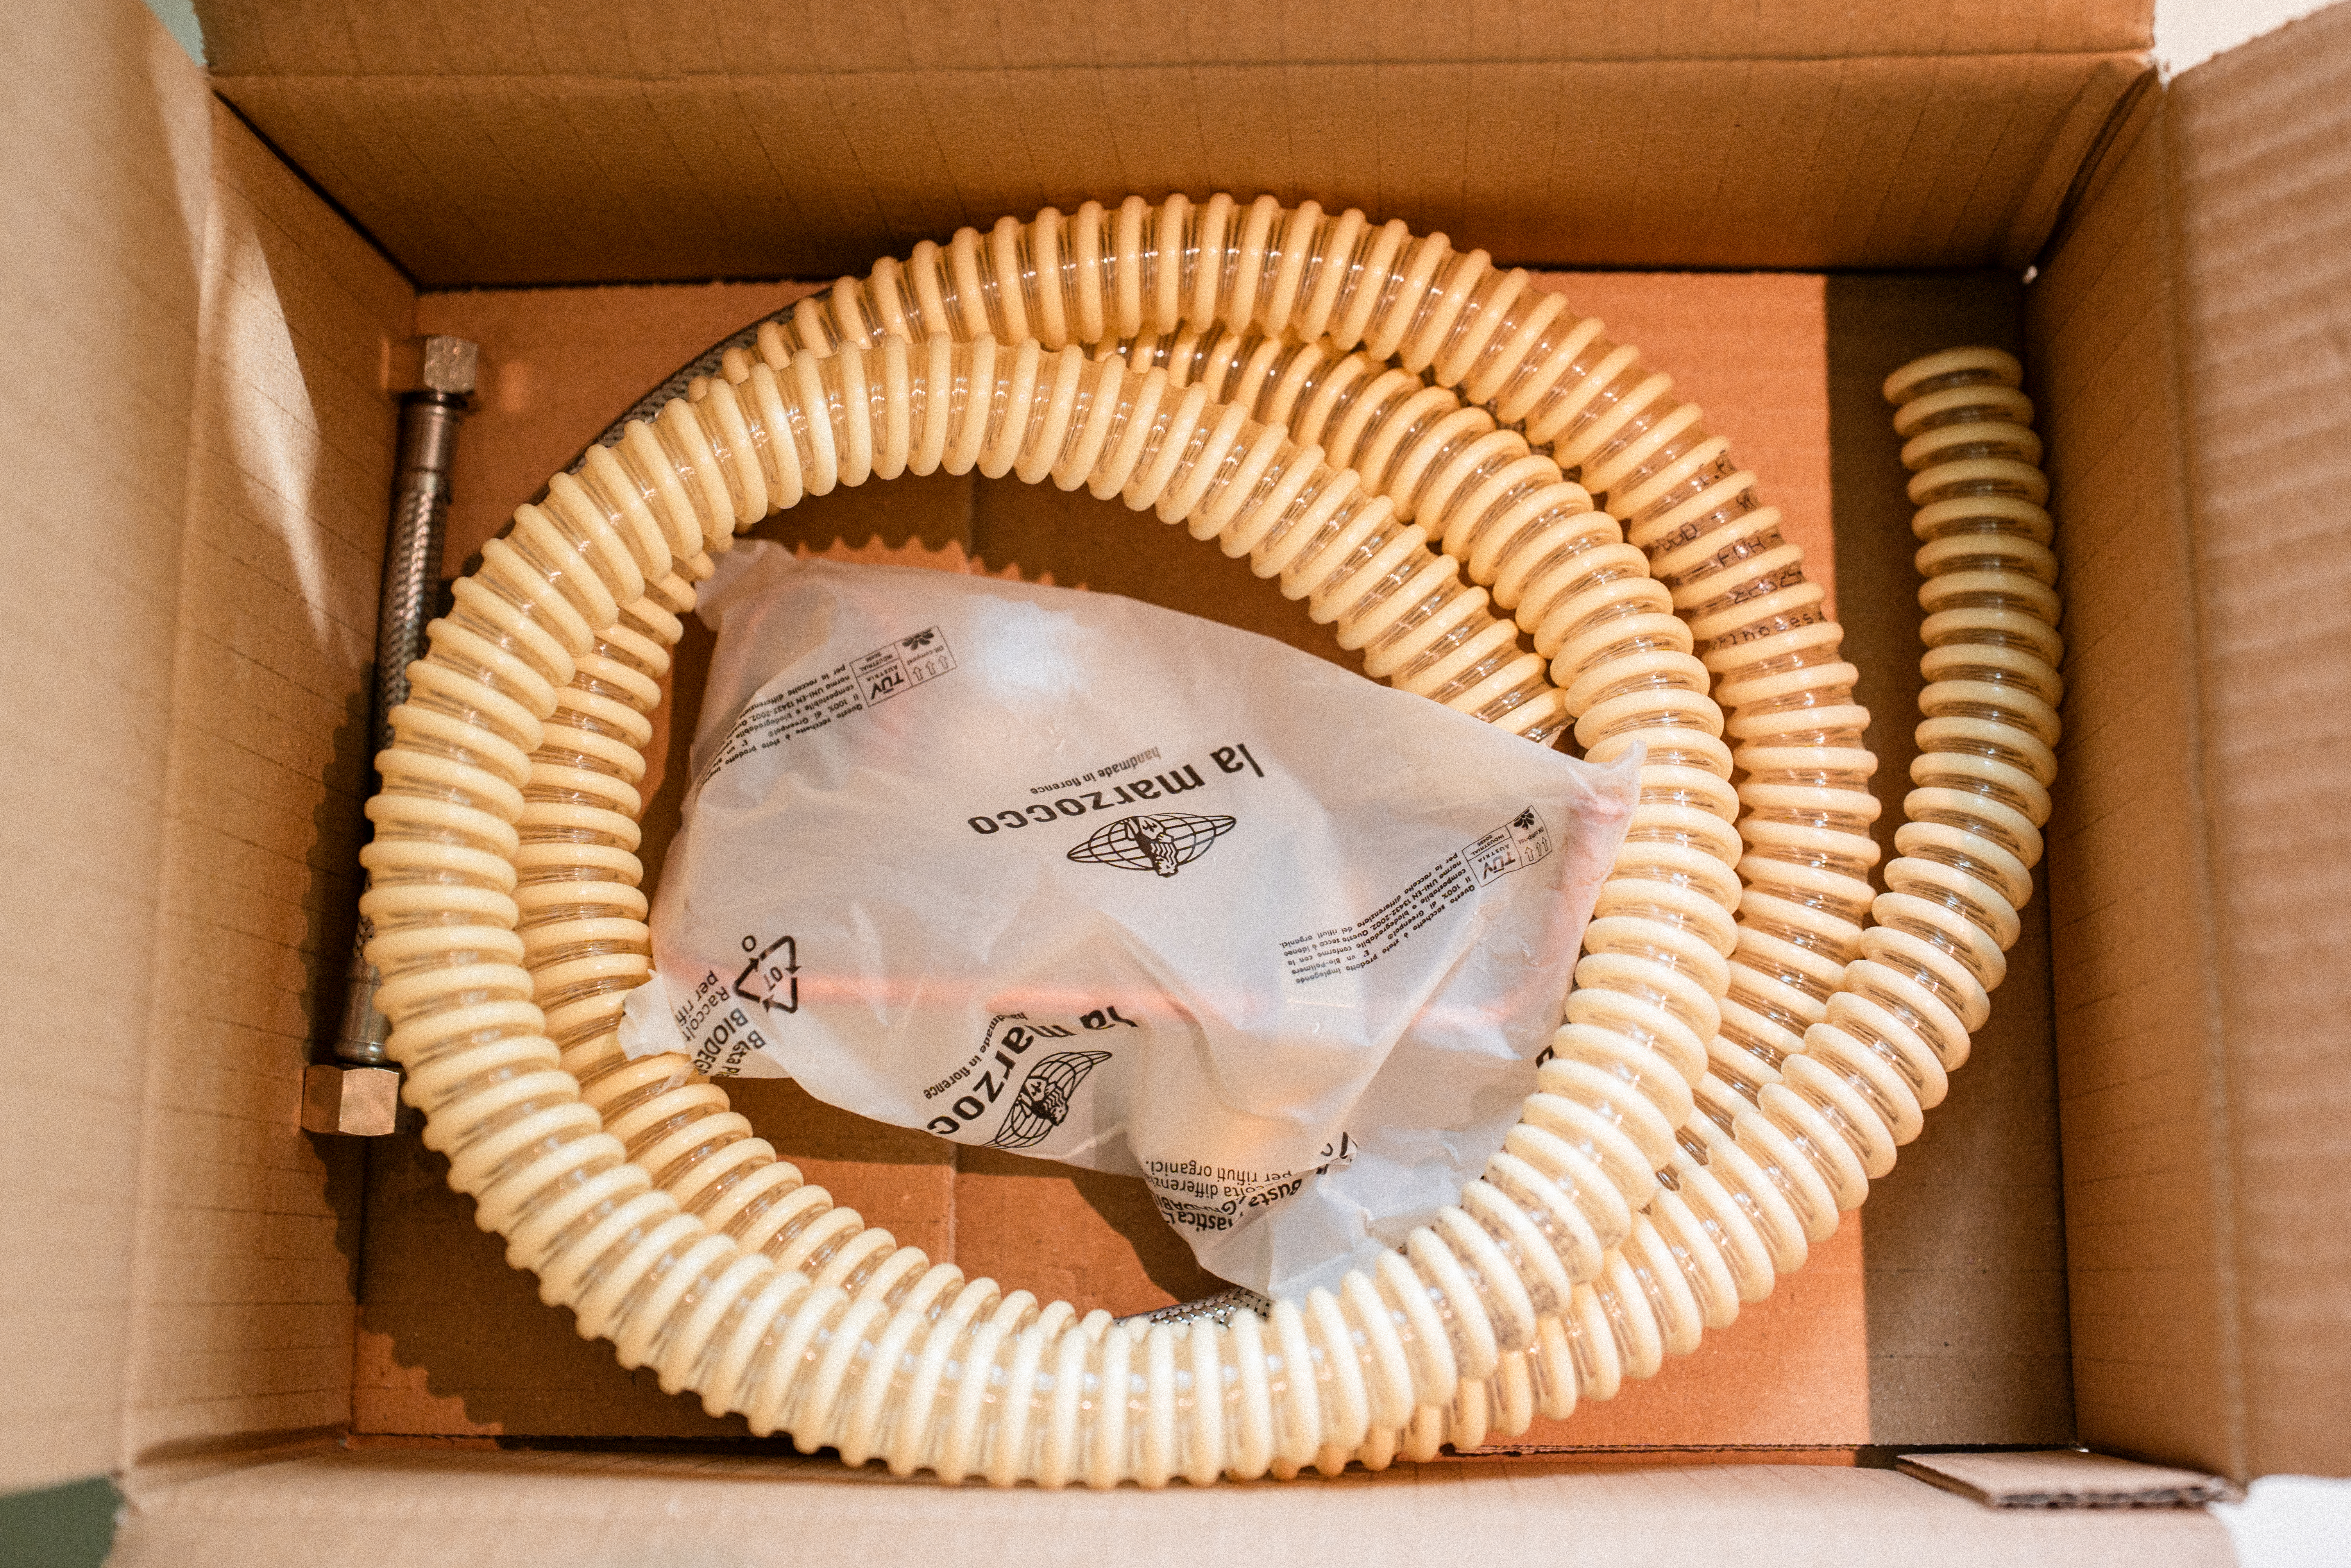
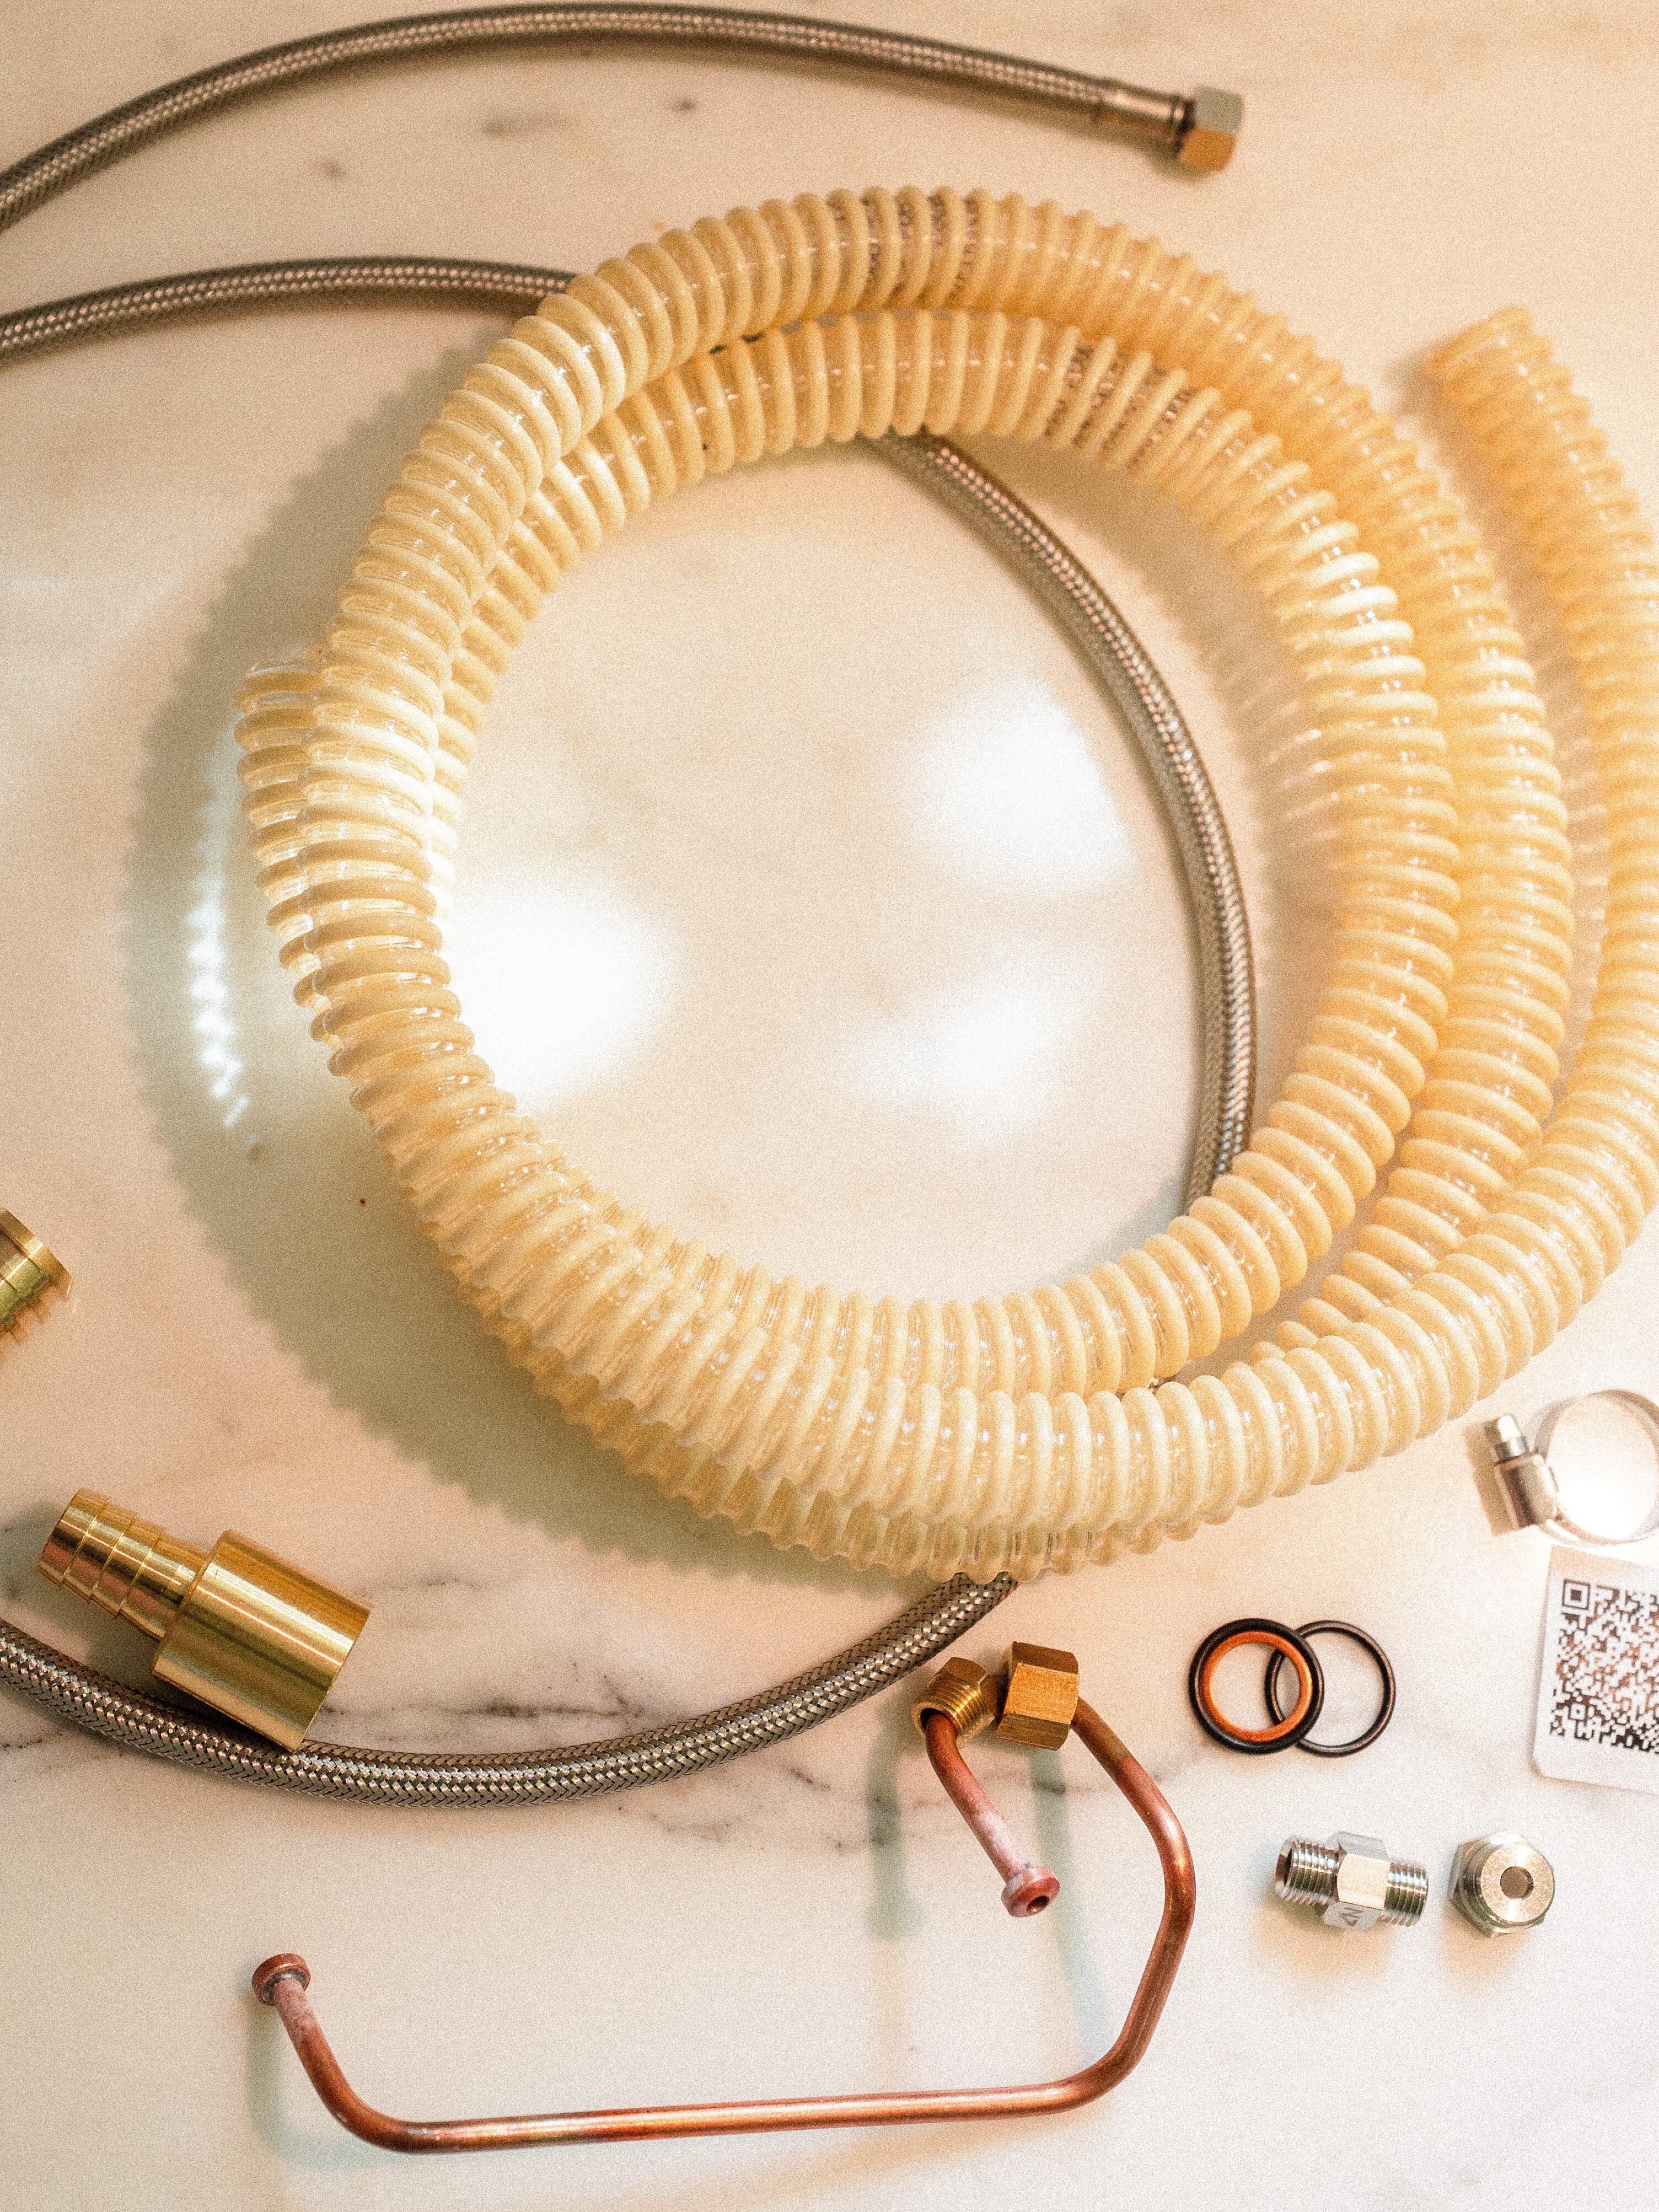
Try Out the Reservoir
Before committing to plumbing the machine in, we always recommend running it from the reservoir first for a little while. This gives you a chance to confirm that everything is functioning properly and that you are happy with the setup before making any more permanent plumbing changes.
Also, don’t feel like you need to plumb in your machine. The reservoir system is extremely reliable and, in many home or pop-up environments, is actually the better and safer option. It also gives you more direct control over the water you are using, which is very important for espresso machine longevity.
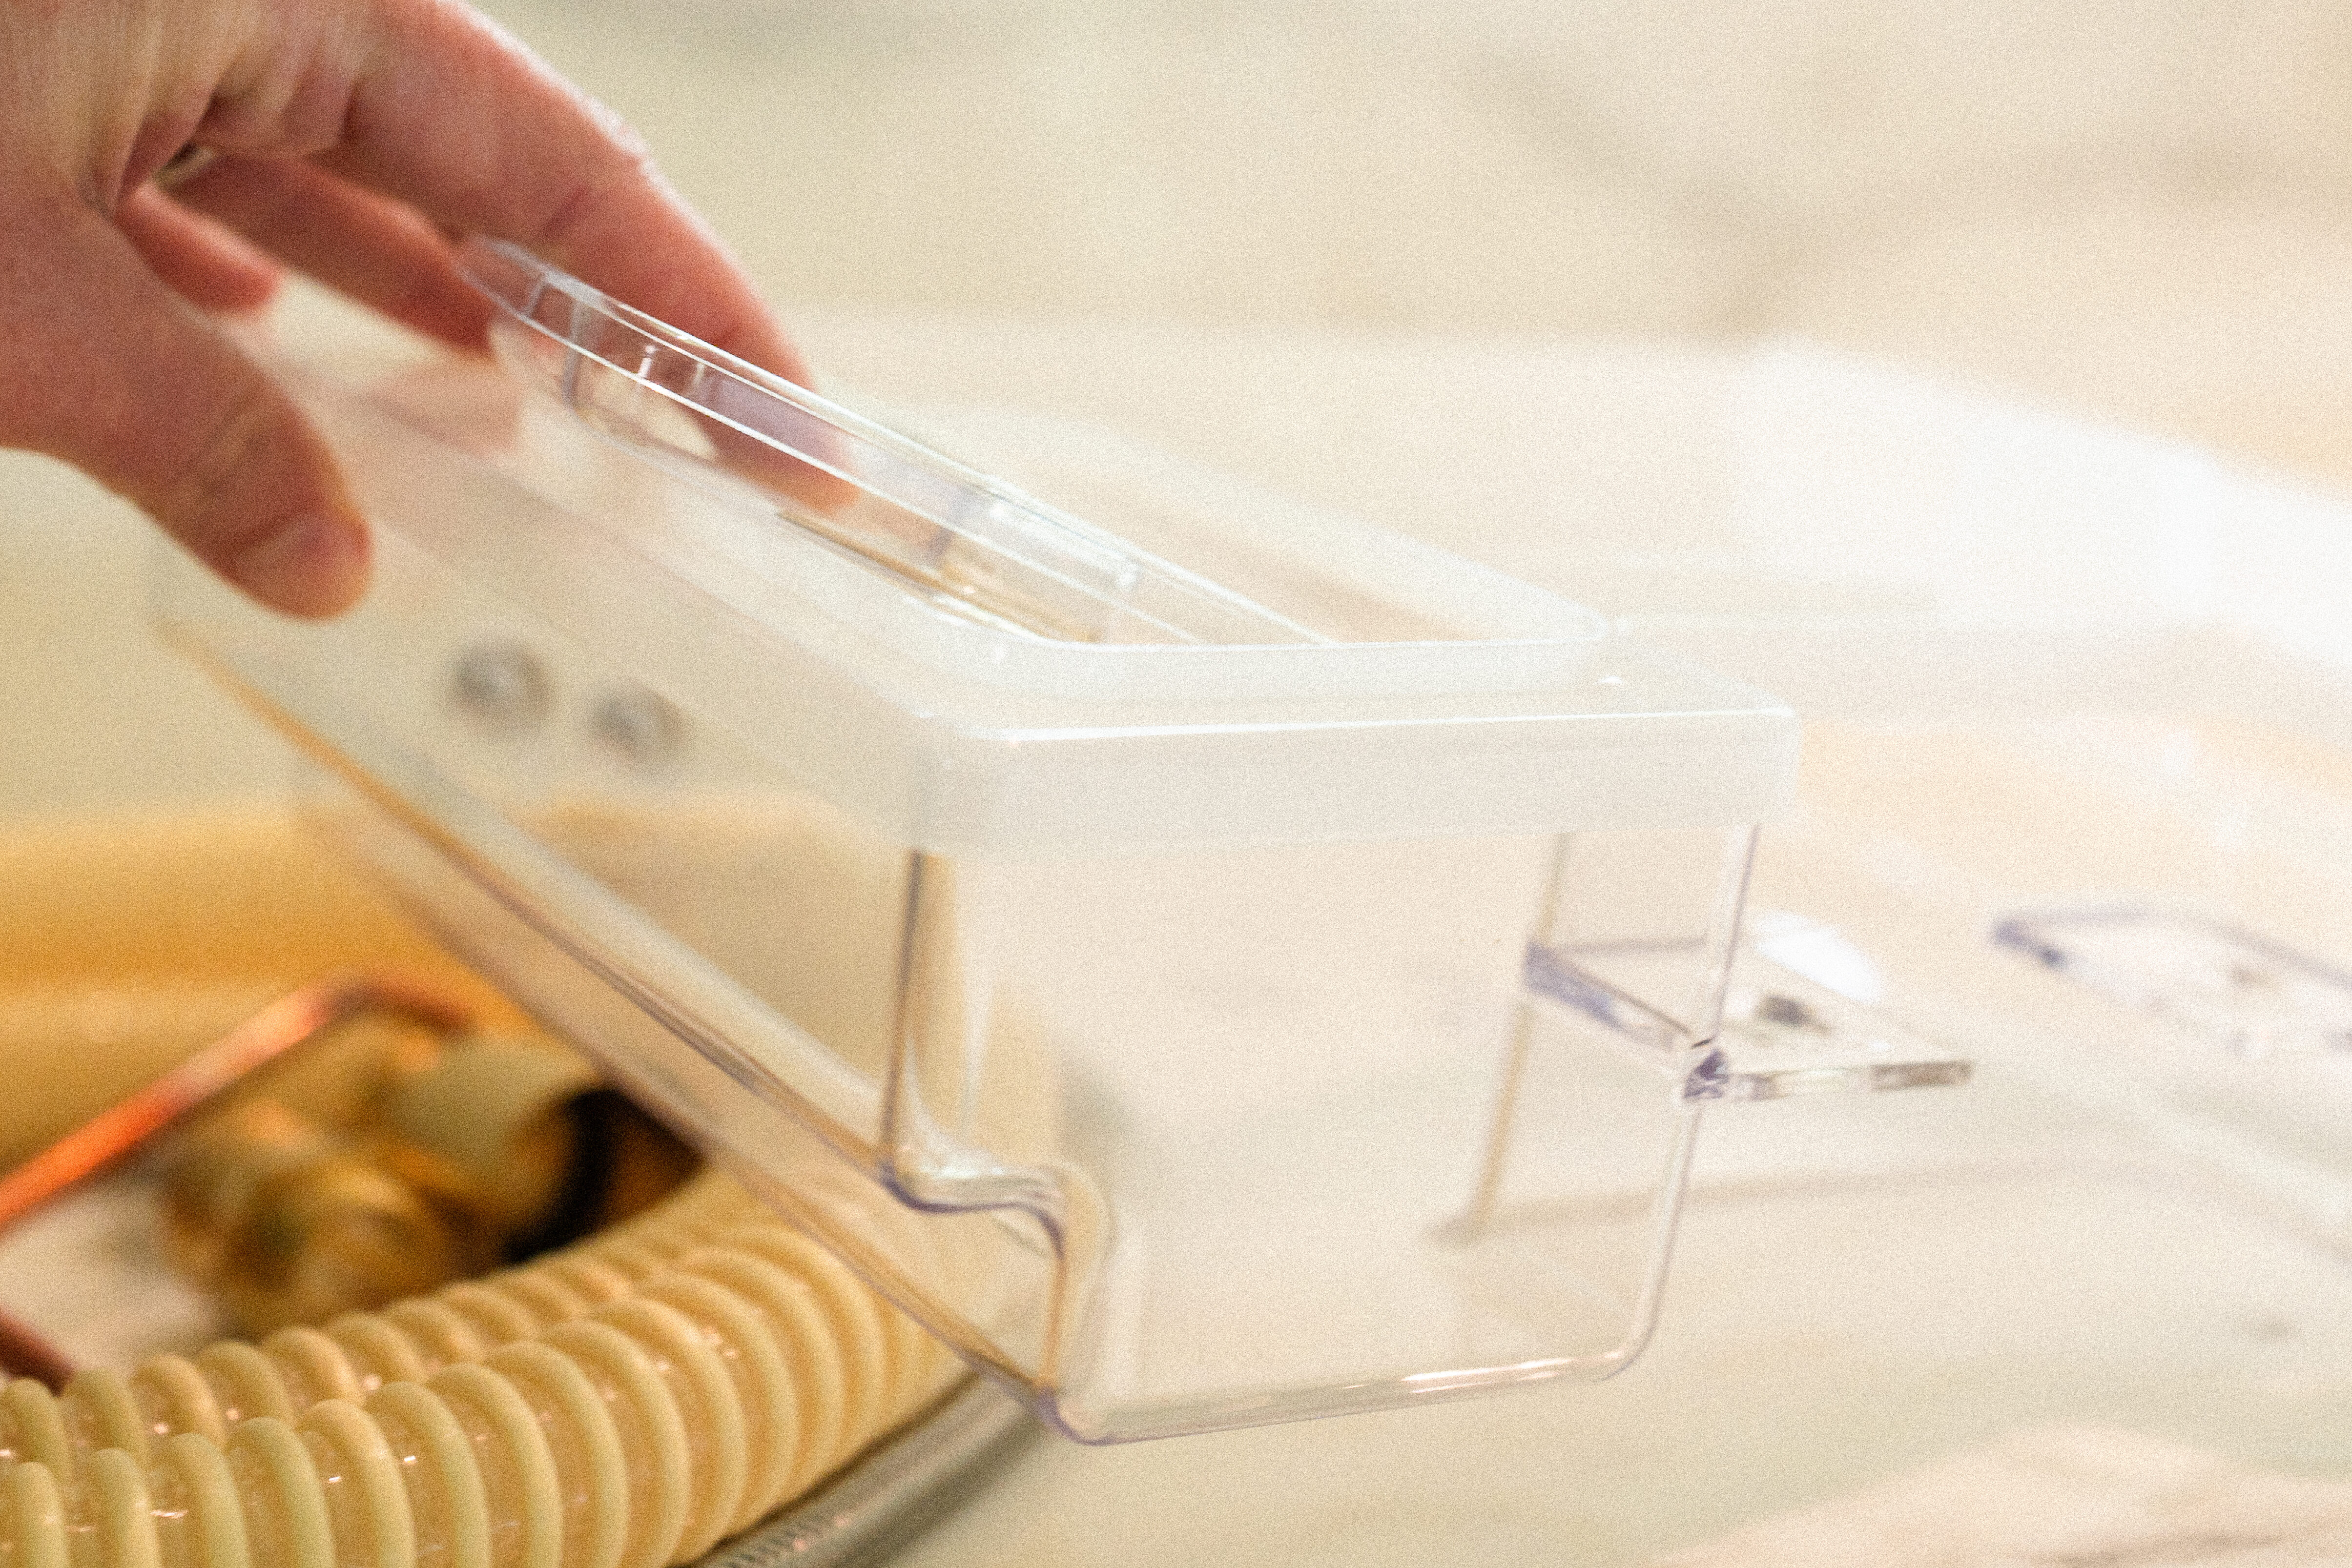
Plumb Kits
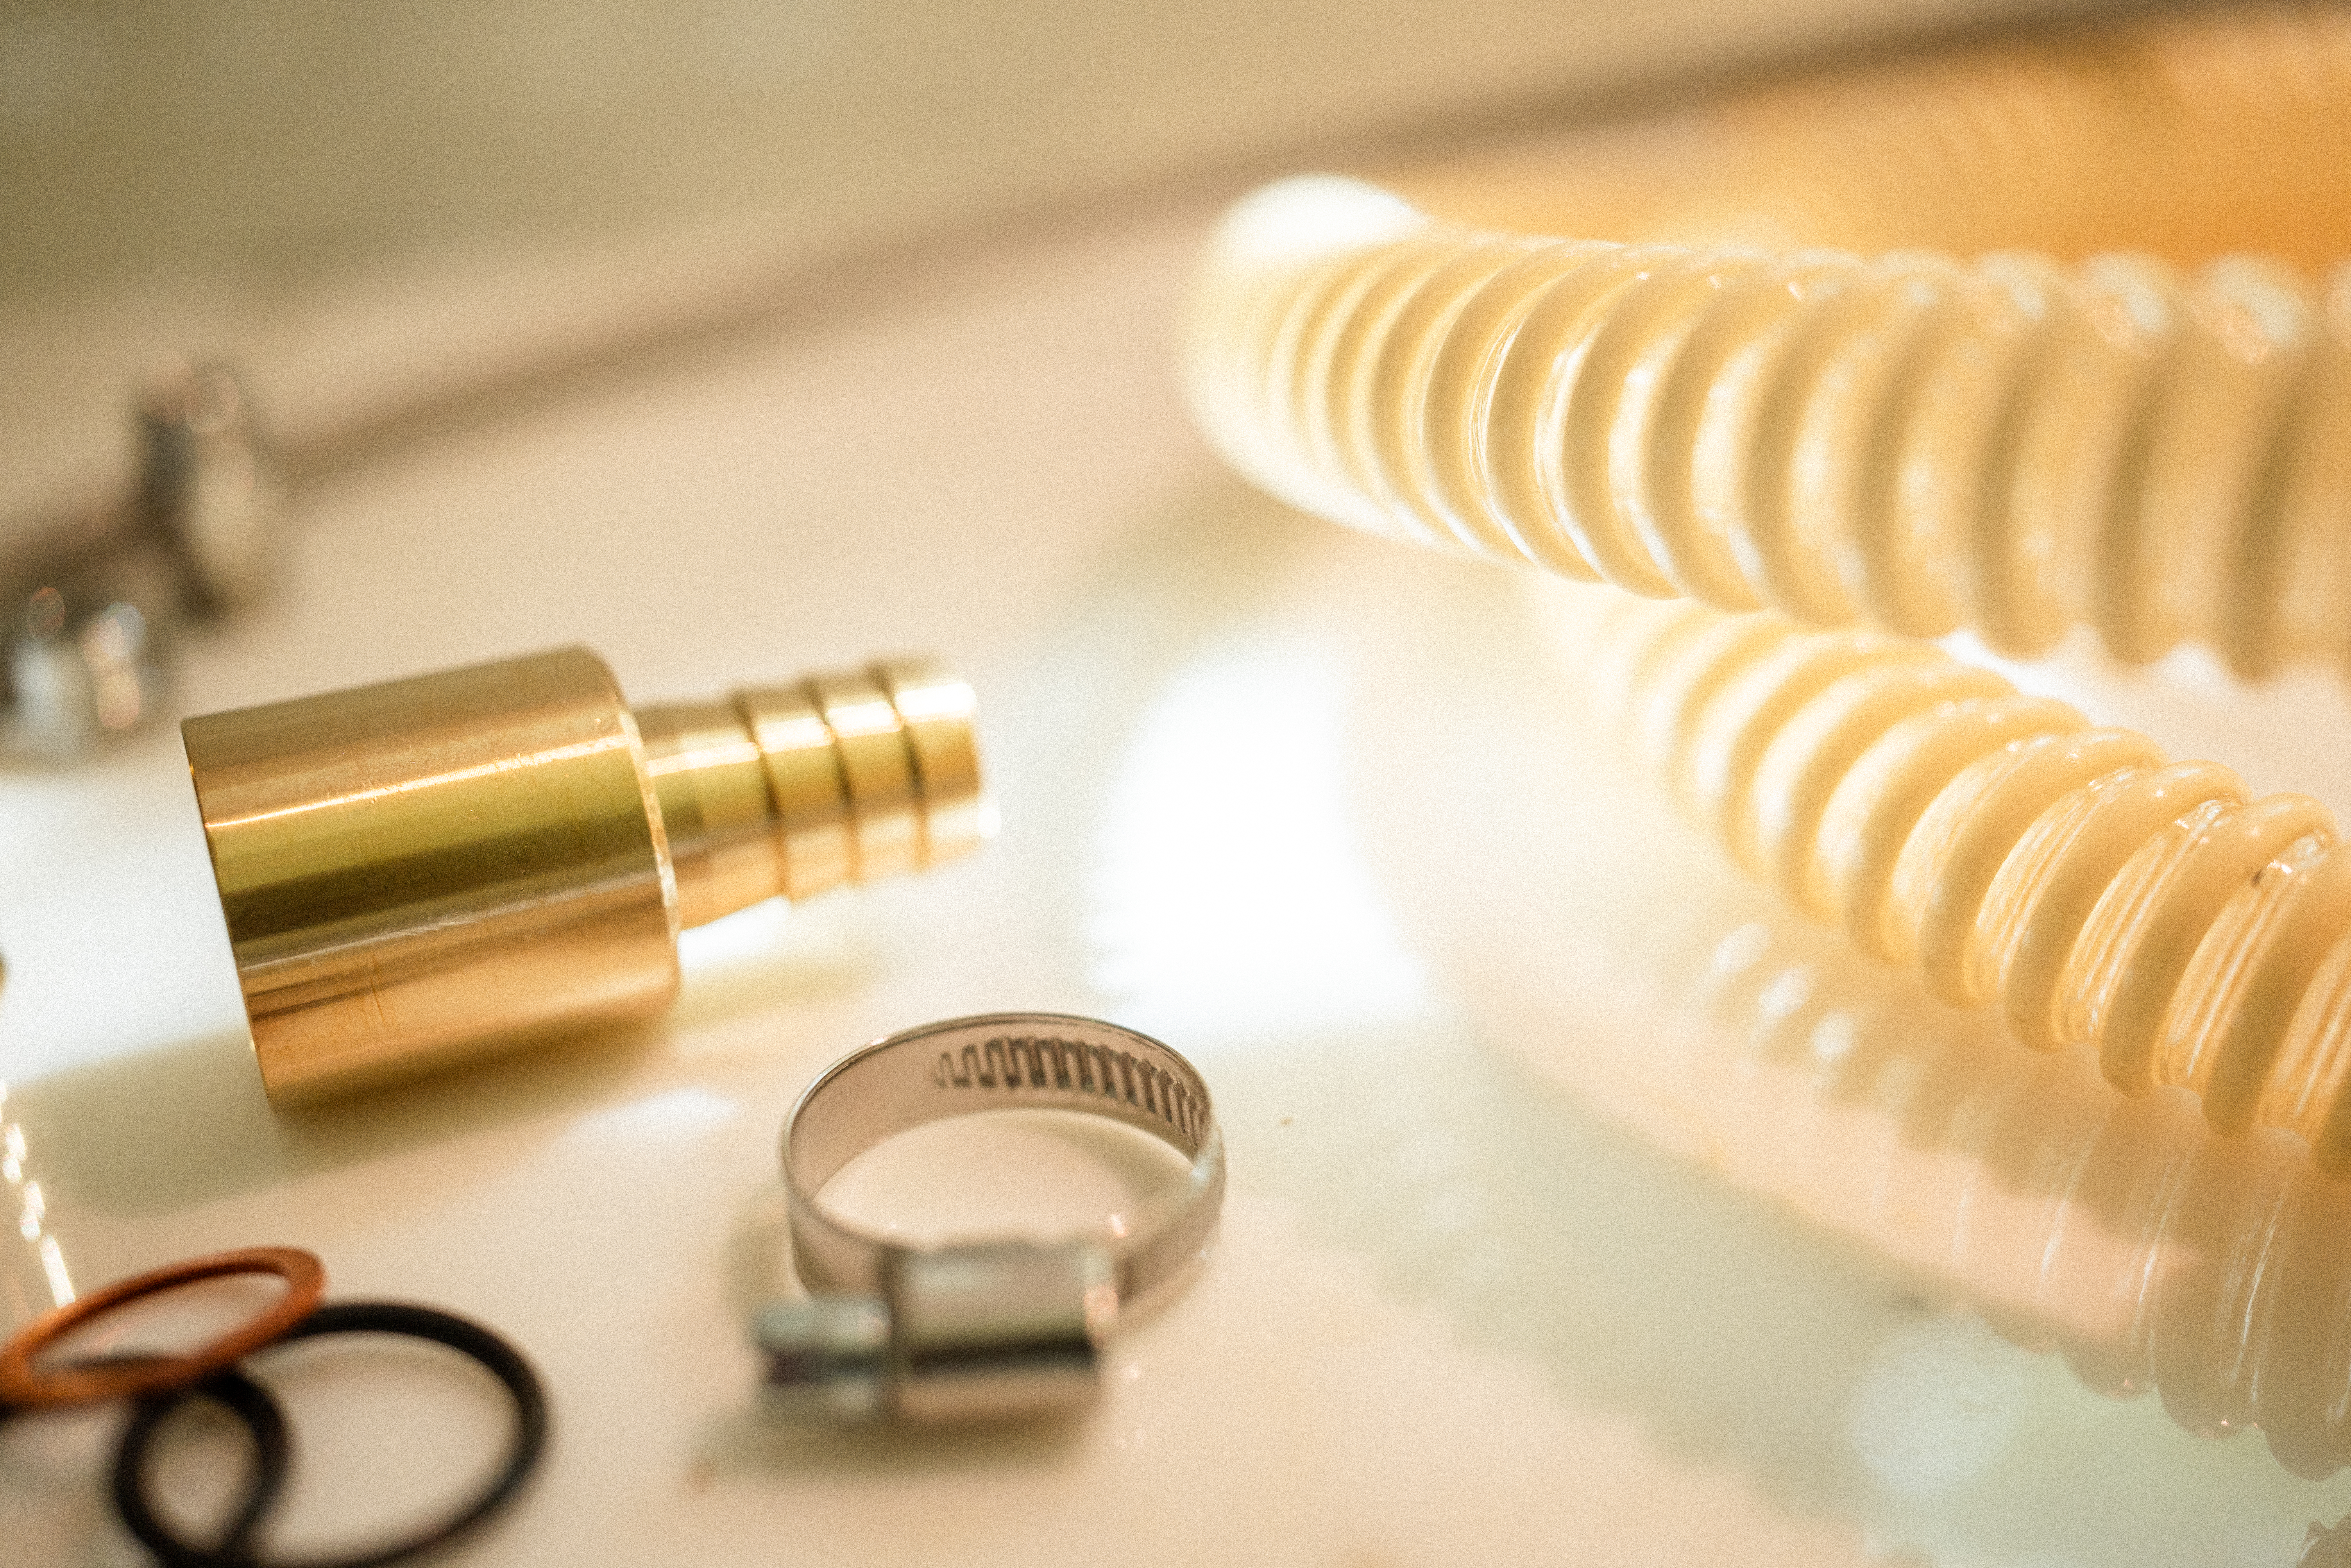
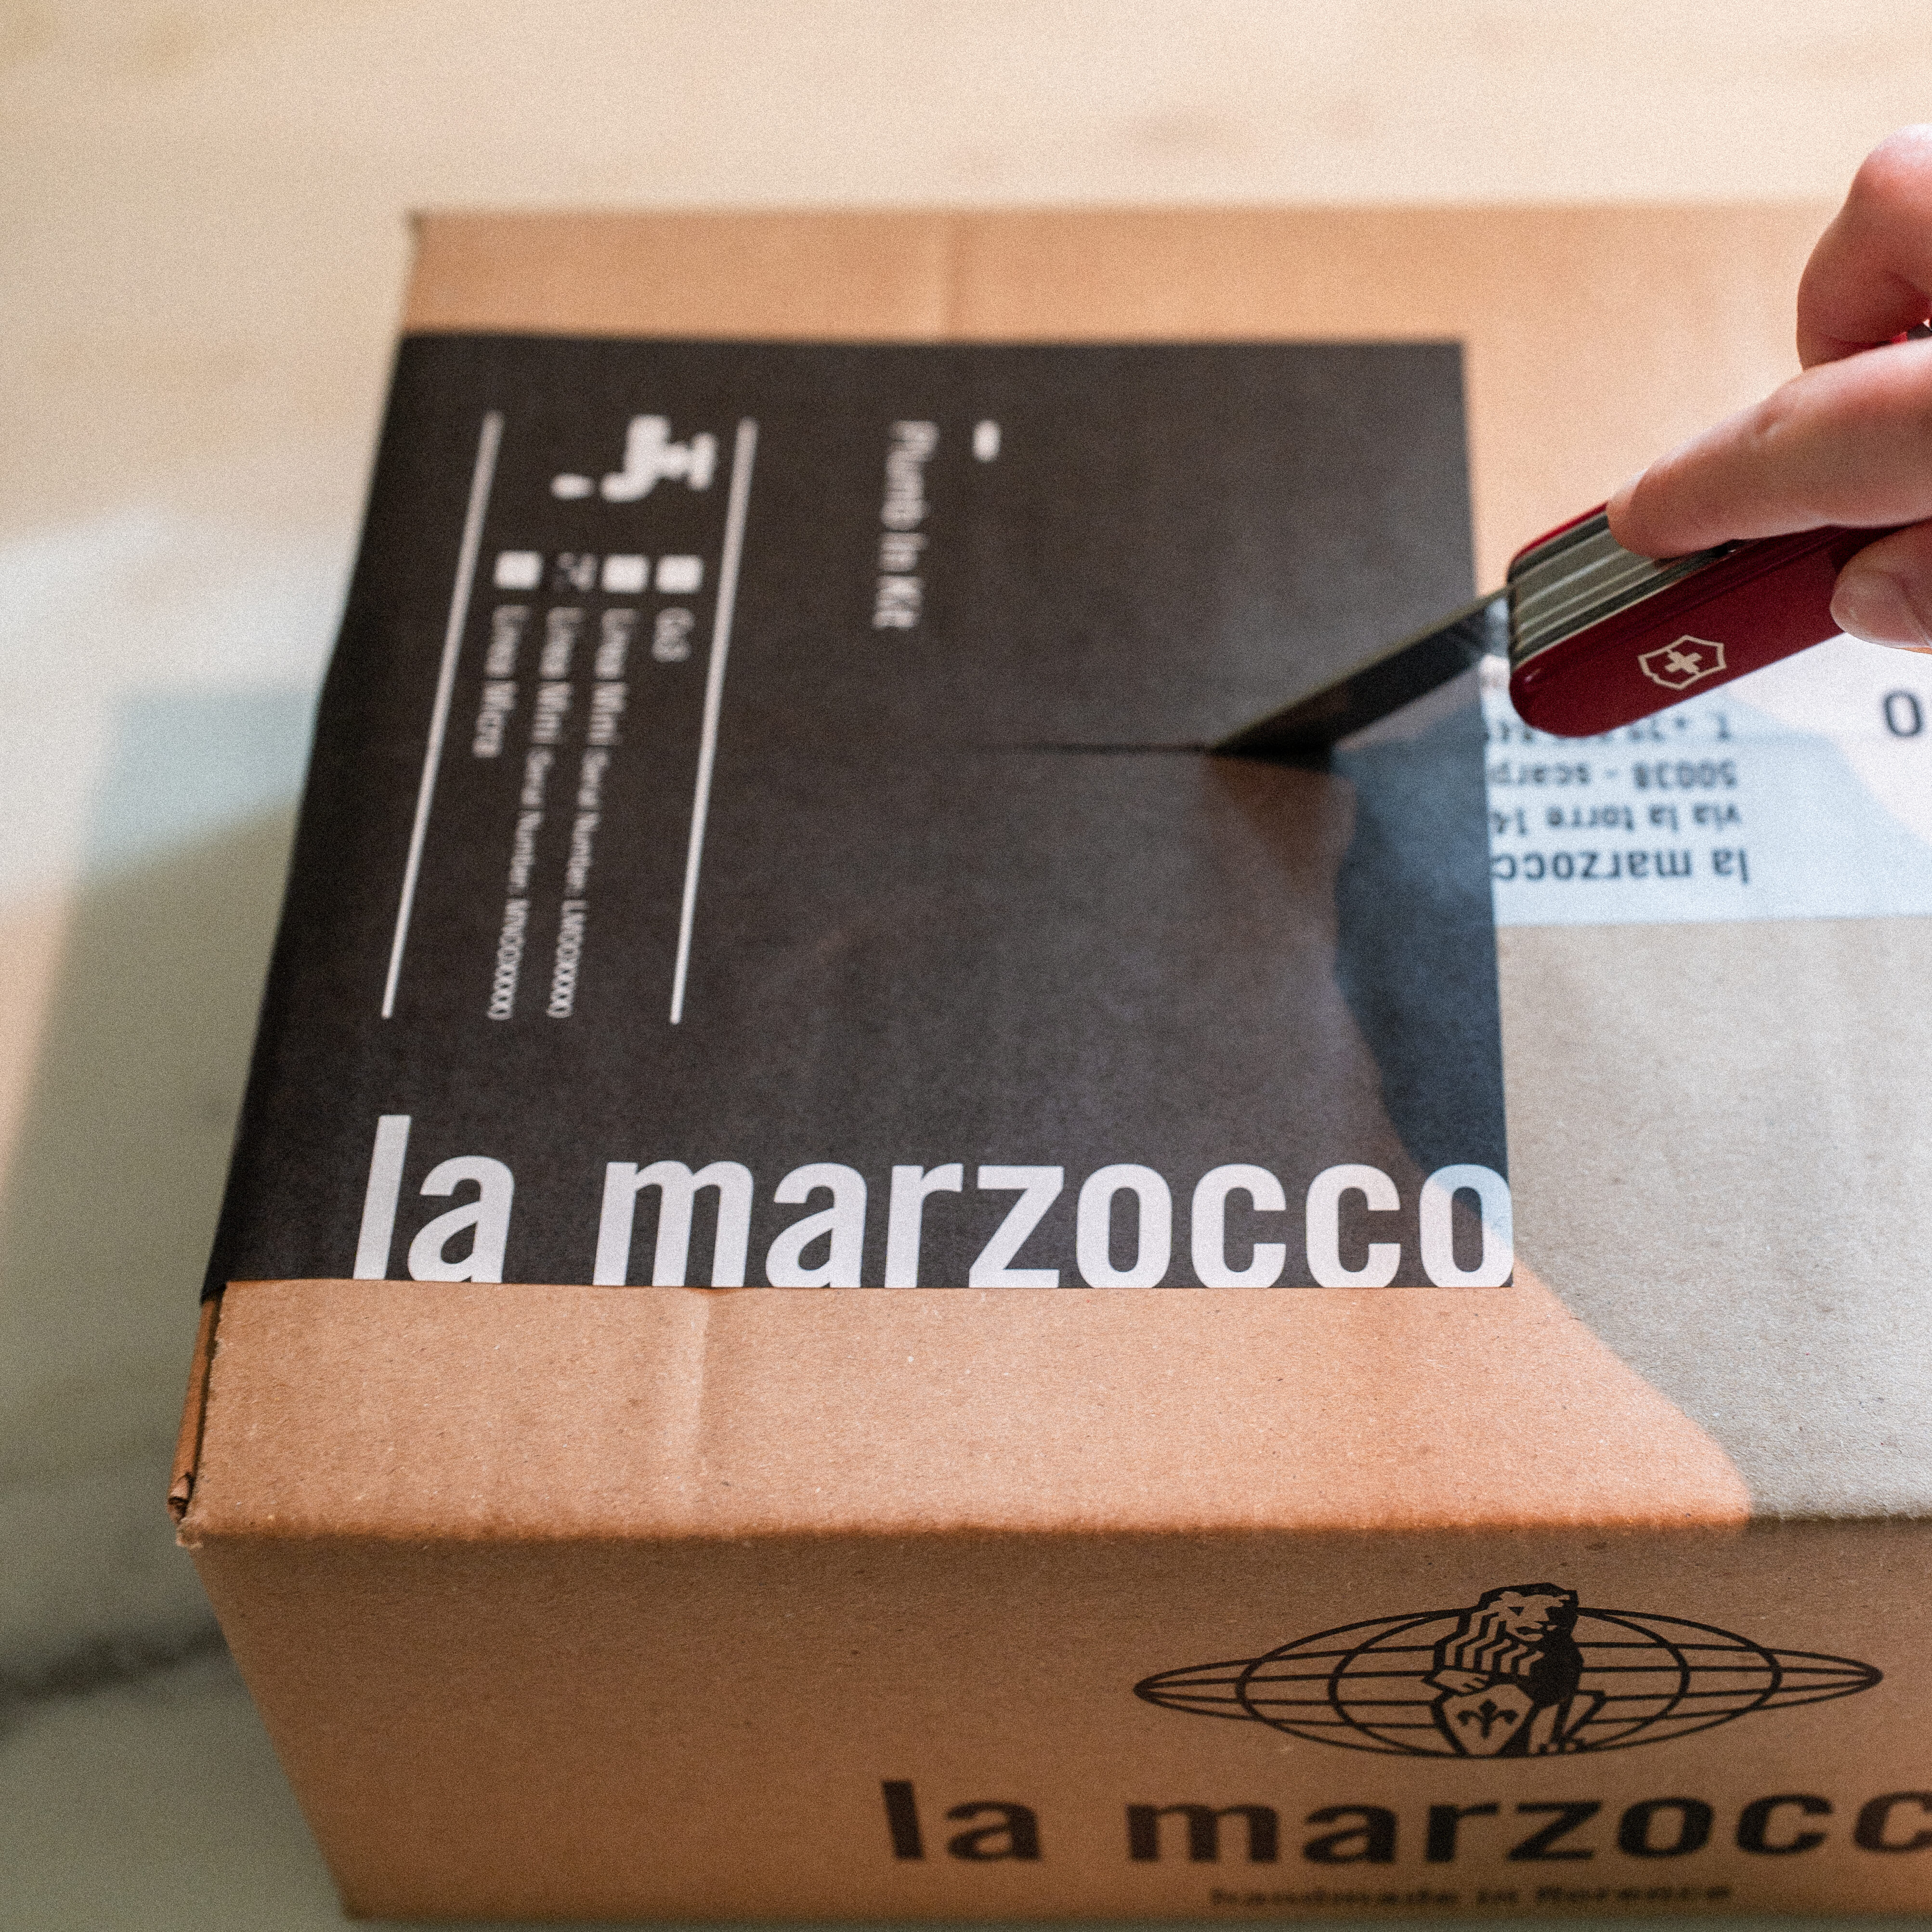
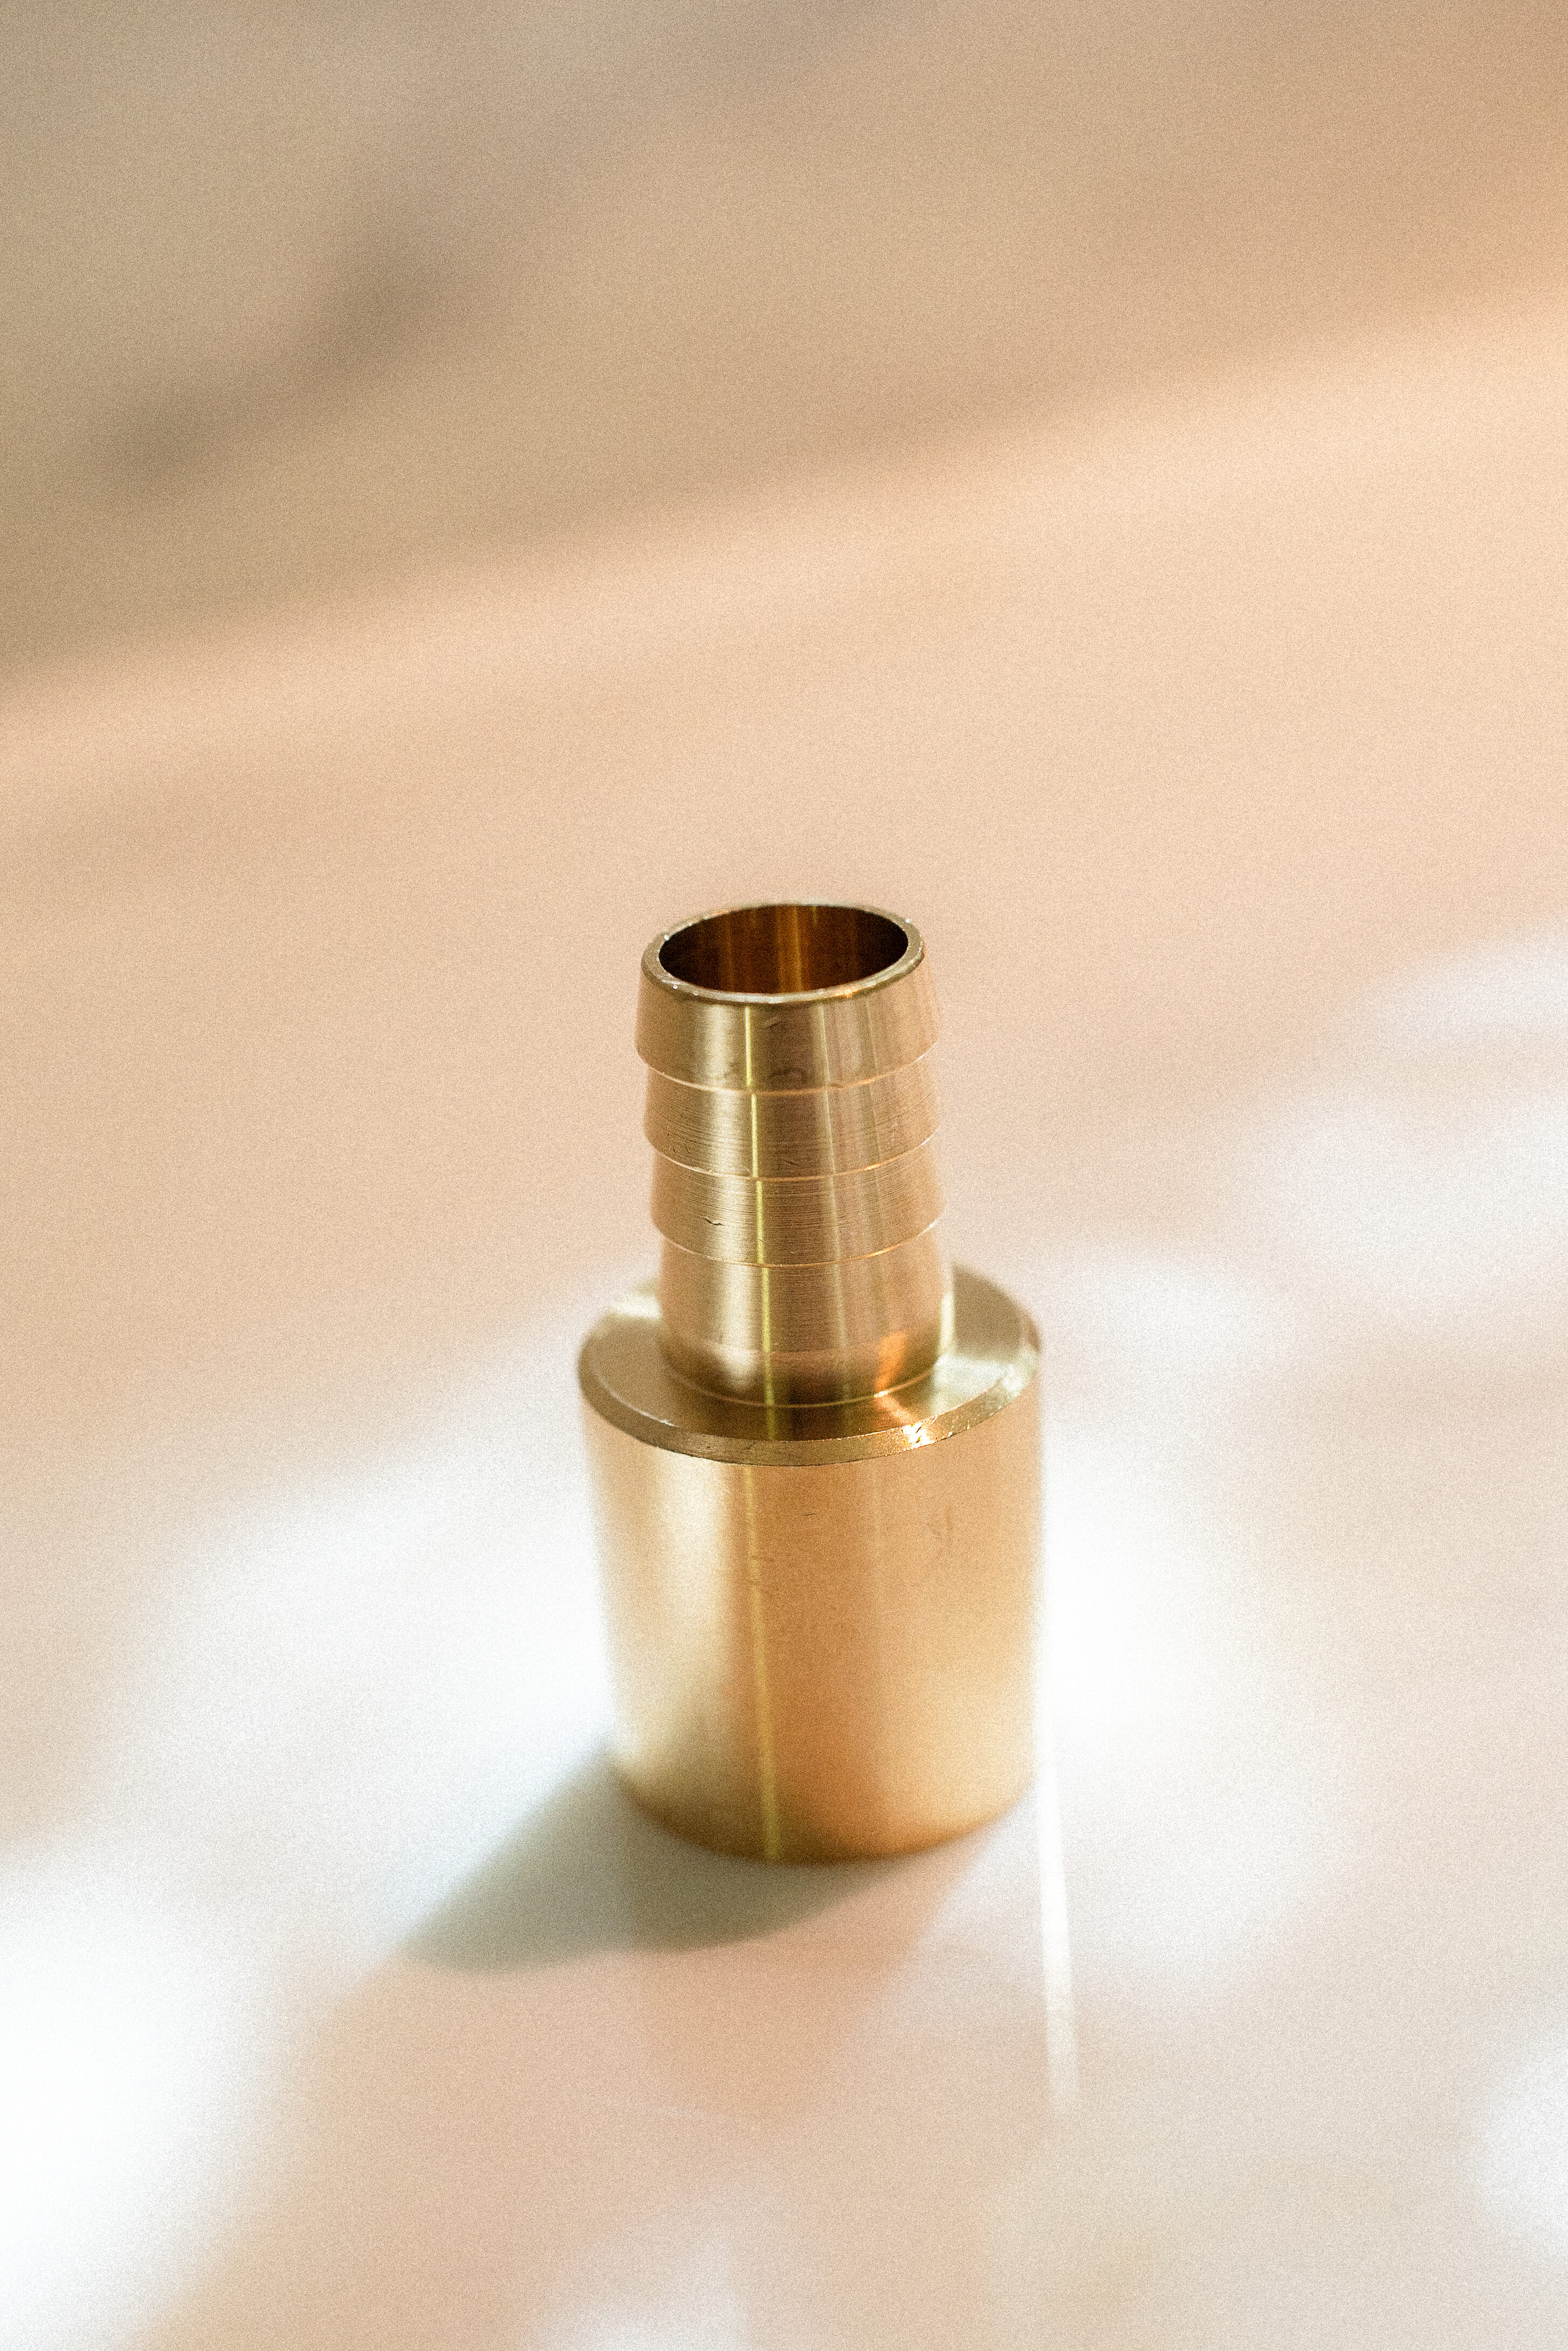
All machines ship in their reservoir configuration by default. To convert the machine for direct plumbing,
a separate plumb-in kit is required and sold separately.
Water supply and drain connection kit : This document covers the water supply and drain connection for each kit.
Linea Mini MI (2023-Present) : Restyled Linea Mini with serial numbers beginning in “MI” Begin on page 32.
Linea Mini LM (2015-2022) : Original Linea Mini with serial numbers beginning in “LM” Begin on page 12.
GS3 : Begin on page 19.
Linea Micra : Begin on page 23.
Installation Guides
Linea Mini & Linea Micra : U.S. Installation Guideline Linea Mini PDF
GS3 : U.S. Installation Guideline GS3 PDF
under the countertop view