Simplifying the Art of Cafe-Quality Coffee for New Home Baristas
Creating cafe-quality coffee at home is easier than you think. This guide provides a step-by-step approach to mastering espresso brewing and milk steaming, giving you the tools to elevate your coffee experience.

Let’s cut through the noise and focus on the key skills and tools needed to craft cafe-quality drinks at home, such as understanding your equipment, refining technique, and experimenting with brewing variables. With so much information available, it’s easy to get overwhelmed. Think of this guide as your practical companion: we’ll strip away unnecessary complexities and focus on the essentials, leaving you confident and ready to brew.
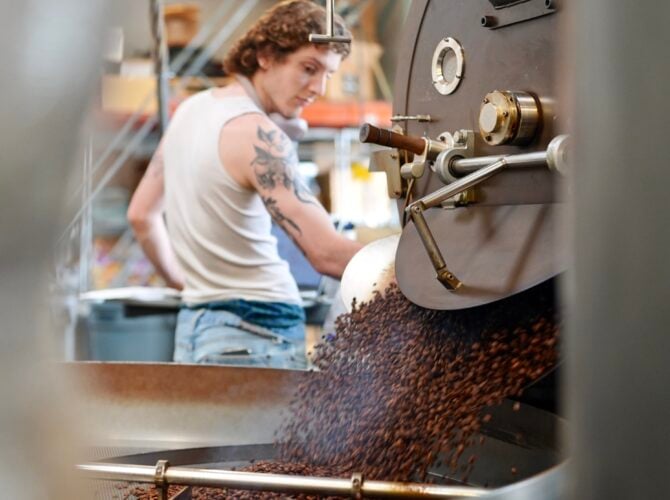
At La Marzocco, we believe great espresso starts with passion, technique, and the right equipment. While your espresso machine sets the stage, your dedication and practice bring the performance of the machine to life. This guide will help you refine your skills, starting with the core variables to adjust and moving into milk texturing and latte art tips to perfect your drinks.

Espresso
Streamlining the espresso-brewing process starts with the keeping track of the 6 main variables that are involved in extraction.
- Pressure
- Temperature
- Coffee Dose
- Tamping
- Grind Size (Shot Time)
- Ratio (Liquid Yield)
Brewing Pressure
Standard: 9 bars
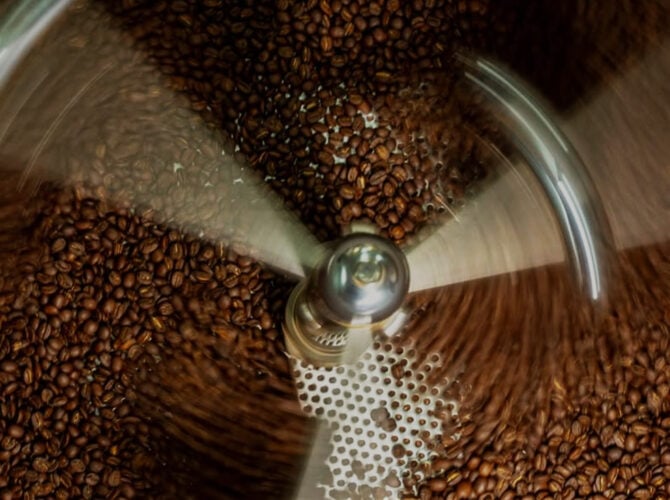
Pressure from the coffee boiler forces water through very finely-ground coffee, extracting flavor effectively. This fast, intense process is what makes espresso espresso, and the reason it has a layer of crema on top. La Marzocco machines are pre-set to 9 bars, so there is typically no need for adjustments.
Brewing Temperature
Standard: 200°F (93°C)
The high temperature of the water quickly extracts flavors by dissolving the soluble compounds in the ground coffee. La Marzocco equipment will come set to brew at 200°F (93°C) already. Setting a temperature and leaving it gives you consistency when dialing in other variables—so no need to adjust. If you do adjust the temperature, a general rule is that a higher temperature does more extraction work while a lower temperature does less extraction work.
Coffee Dose
Standard: 17-18 grams in a 17 gram basket.
The amount of coffee to use depends on the desired volume of the espresso shot. The 17 gram basket is the most commonly-used basket.
Tamping
Standard: Flat, level, compressed coffee bed.
When tamping coffee grounds, the goal is to make a flat, compressed surface—try to use a consistent tamping pressure from shot-to-shot. Tamping is a micro-variable, and while it is important to create a flat, level, and compressed puck, it will not impact the flavor of your espresso in dramatic ways.
What Should My Espresso Puck Look Like?

Grind Size & Shot Time
Standard: Finely ground coffee, 25-35 seconds
Grind size controls how quickly water flows through the coffee puck. The grounds and coffee puck act as a sort of resistance to the water being forced through the puck by the boiler. The longer water interacts with the grounds, the more extraction occurs, so changing the grind size can have dramatic impacts on the flavor and extraction of your espresso. When dialing in your grinder or a new coffee, you can determine a generalized grind size based on how far out of the 25-35 second window the shot falls.
Under-extracted: If the water flows too quickly (under 25 seconds), grind size may be too coarse, causing the espresso to taste grassy, sour, or weak. To fix this, use a finer grind size.
Over-extracted: If the water flows too slowly (over 45 seconds), the espresso may taste bitter or overly strong. To fix this, use a coarser grind.
Ratio of Water to Coffee (brew ratio)
The brew ratio can be adjusted to control how much water we let flow through the coffee puck, ultimately dictating how diluted the final shot is. Start by trying longer ratios (1:2, 1:2.5) with lighter roasted coffees and shorter ratios (1:1, 1:1.5) with more developed roasts.
- Ristretto: A smaller brew ratio has less liquid and a more intense flavor and heavy body. Try with darker roasts for a richer taste.
- Normale/Lungo: Longer shots have more liquid and lighter body. Try with lighter roasts for more clarity.

Milk
Streamlining the milk steaming process starts with the four variables that are involved.
- Steam Power
- Steam Wand Placement
- Incorporating Air into the Milk
- Milk Temperature (Timing)
Steam Power
Standard: 1.5 to 1.7 bars
Commercial-grade espresso machines typically operate with this strong steam pressure, providing the power needed to create thick, silky microfoam. However, achieving the right texture requires mastering the control of air intake during the steaming process to ensure a smooth and velvety milk consistency. The steam boiler in your La Marzocco will come set to 1.5 to 1.7 bars already, so don’t worry about changing it.
Steam Wand Placement
Begin with cold milk and always purge the steam wand before use. Place the tip of the steam wand just below the surface of the milk and slightly off-center to the side of the pitcher. Turn the knob on a full rotation. Introduce air into the milk for only a few seconds, by keeping the tip of the wand near the top. You should hear a gentle hissing sound.
Incorporating Air into the Milk
Incorporating heat and air into milk is what gives steamed milk is texture. The goal here is to add air, heat the milk, and then incorporate it evenly throughout the pitcher.
Create a whirlpool: Once the milk has grown in volume a bit, lower the wand into the milk and keep the whirlpool going, allowing the air bubbles and milk to mix thoroughly.
Milk Temperature (Timing)
Heat the milk until it feels hot to the touch. About 8-10 seconds. (around 130°F or 54°C). This is the ideal temperature for good milk texture.

Latte Art
Start High
Hold the milk pitcher about 2 inches above the cup. Pour a thin, steady stream of milk directly into the center of the espresso. This will help integrate the milk with the coffee and raise the liquid level in the cup.
Lower the Pitcher
Once the cup is a little less than halfway full, lower the pitcher so the tip is close to the surface (almost touching the coffee). Pour a bit faster, aiming for the center. This is where the latte art begins to form.
Finish High
As you finish the pour, move the pitcher forward and quickly pull up. This will make a thin line through the center of the white design to form the tip of the heart or other shape that was created.

Café-Quality Coffee, Made at Home
Take Notes as you go! By carefully balancing each of these variables and steps, keeping track of the results, we can make cafe quality espresso drinks at home.
Piero Bambi
“You can learn a technique, but you develop passion only through
dedication, love, pride and respect for your work.”