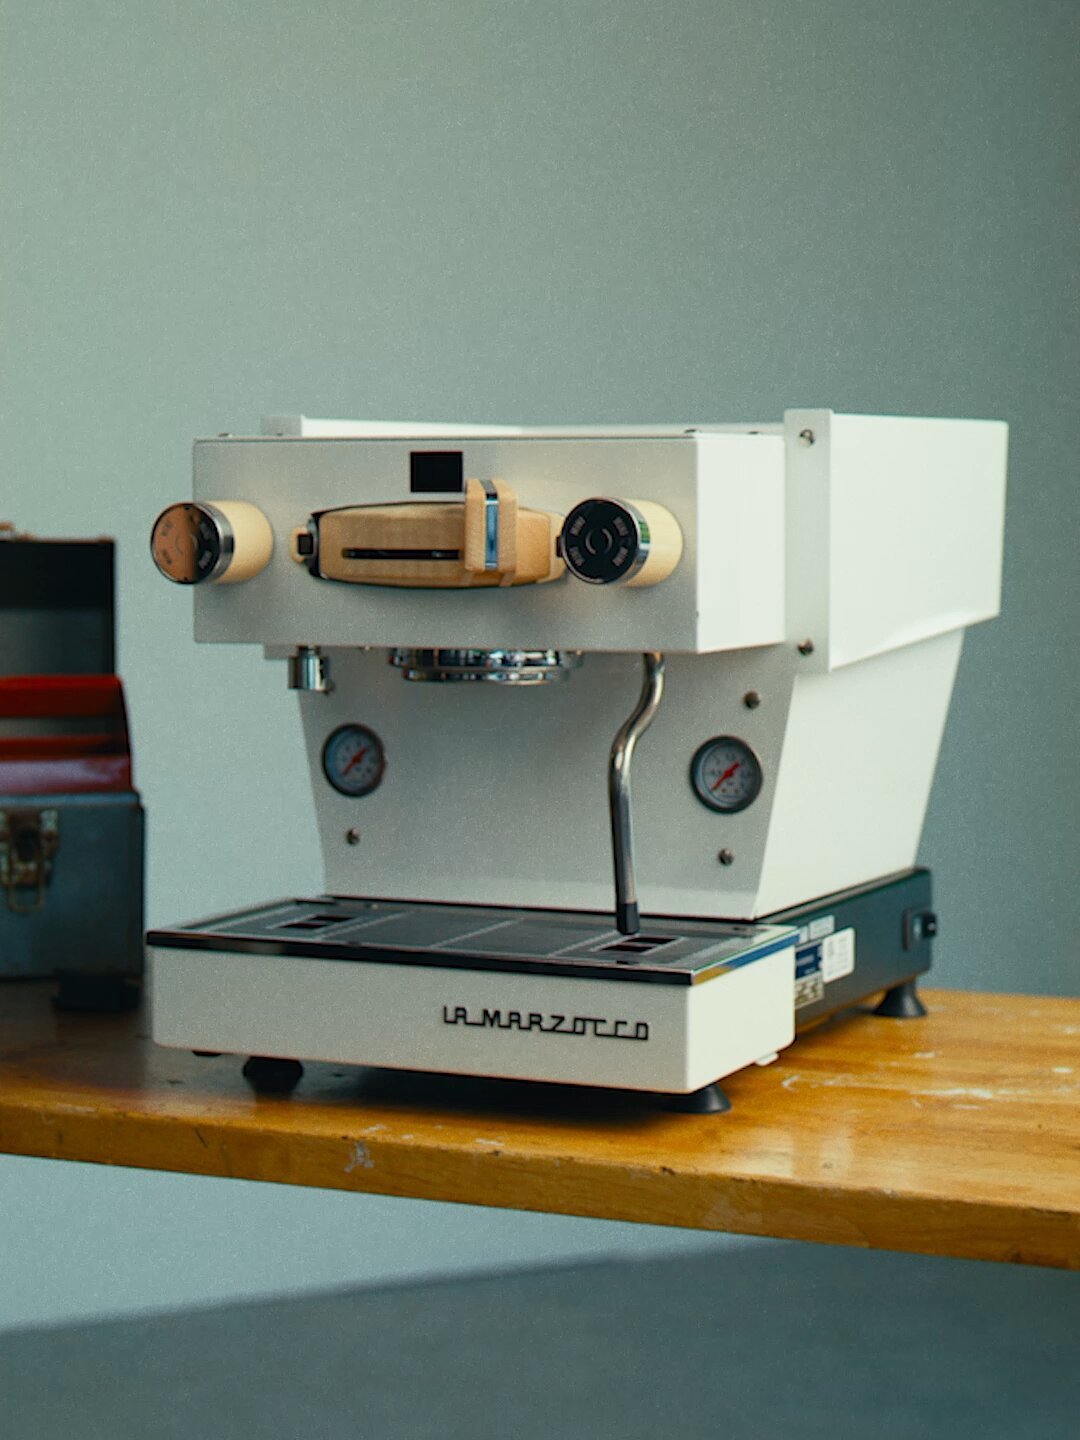
How to Install the Linea Mini Customization Kit
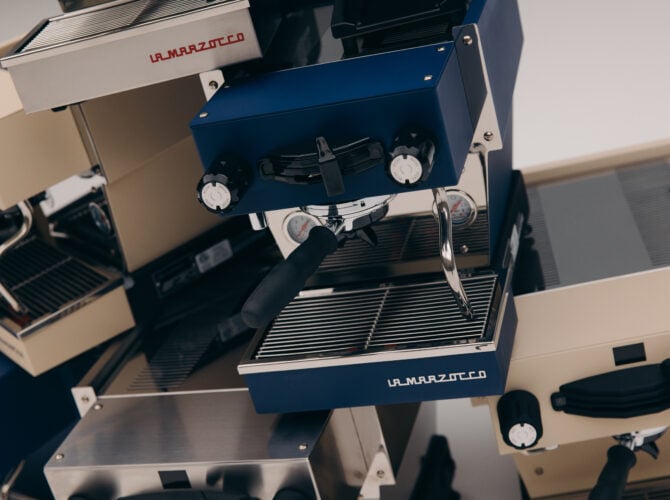
Welcome back to the Technicians’ Dispatch. In this edition, we’ll cover how to install the wooden customization kits for Linea Minis beginning with Serial Number “MI.” These kits, released in 2024, were designed in Italy by La Marzocco Product Designer Stefano Della Pietra and come in both a walnut and maple finish.
Please note: This guide is only for Linea Mini machine’s with serial numbers starting in ‘MI’.
Video and written Instructions below
Before we begin, it’s important to mention that if you have any doubts about the installation process, it’s best to have a La Marzocco-recommended local espresso technician handle the installation of the customization kit.
The La Marzocco Home Solutions team can recommend a service provider near you, just reach out with your city and zip code.
Email: homesolutions.usa@lamarzocco.com
Tools
- Flathead Screwdriver
- Phillips (PHO) Screwdriver
- Phillips (PH1) Screwdriver
- 2 mm Allen Key
- Circleclip Removal Tool or Needle-Nose Pliers
- 6 mm Wrench
- 7 mm Wrench
Replacing the Brew Group, Frame & Paddle
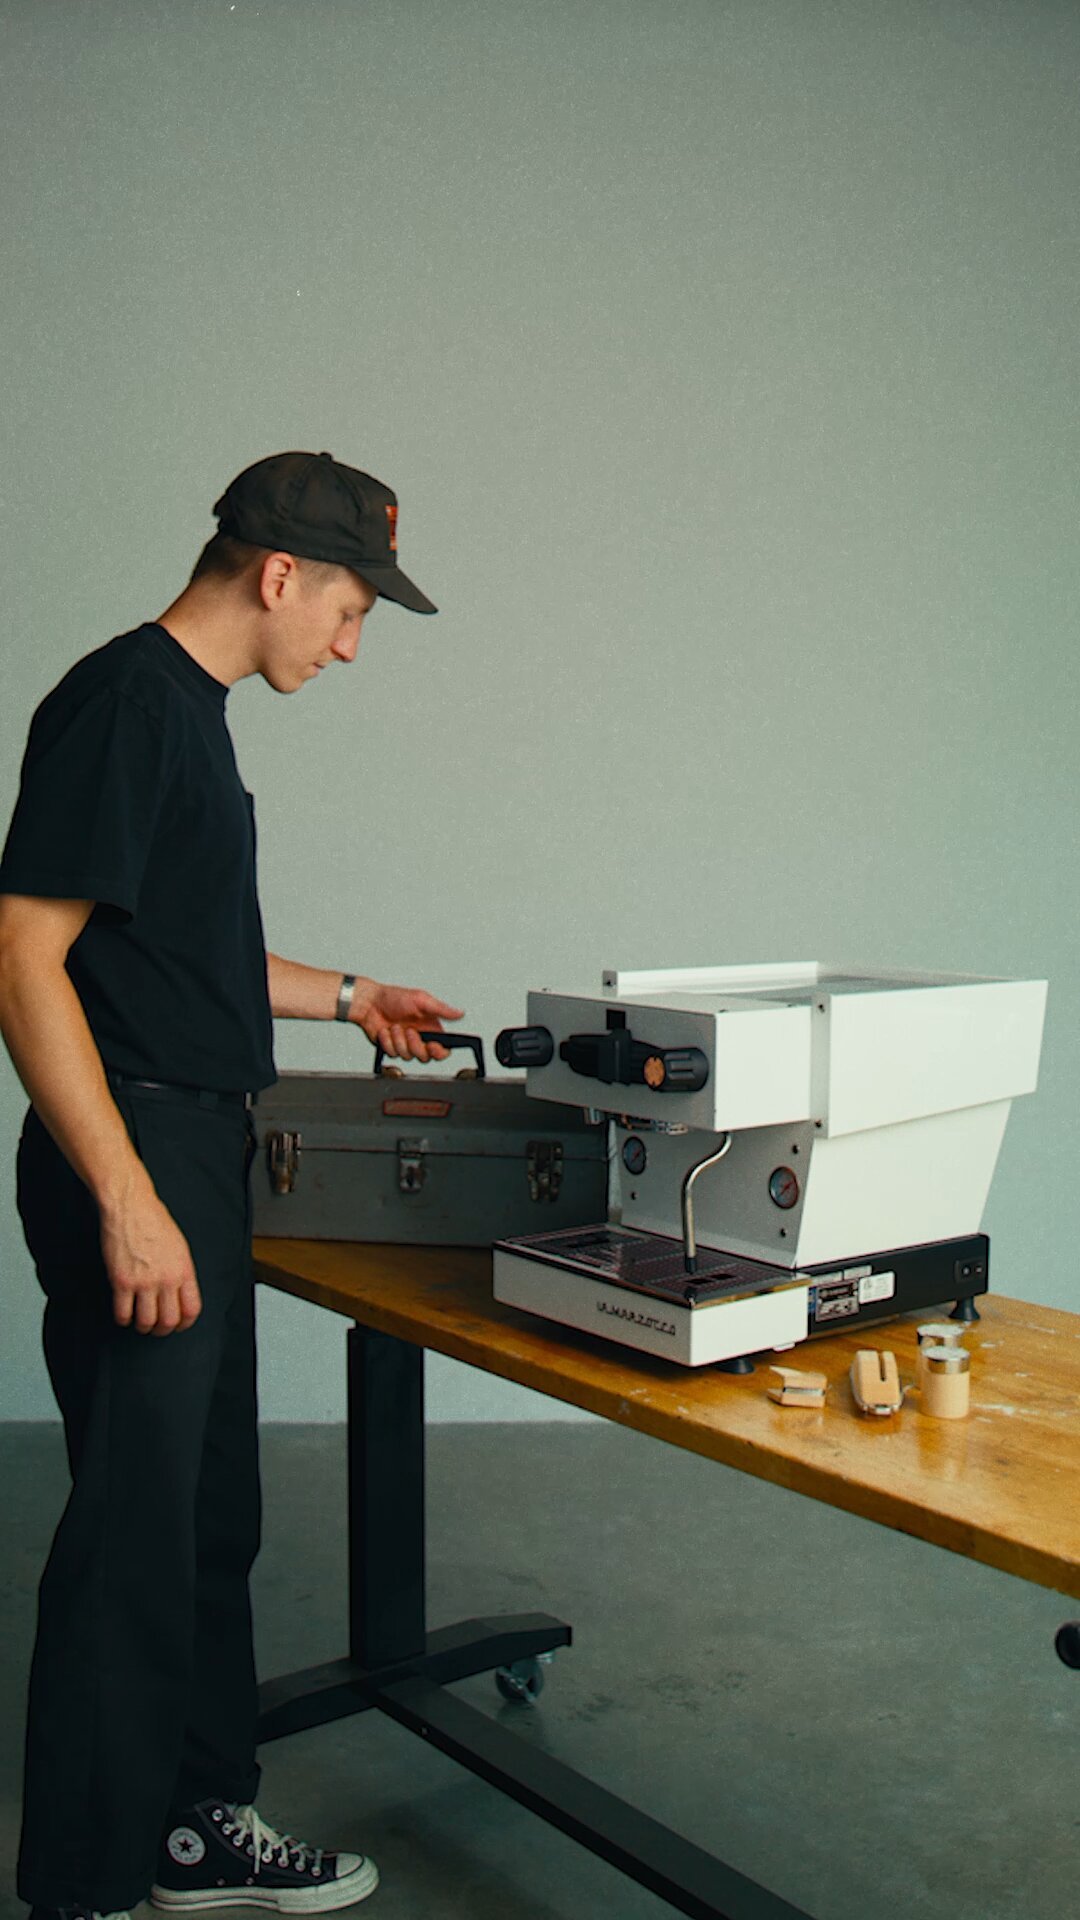
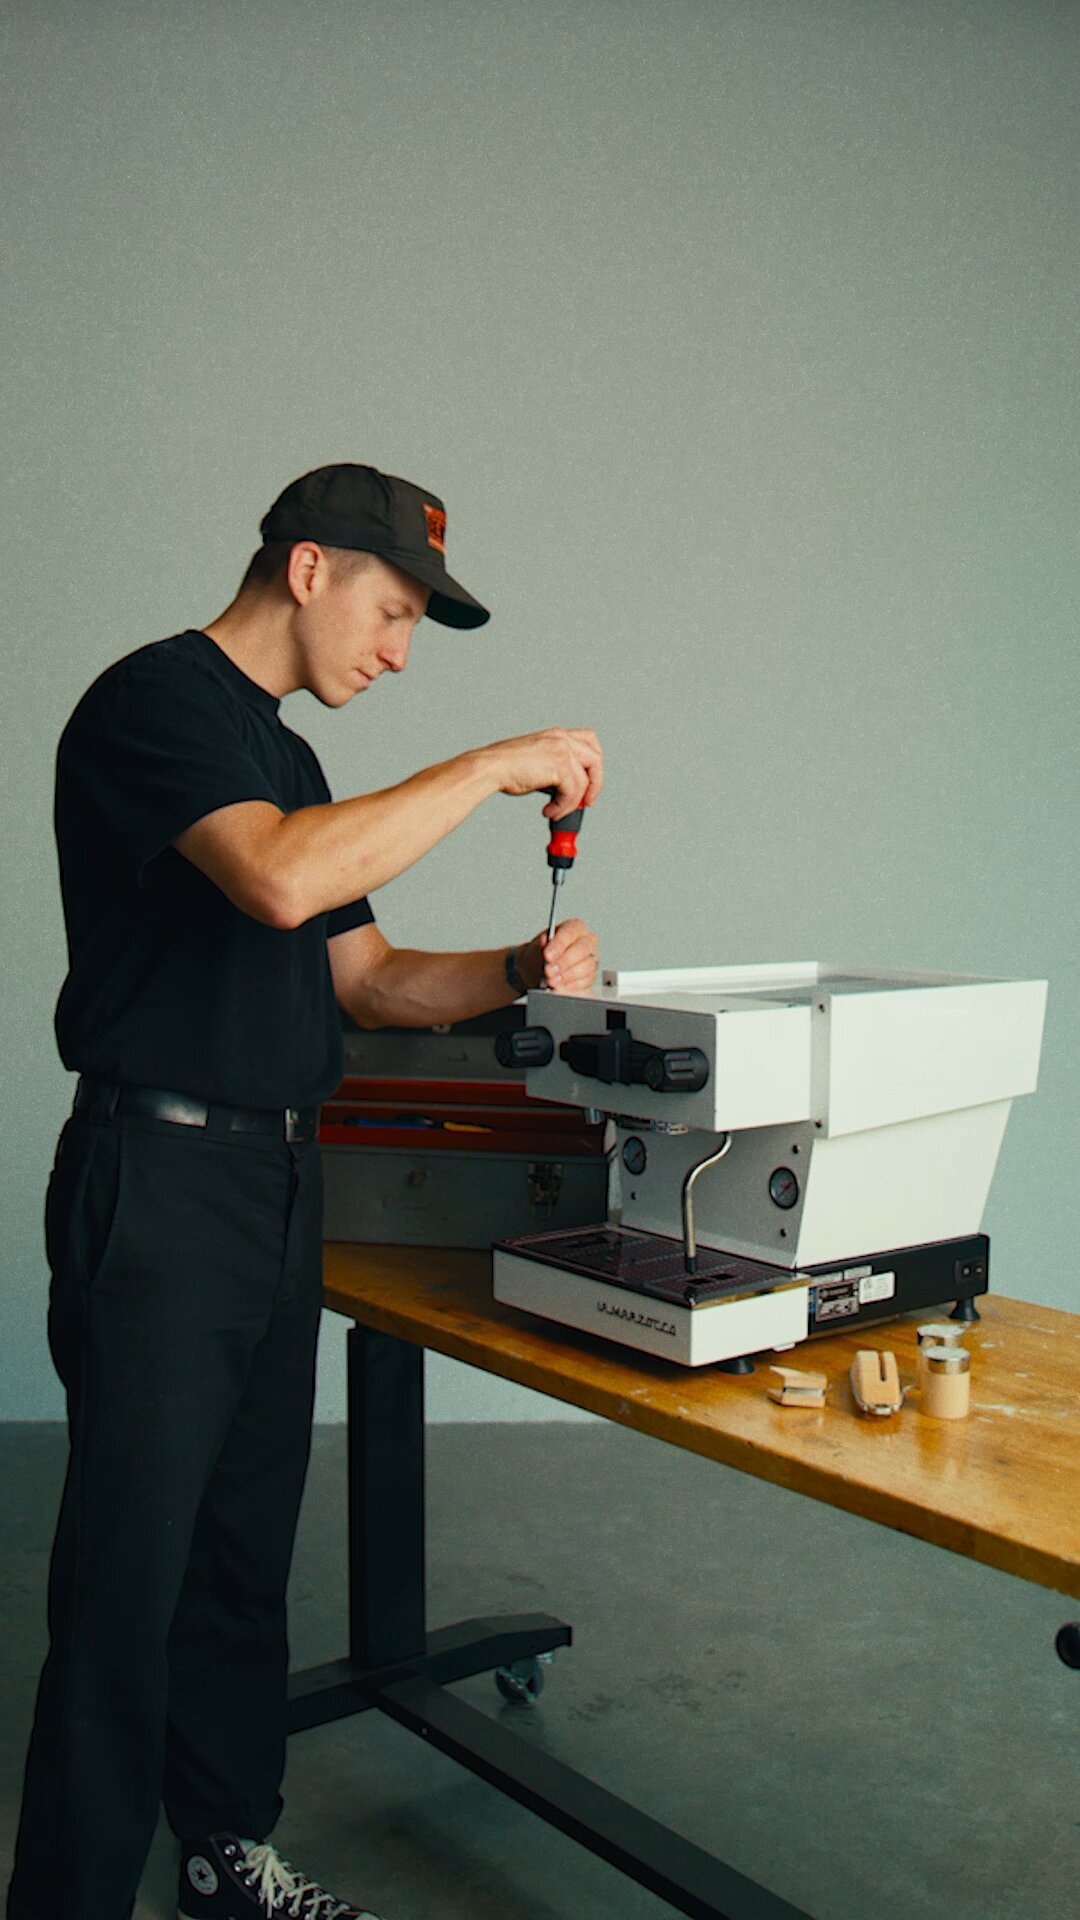
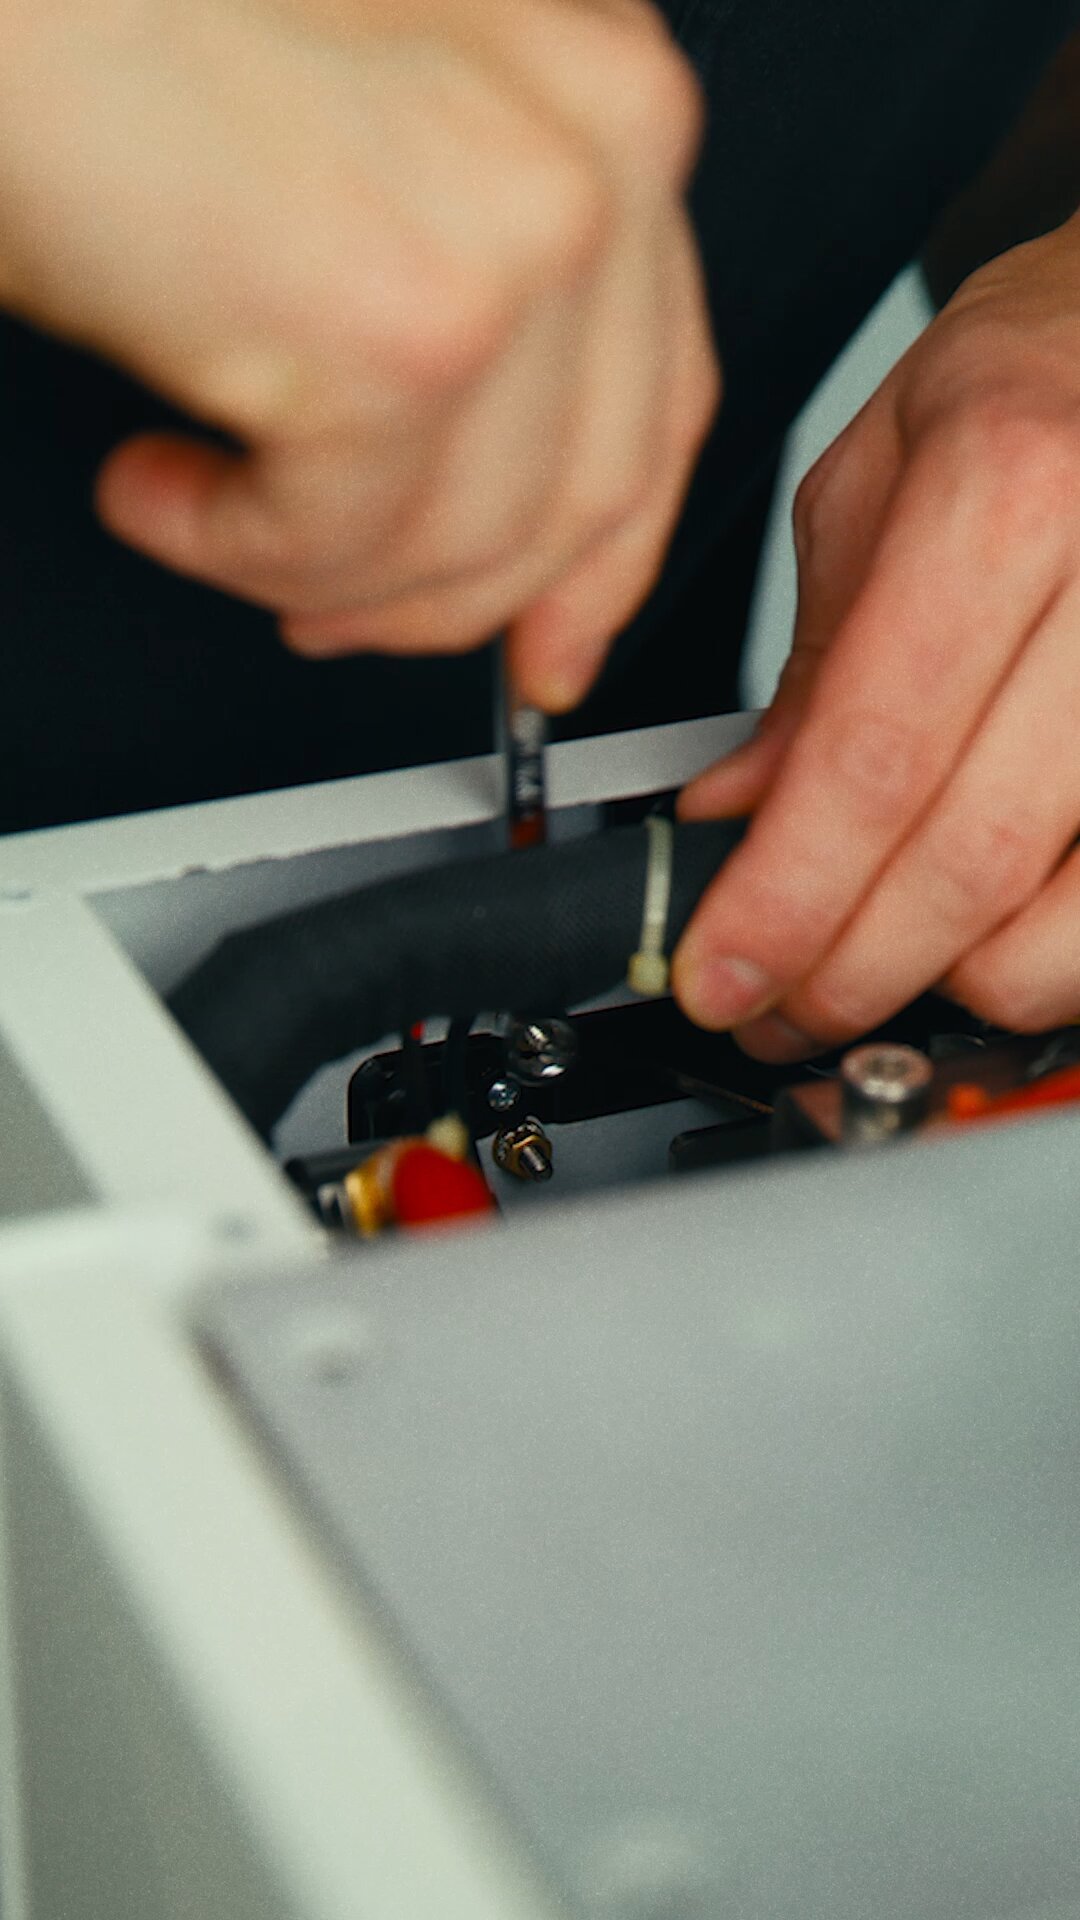
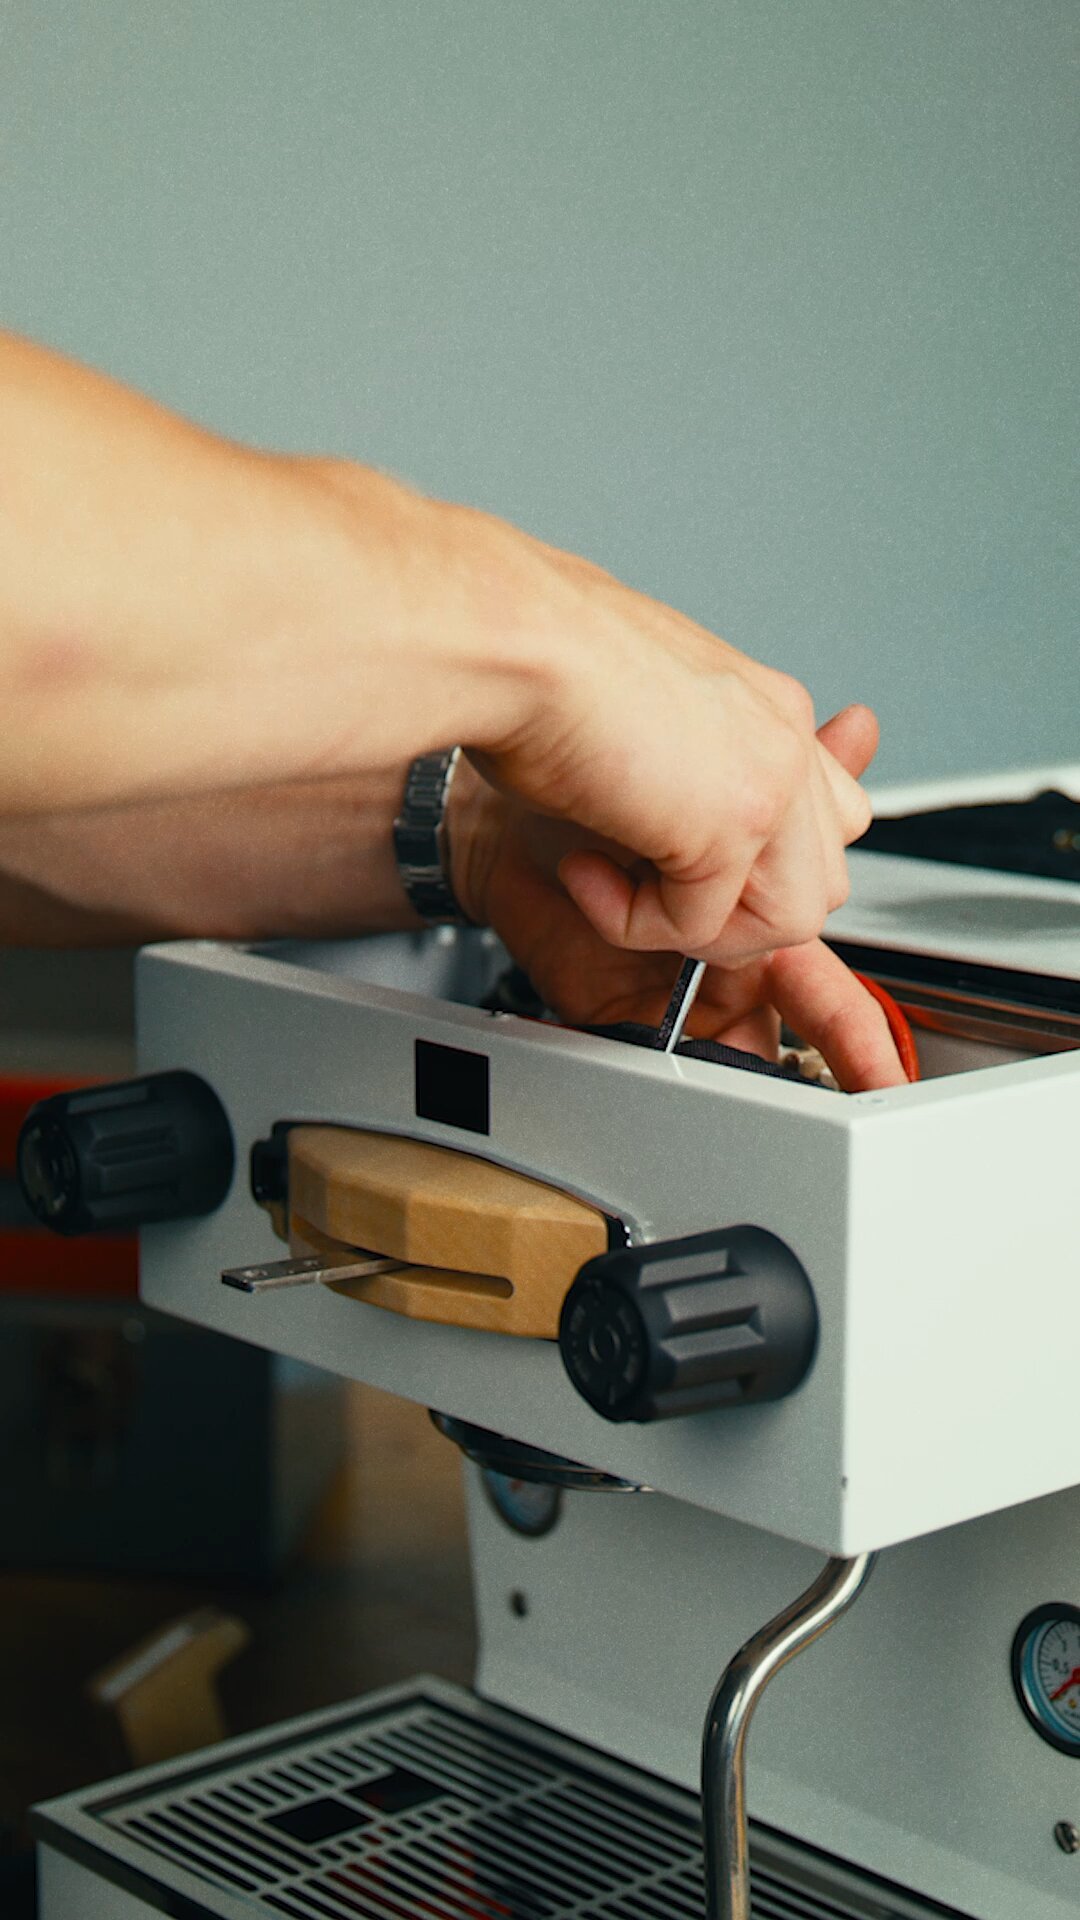
Access the brew group by removing the top panel
- Using a slotted screwdriver remove the four screws holding down the top group panel.
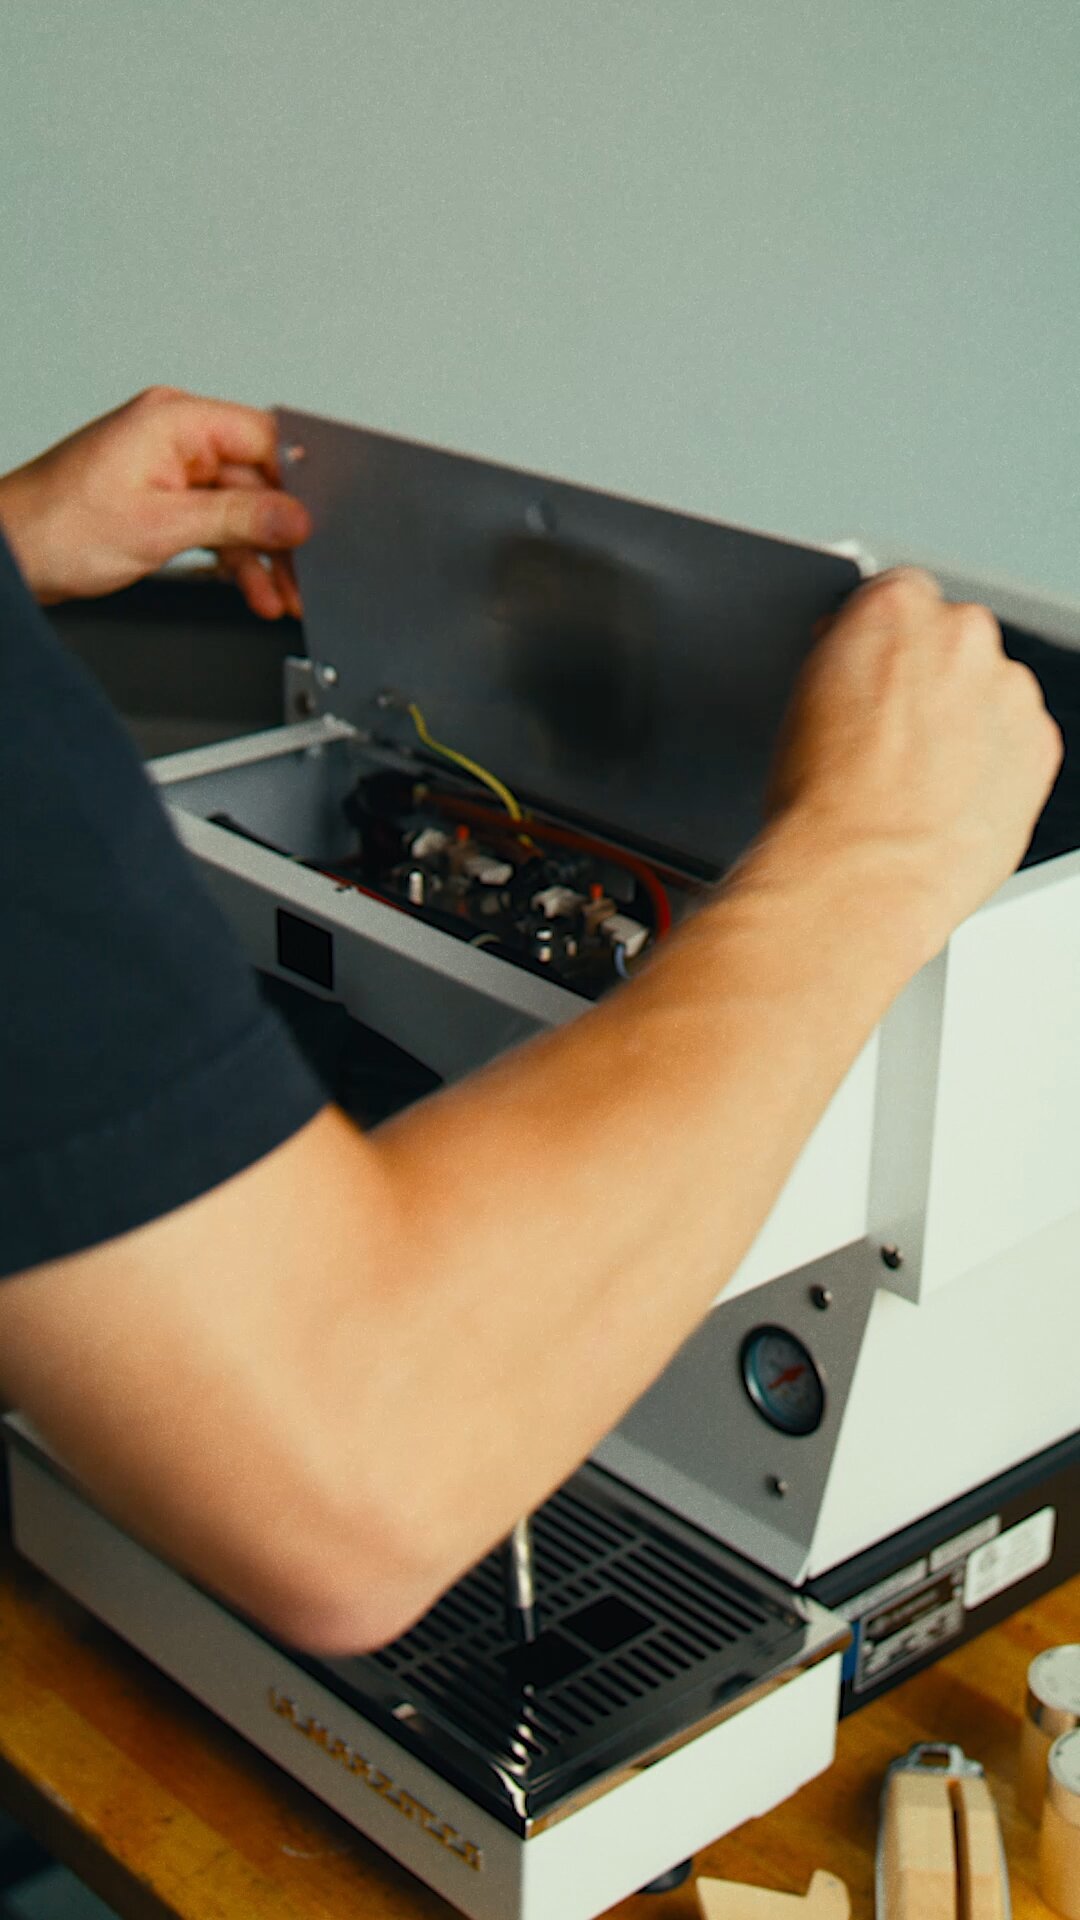
- When removing the top group panel, you will see that it is connected to the machine by a wire, leave this connected.
- Set the panel on a cloth on top of the machine to rest while you install the customization kit.
Remove the standard frame and paddle
- With a PH1 screwdriver, remove the standard paddle first.
- Disconnect multi-colored ribbon cable connection to the standard display.
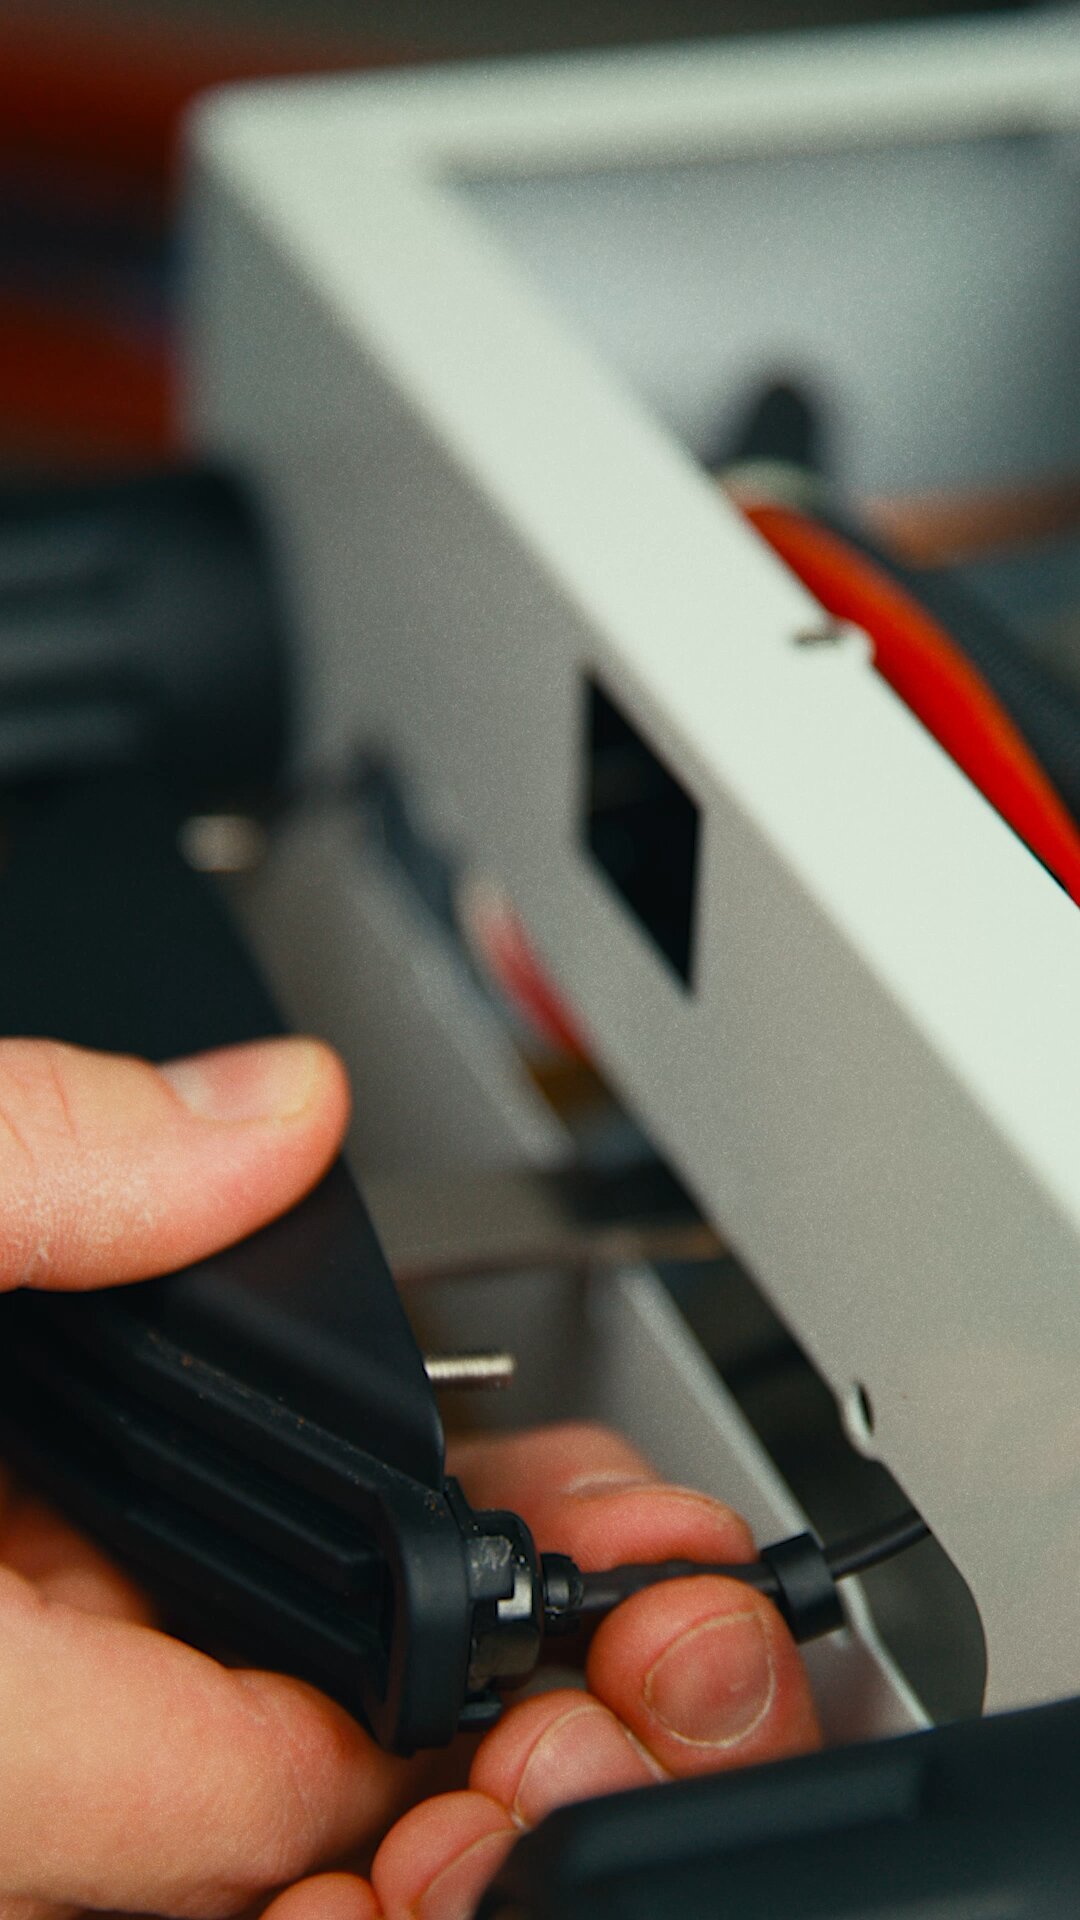
- Using a 7 mm wrench, loosen and remove the four nuts inside the front panel that hold the frame in place. Remove the related lock washers, then pull the frame out.
- Unclip the LED Covers/Sockets from the grouphead cover by pulling the small back collar holding the LED in and removing the LED on each side.
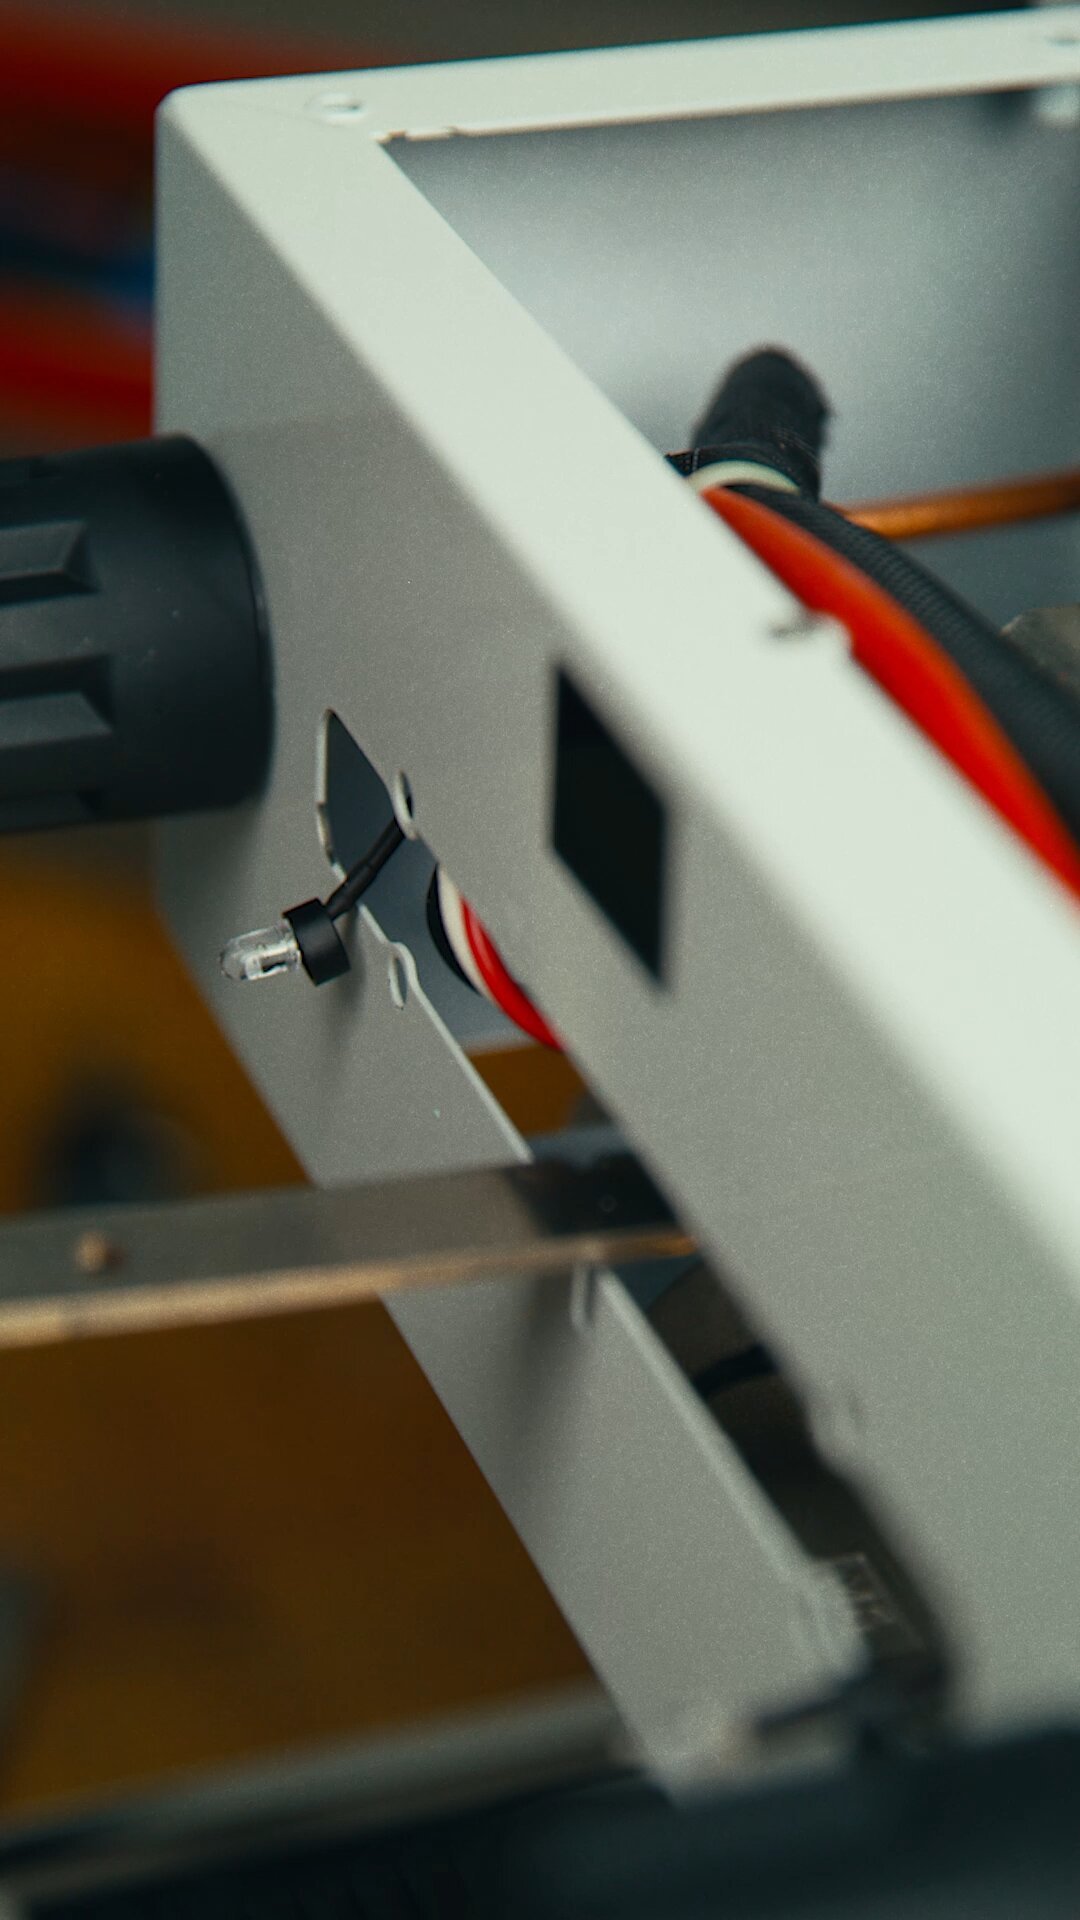
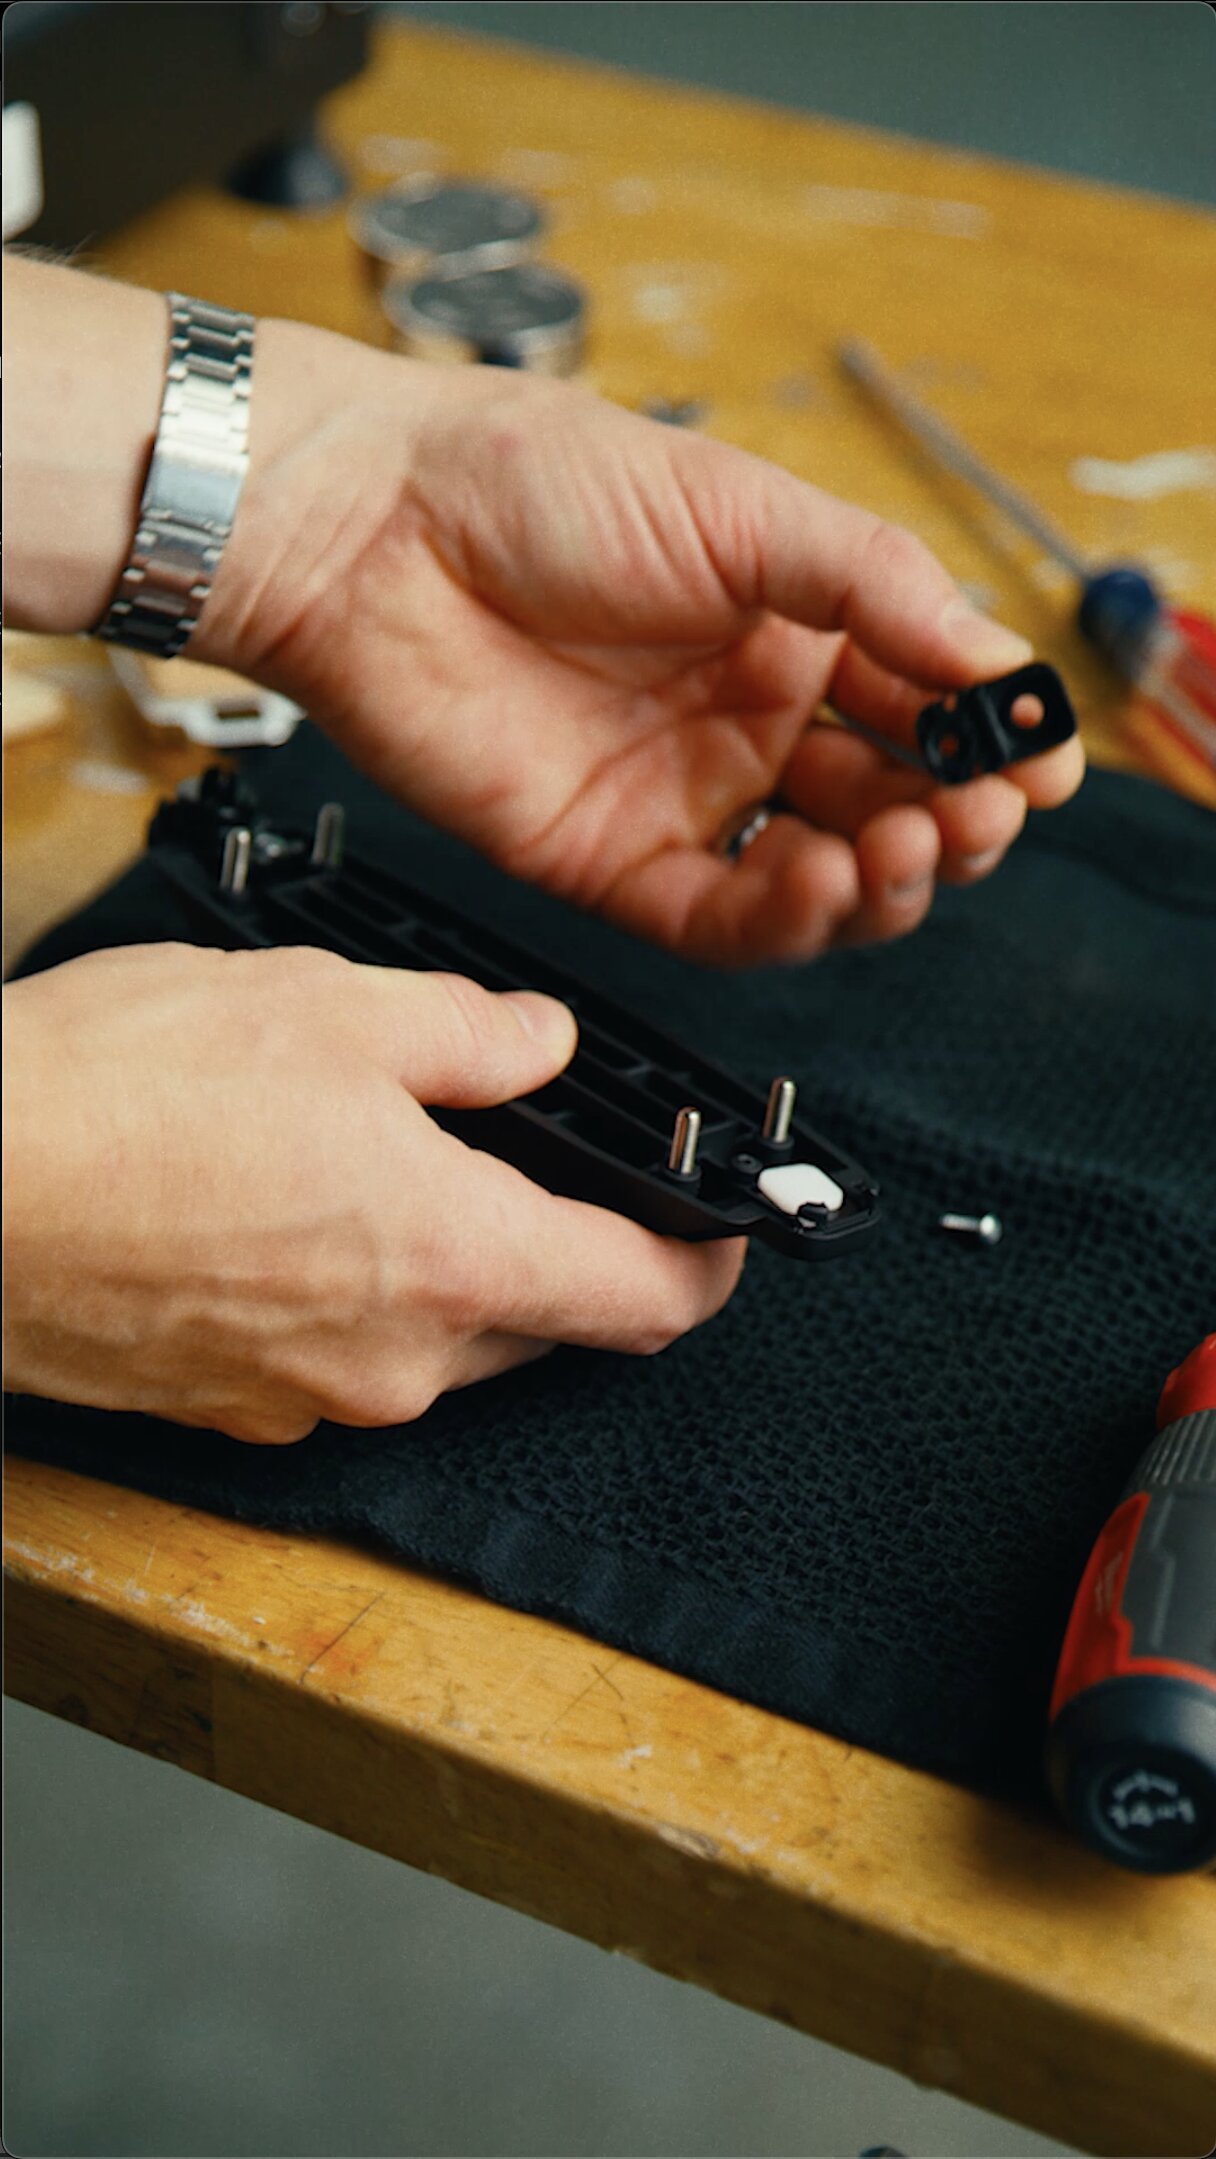
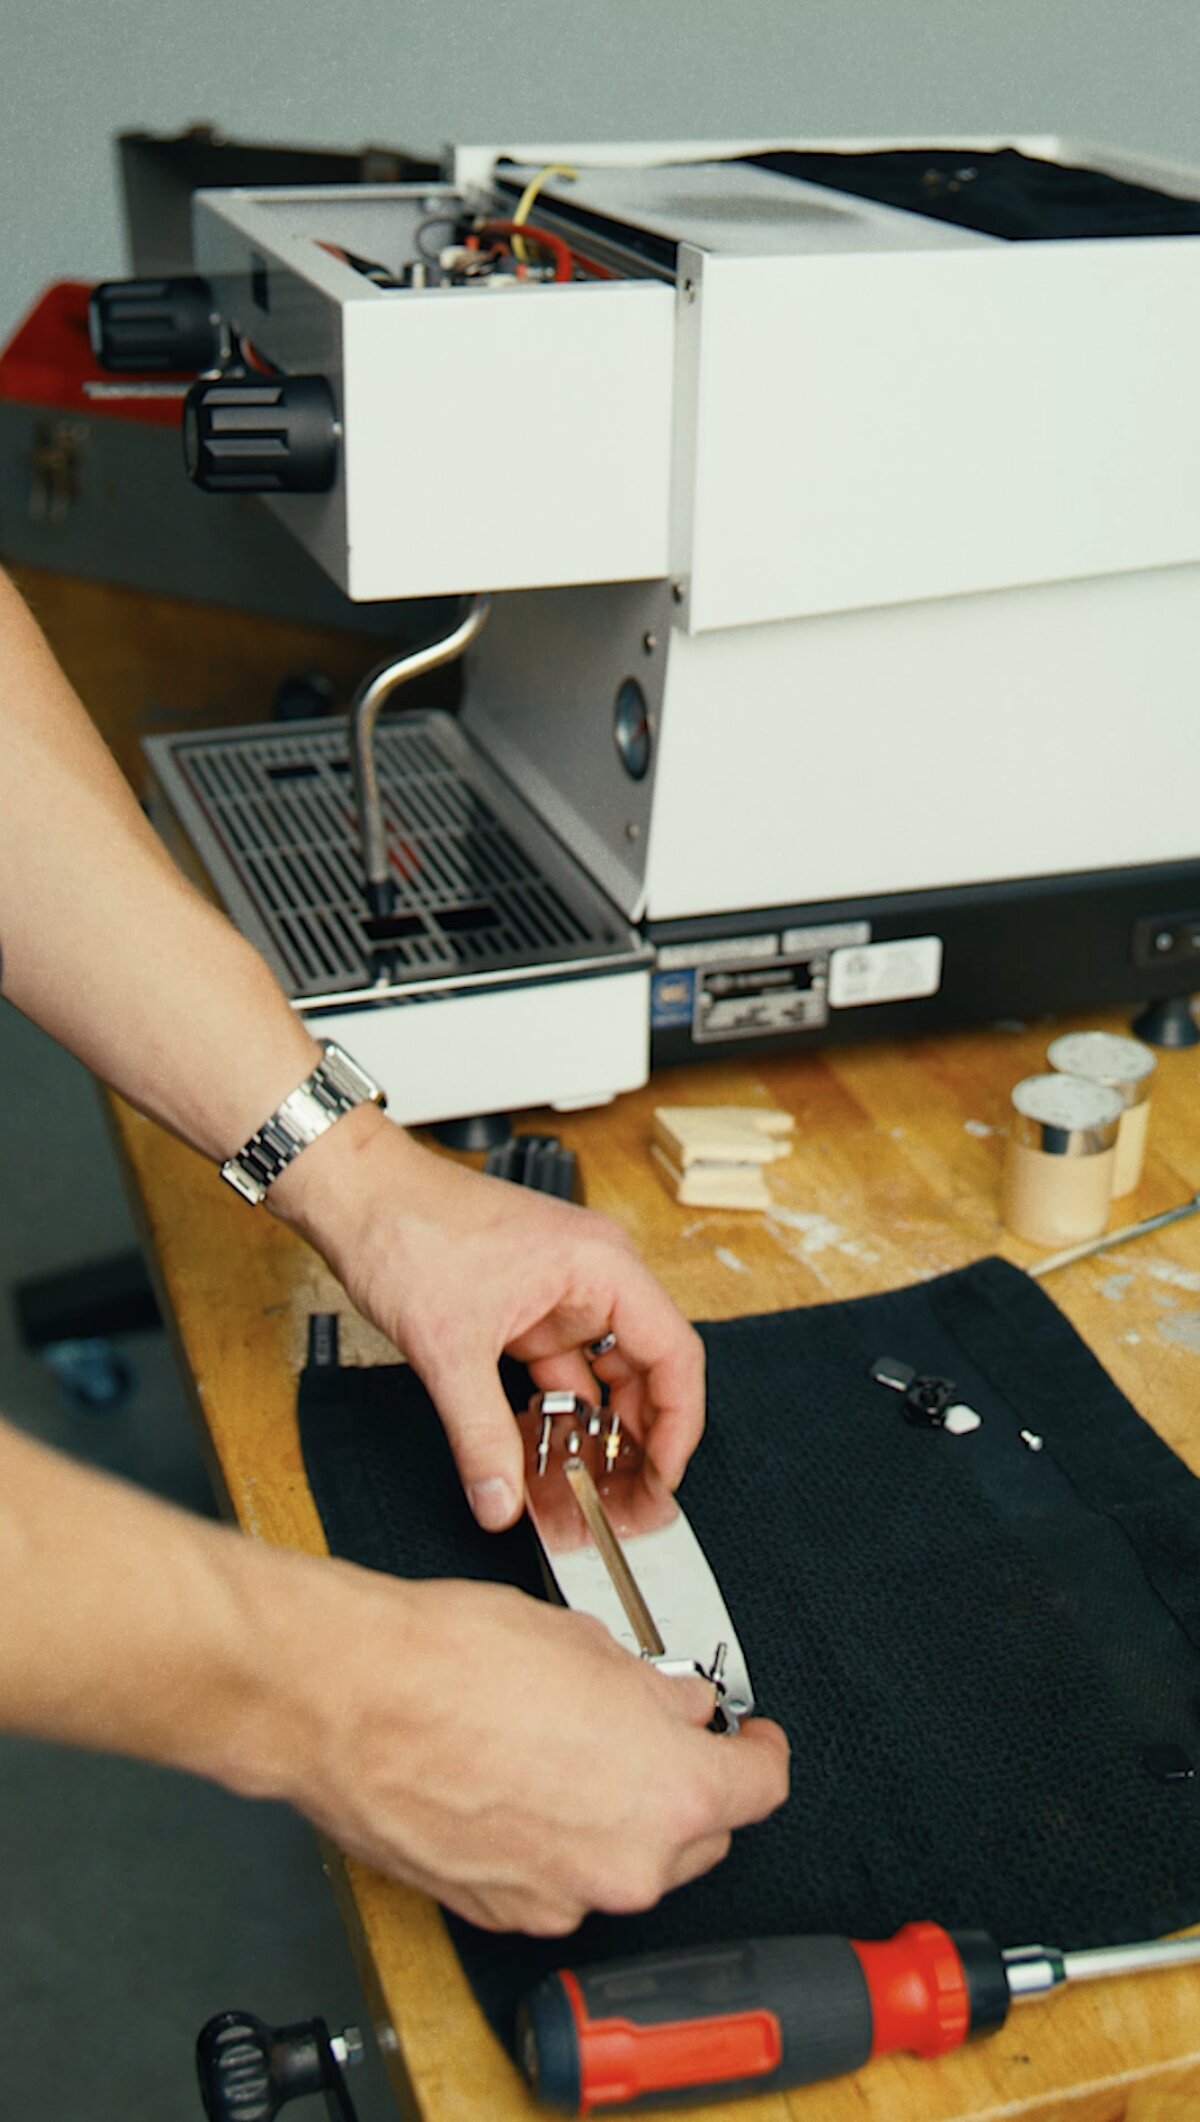
Remove the LED lights from the standard frame
- Remove LED housings from the standard cover. Be careful not to lose the small plastic parts that make up the LED light housing.
- Transfer the LED housing to the new wooden cover. Push until they are in place; red LED goes on the power symbol side, and blue LED on the water symbol side.
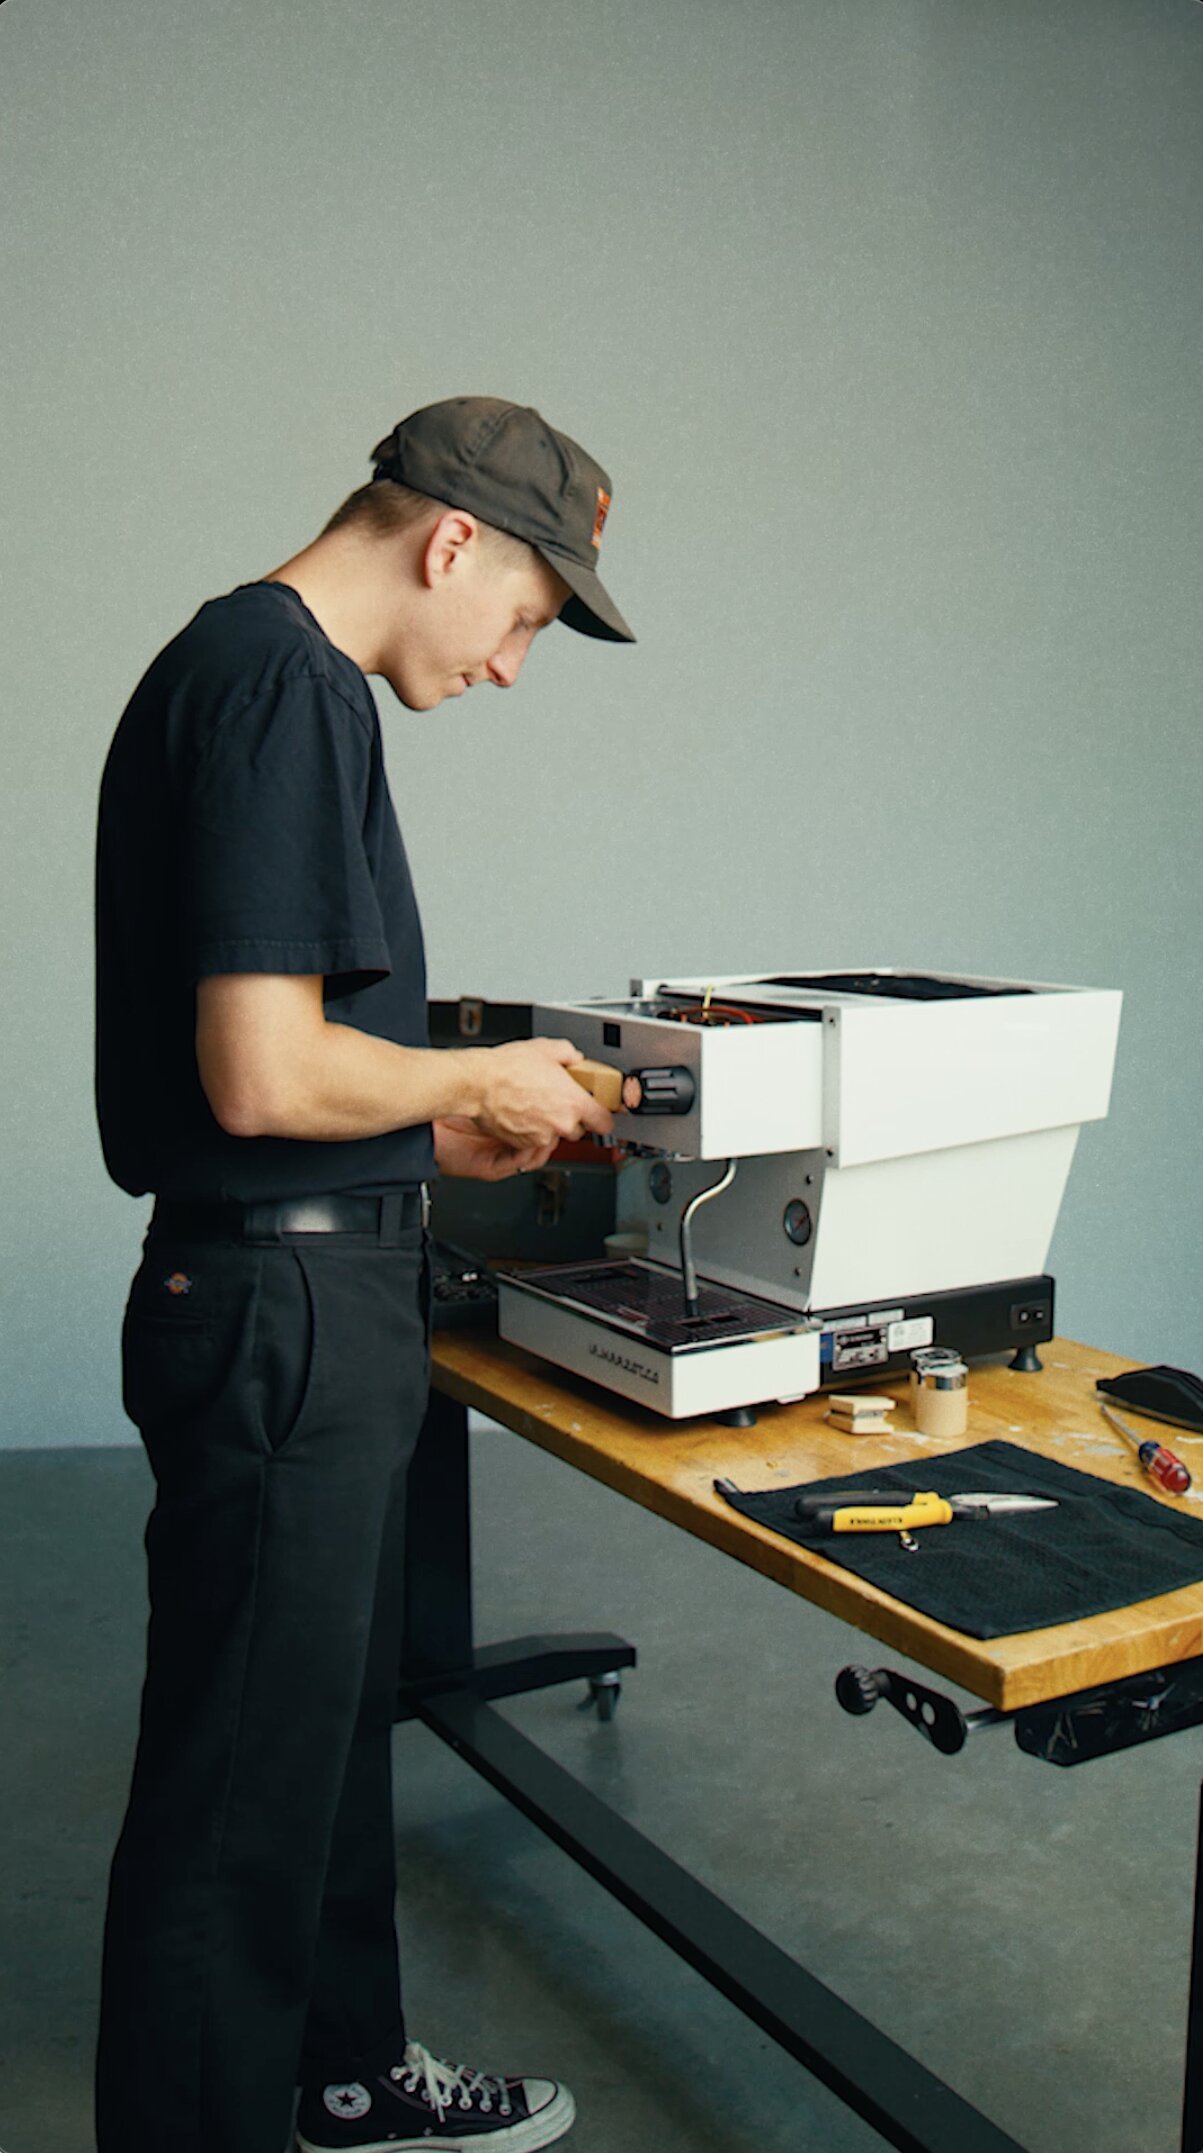
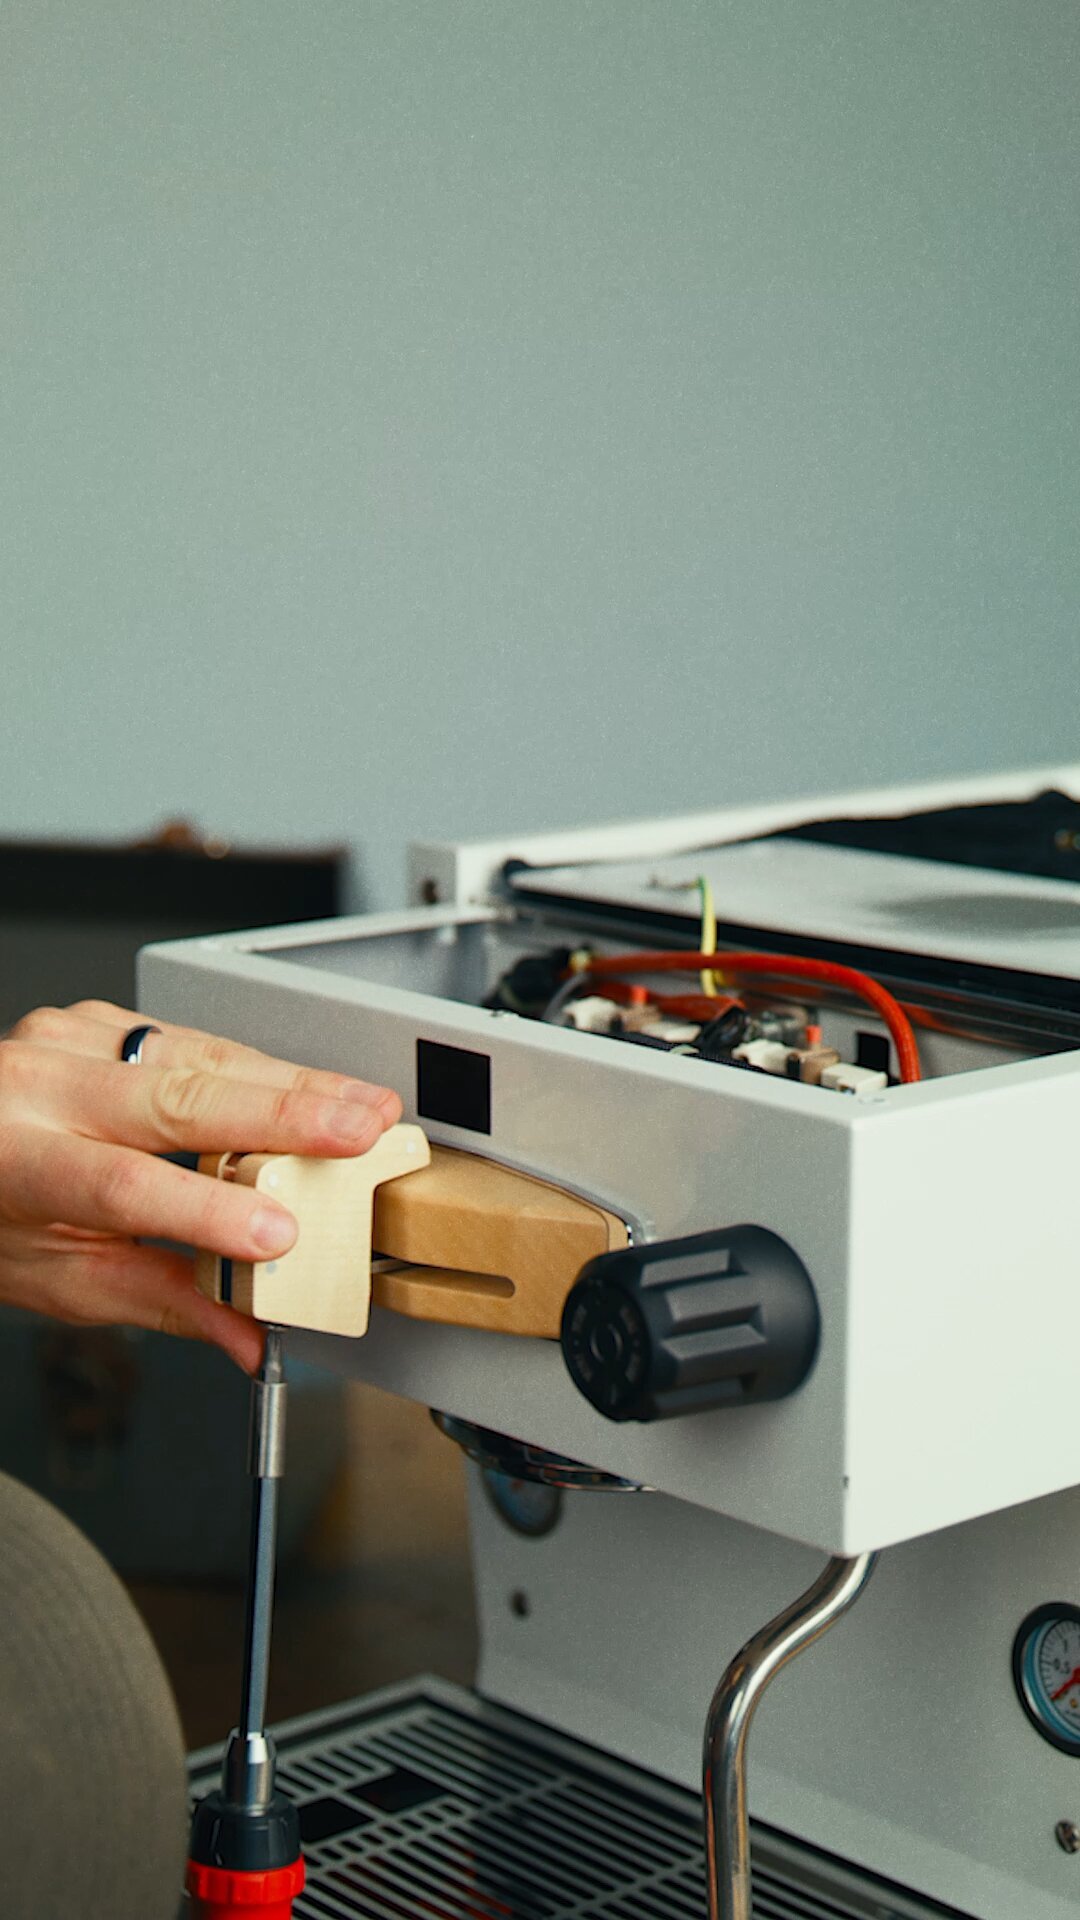
Install the wooden frame and paddle
1. Carefully place the wooden frame in front of the metal frame and push it so the frame adheres to the panel. Note: The LED screws will score the back of the wooden frame to keep it in position.
2. Use a 6 mm wrench to install the four lock washers and the four nuts provided with the kit.
3. Install the custom wooden paddle using a PH1 screwdriver, then close up the top access panel.
4. Connect the multi-colored ribbon cable to the new wooden display on the inside.
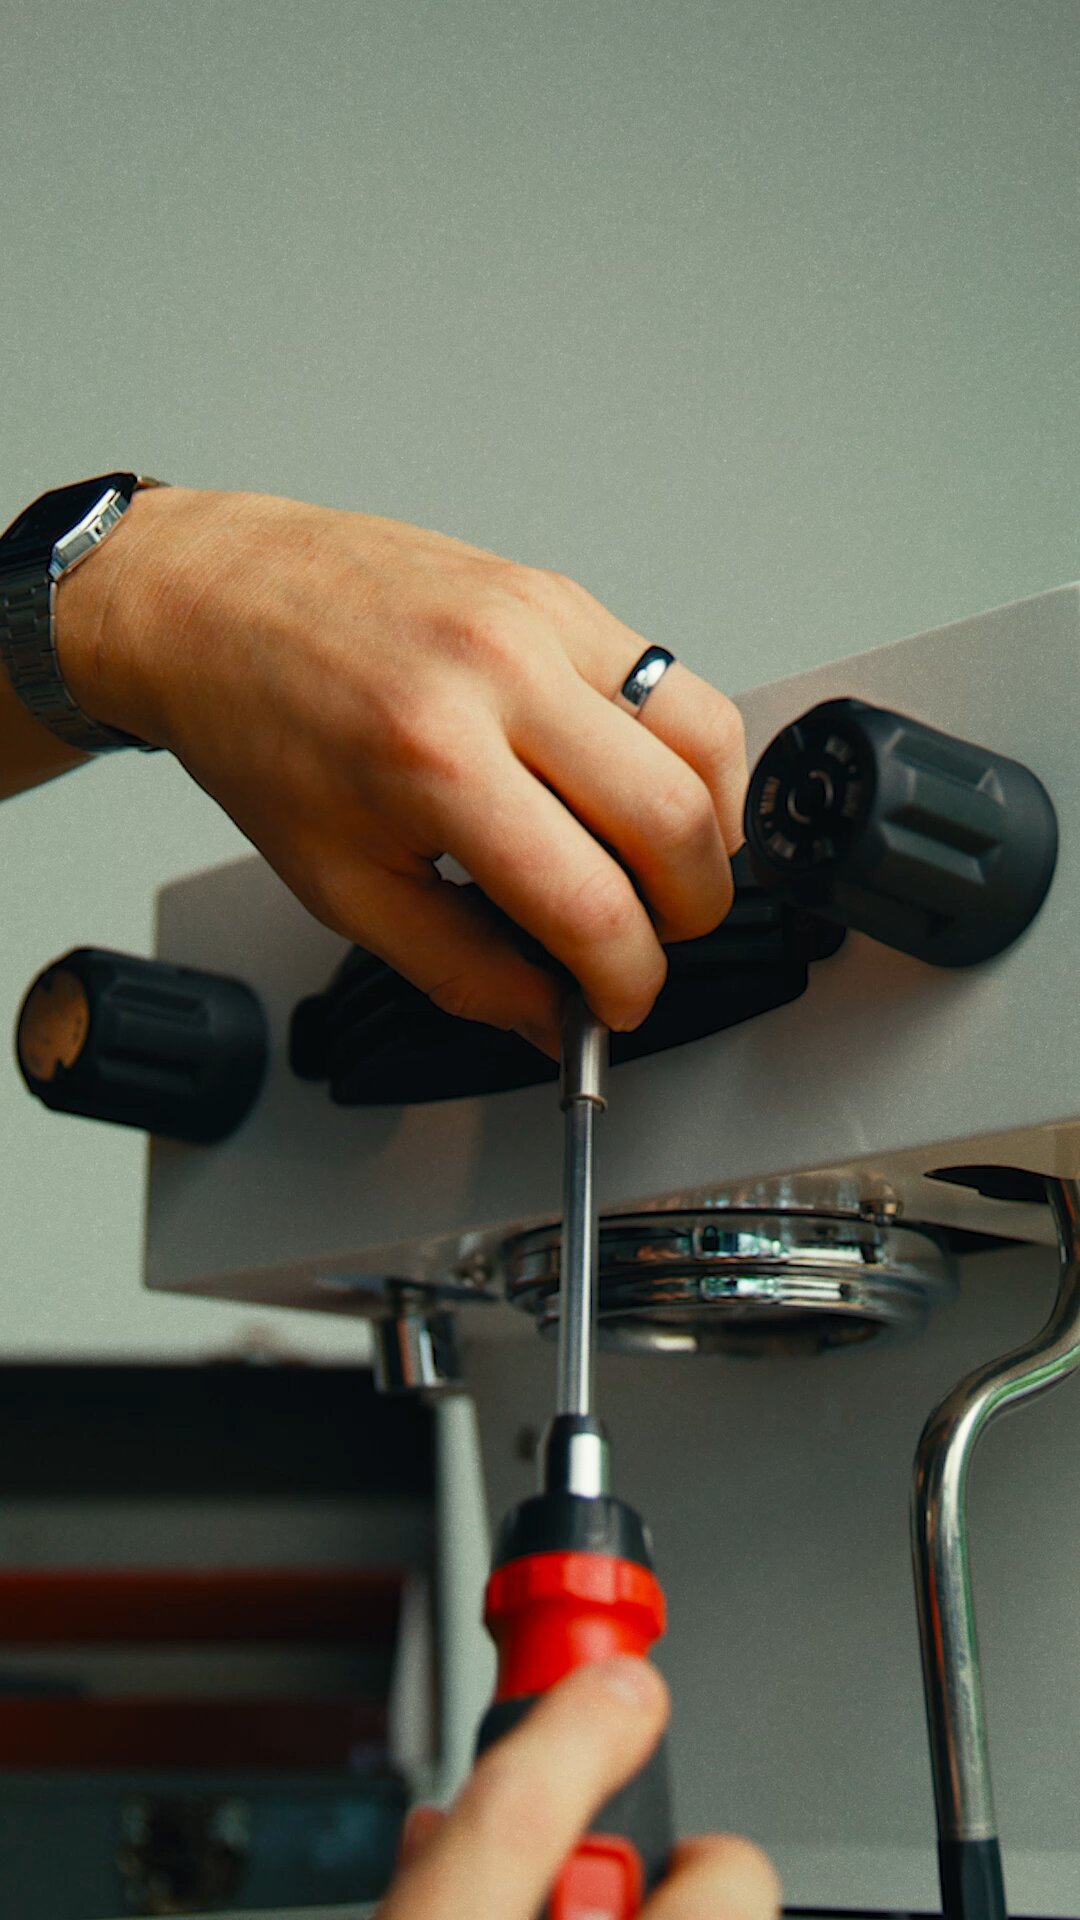
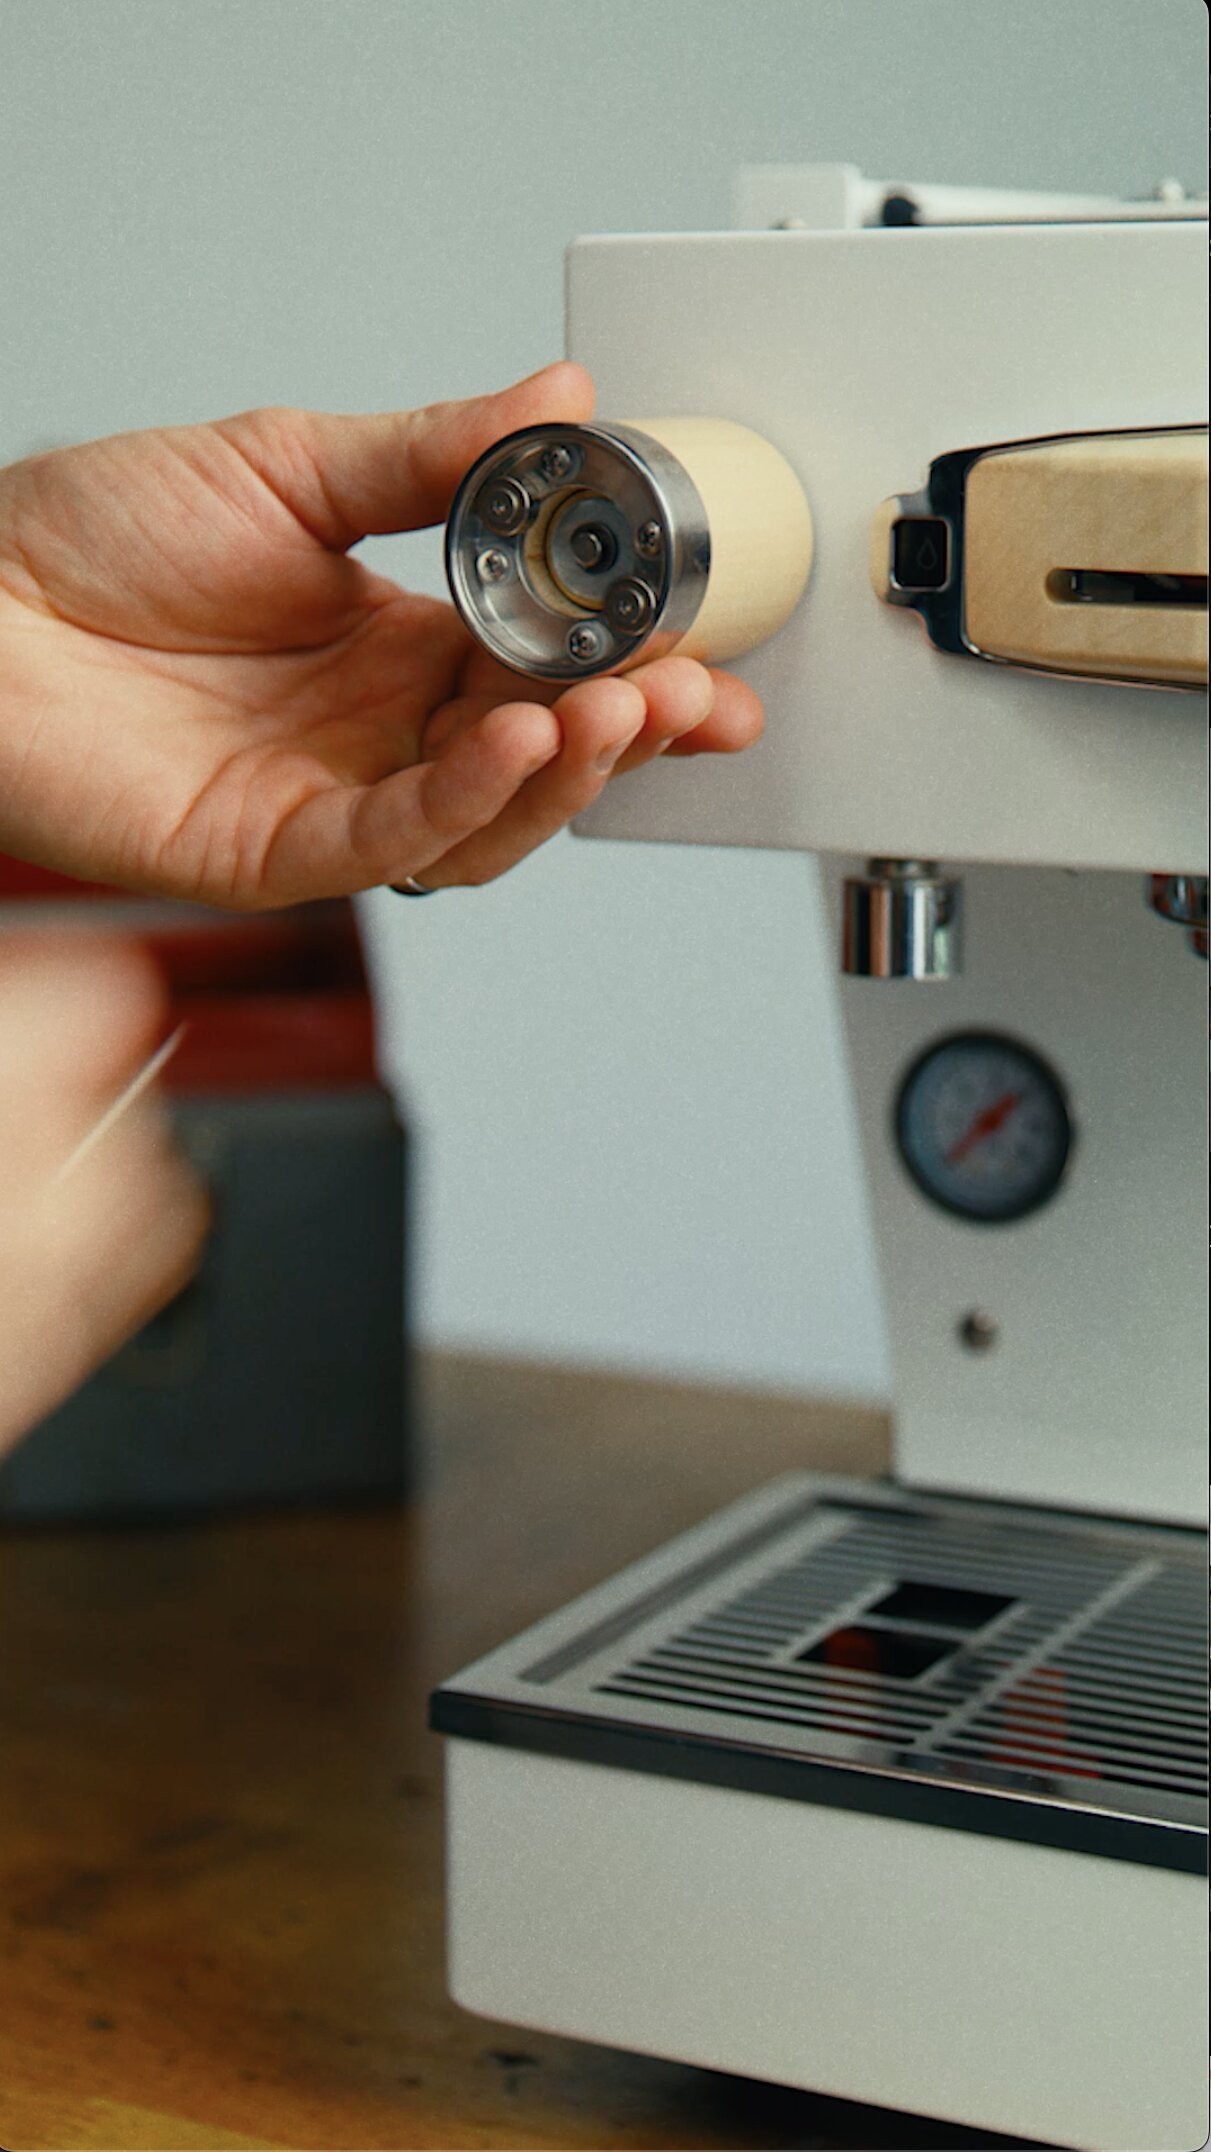
Replacing the Steam Knobs
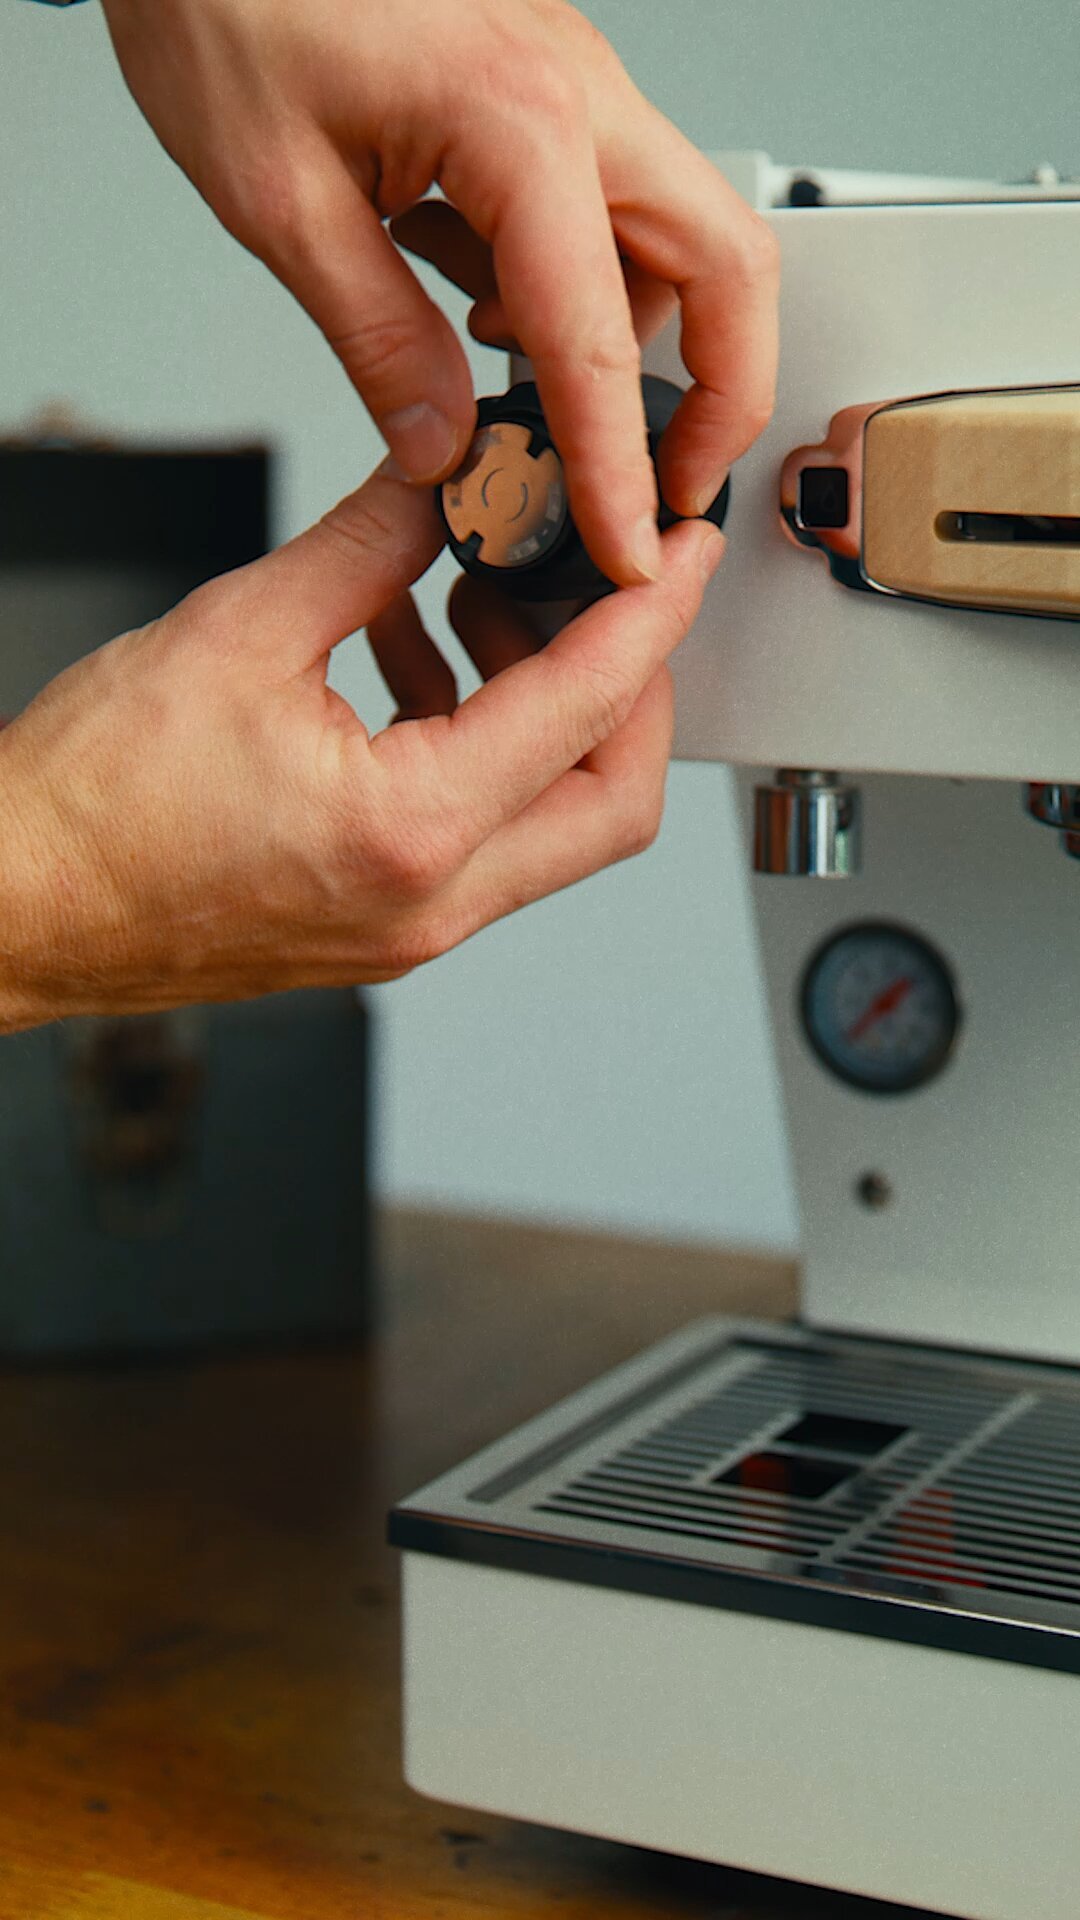
Remove the standard knobs
1. Use a flat plastic tool to unscrew and remove the cap from the knob.
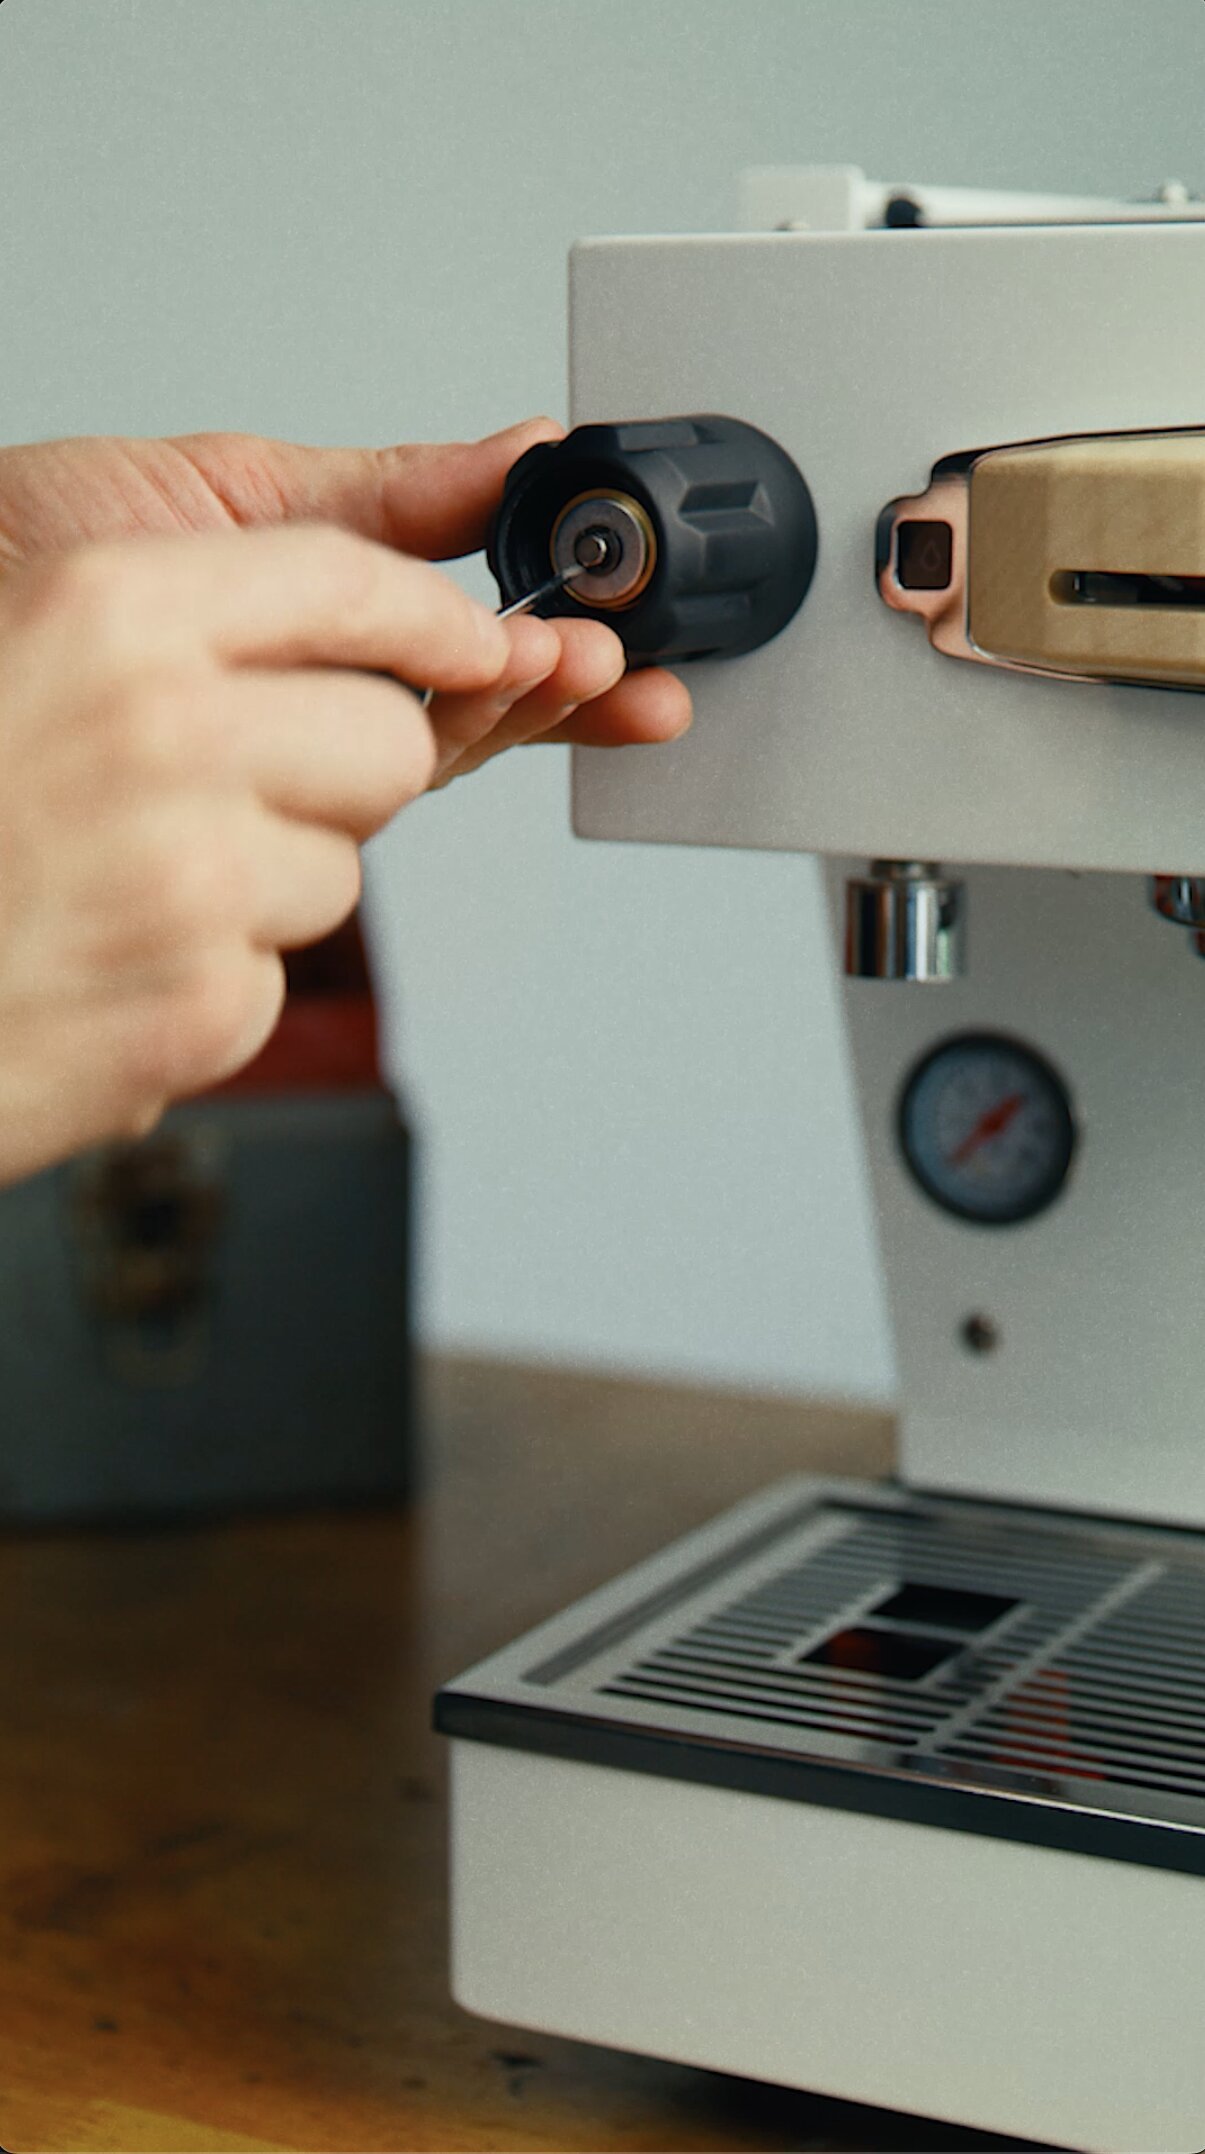
2. Using the circlip removal tool, carefully remove the circlip holding the knob in place.
3. Turn the knob counter-clockwise to remove it.
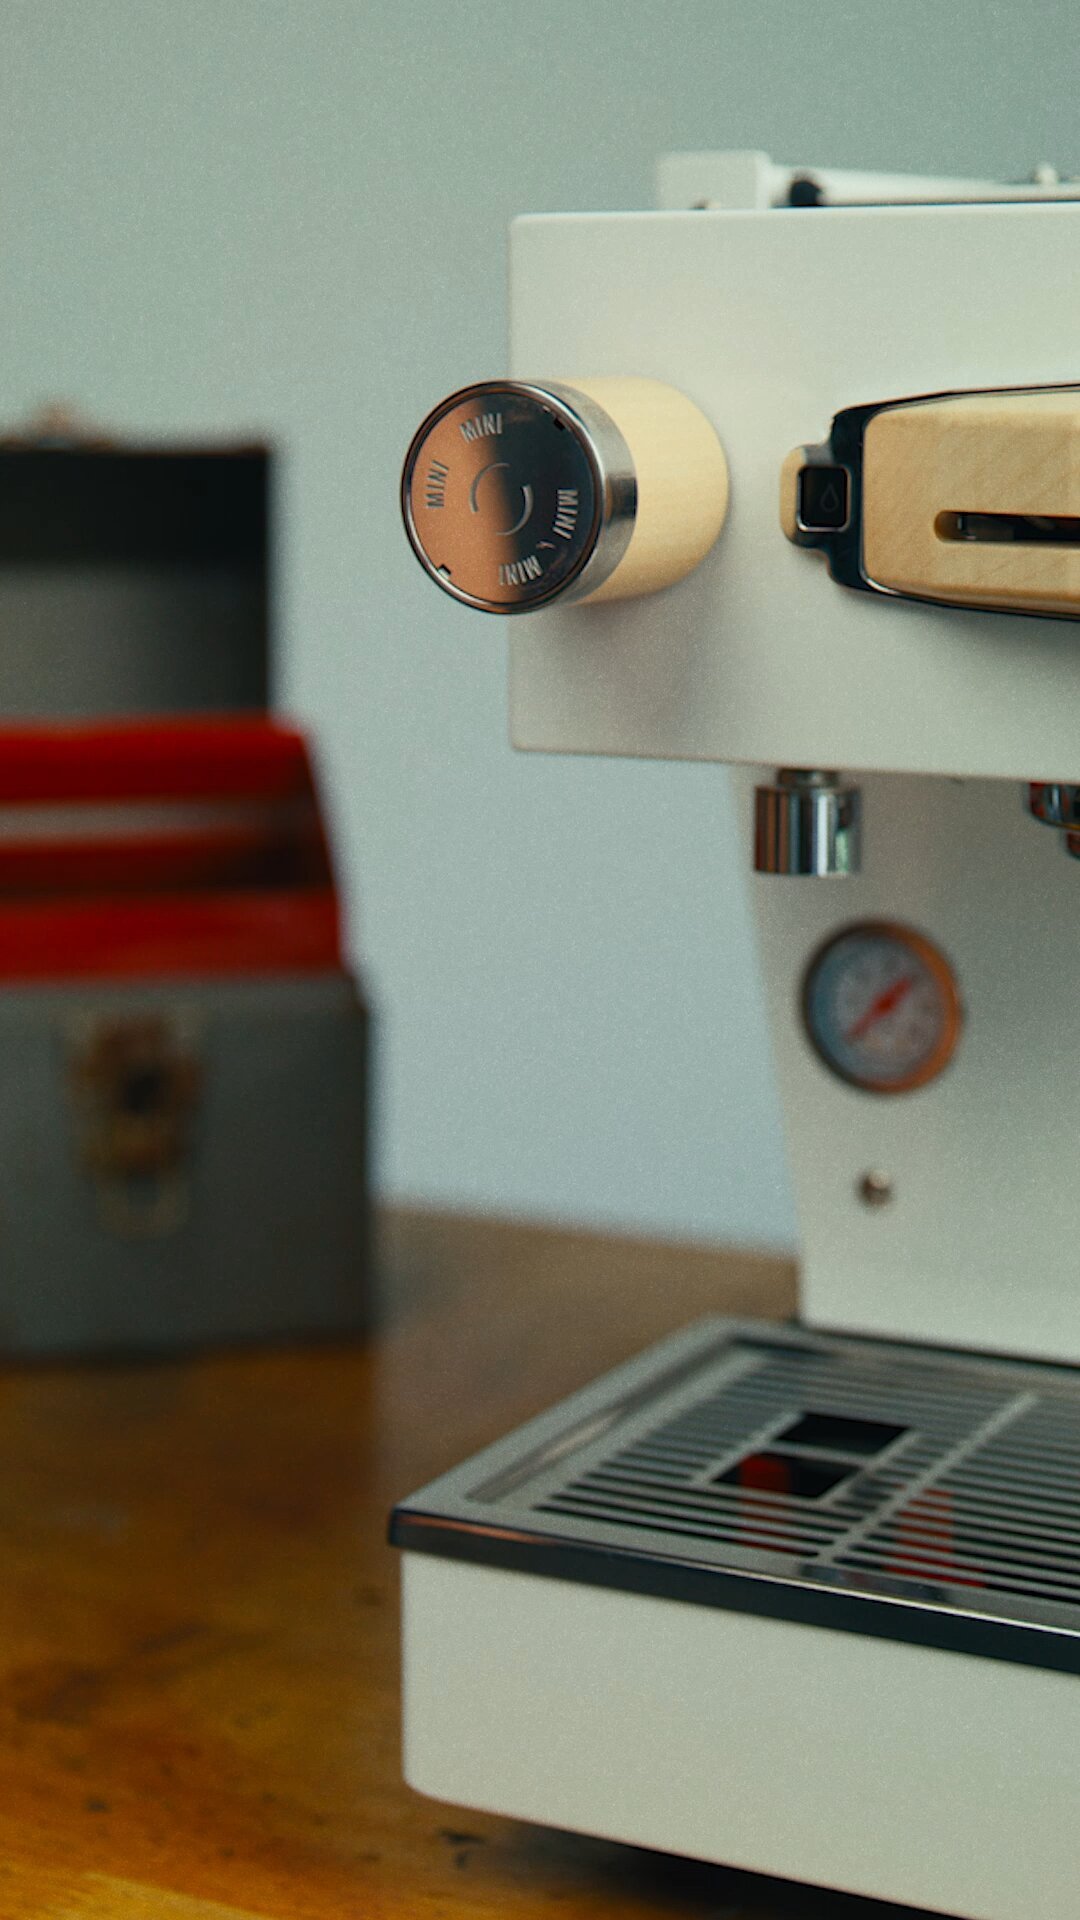
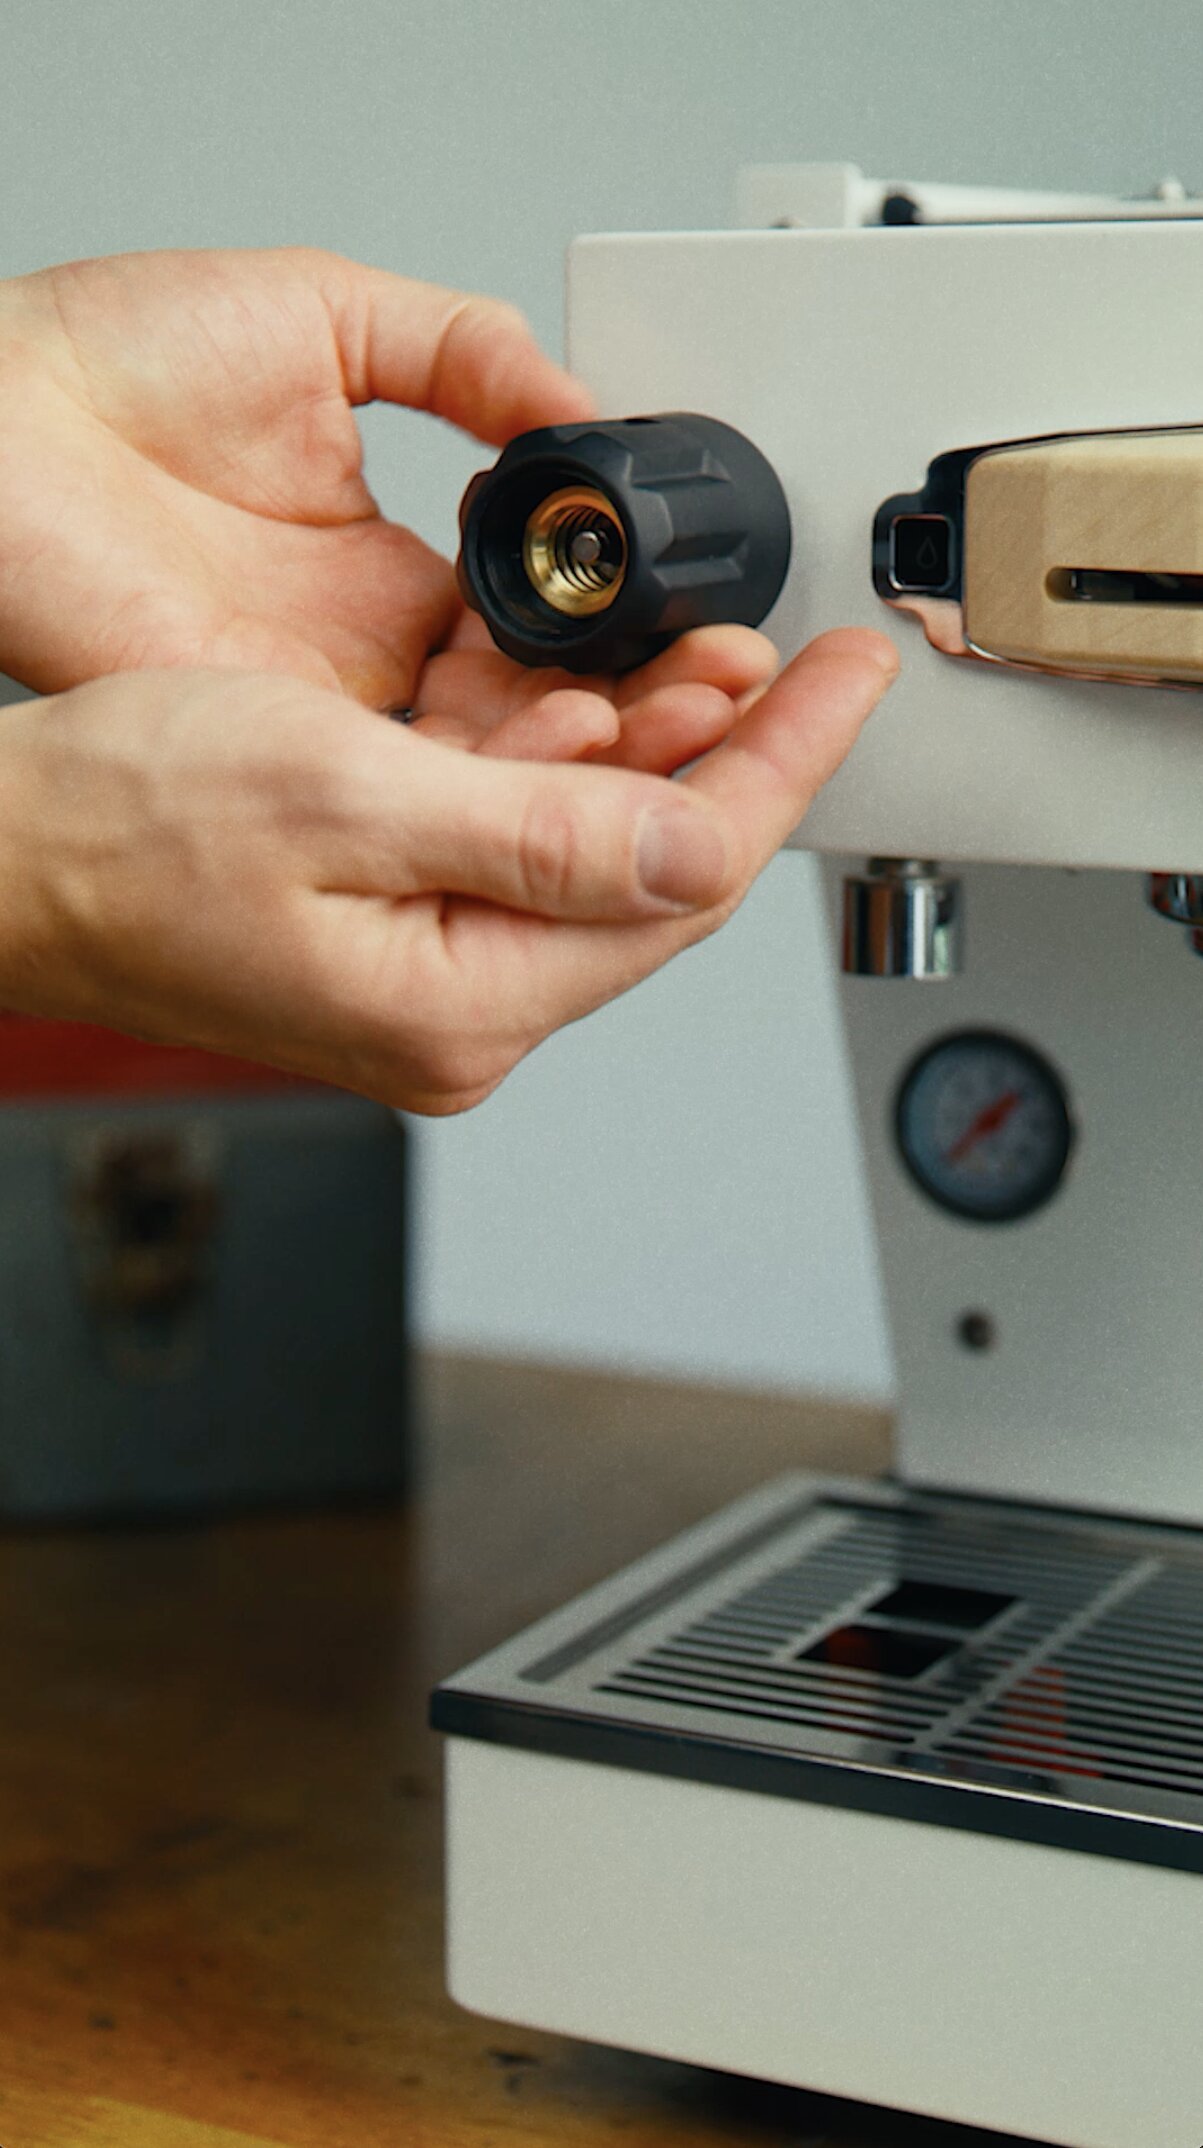
Install the custom wooden knobs
1. Screw in the new wooden knob, then place the spacers in position.
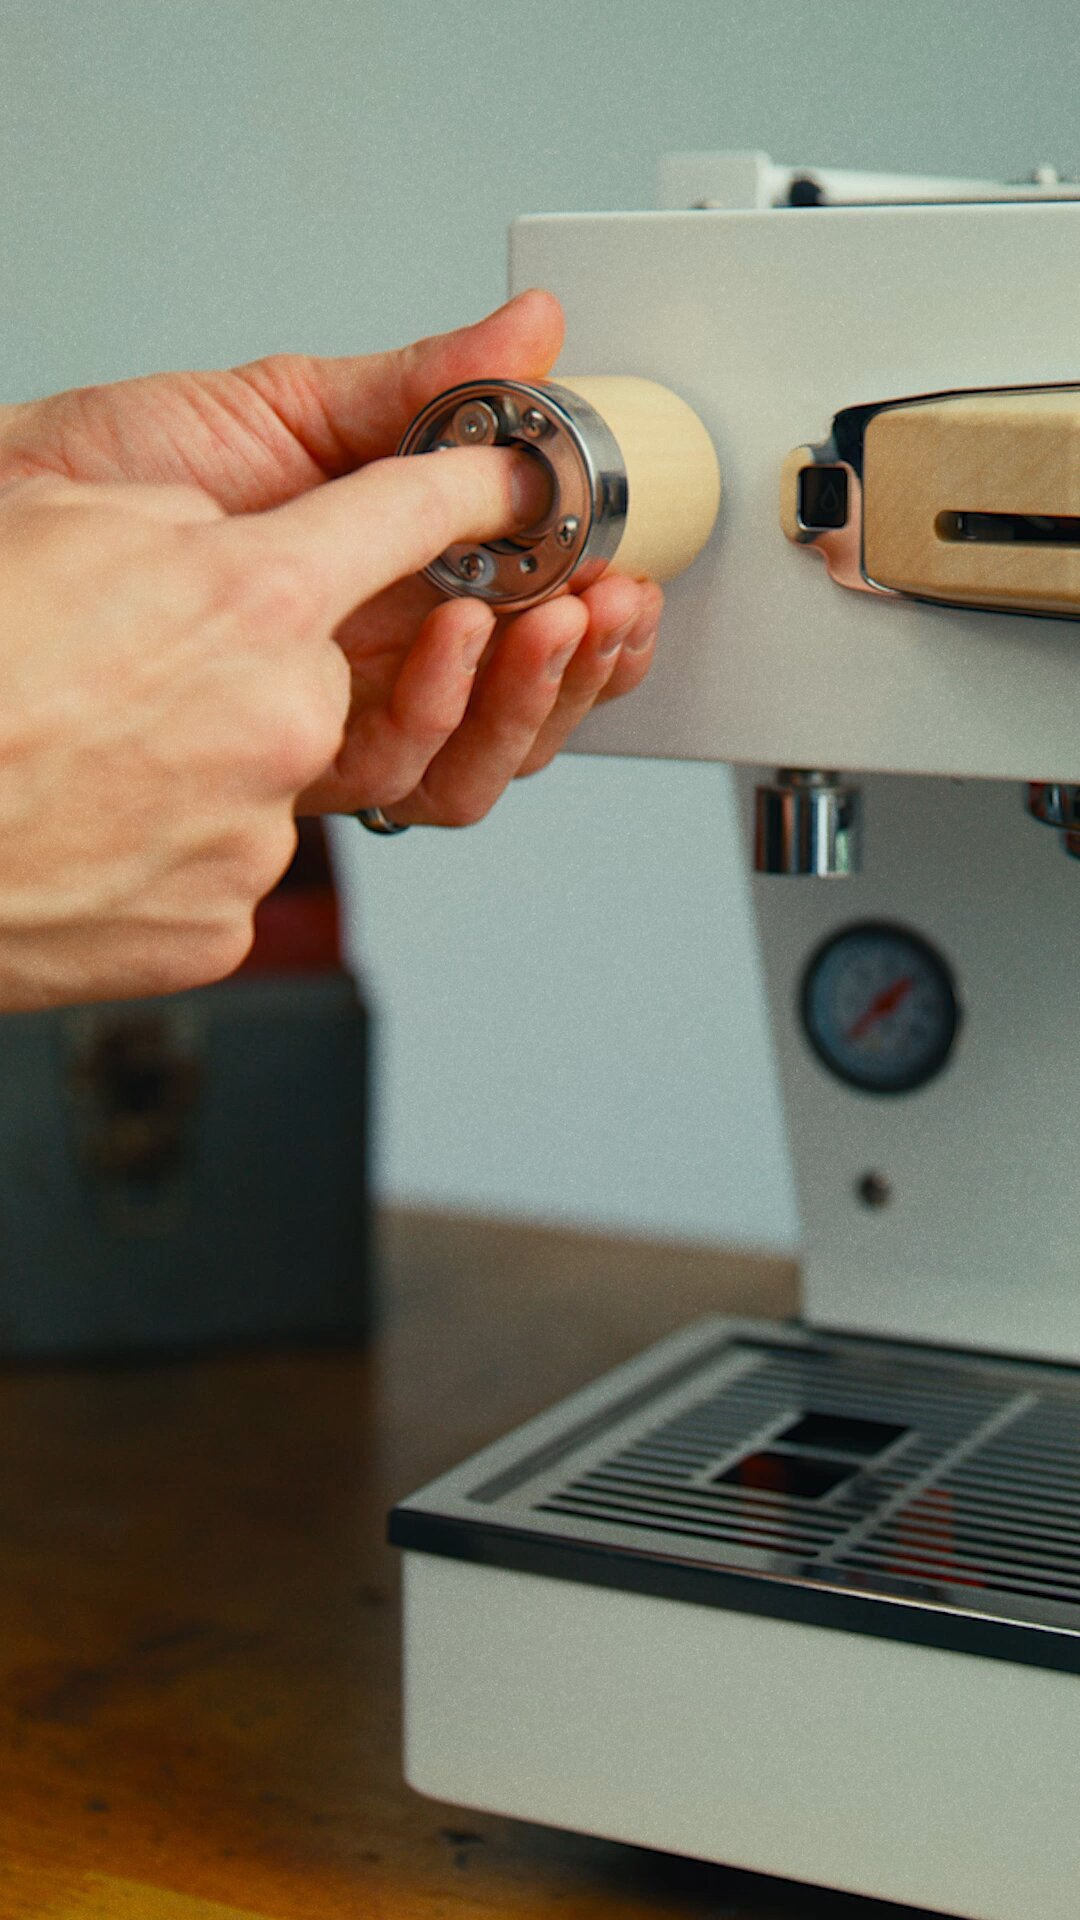
2. Position the c-clip on the shaft, squeeze into place with needle nose pliers or using the circlip removal tool and slotted screwdriver.
3. To secure the circlip during magnet installation, turn the knob counter-clockwise until it stops. Then, use a 2 mm Allen key to install the two magnets.
4. Attach the magnetic cap to the knob.
Final Note:
If at any point you feel unsure or would prefer a professional installation, the La Marzocco Home Solutions team can recommend a trusted technician in your area.
Enjoy your beautiful and newly customized Linea Mini!