https://youtu.be/kYJYxJ0y-Mk&w=1281&h=600
We’ve all been there. Maybe you got a new grinder, changed your burrs, or you just got a brand new bag of coffee that you’ve never tried. Where do you start? Instead of just winging it, we put together this quick guide to help you get dialed in for espresso in a timely and efficient manner. Plus, we added a few tips & tricks that we’ve learned over the years.
Whether you’re a seasoned home barista (and don’t need the help) or you’re just getting started, this quick guide will walk you through the process of dialing in.
And hey, if you already have a good routine, this is a great post to share with someone who could use the help—you know, the person who goes through an entire bag of coffee to dial in?
Help ’em out!
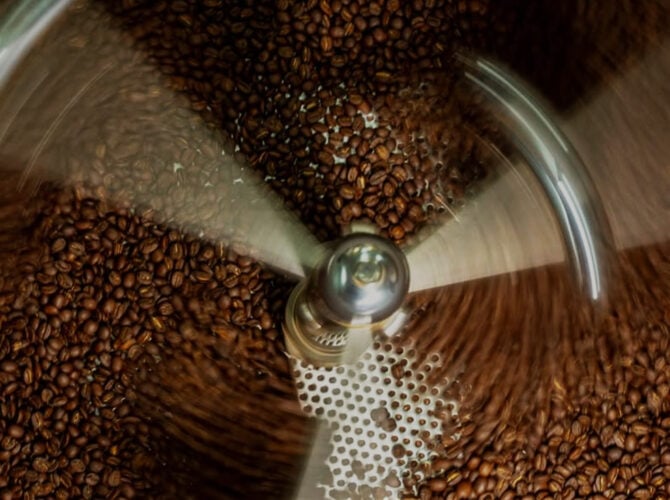
Dialing In Your Grinder for Espresso
______________________________
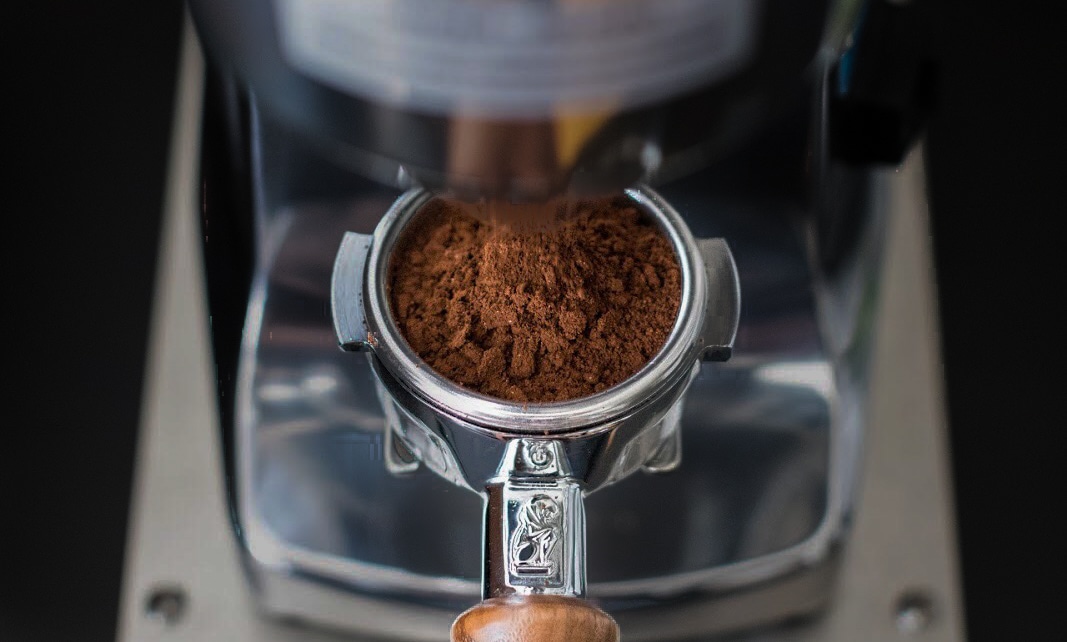
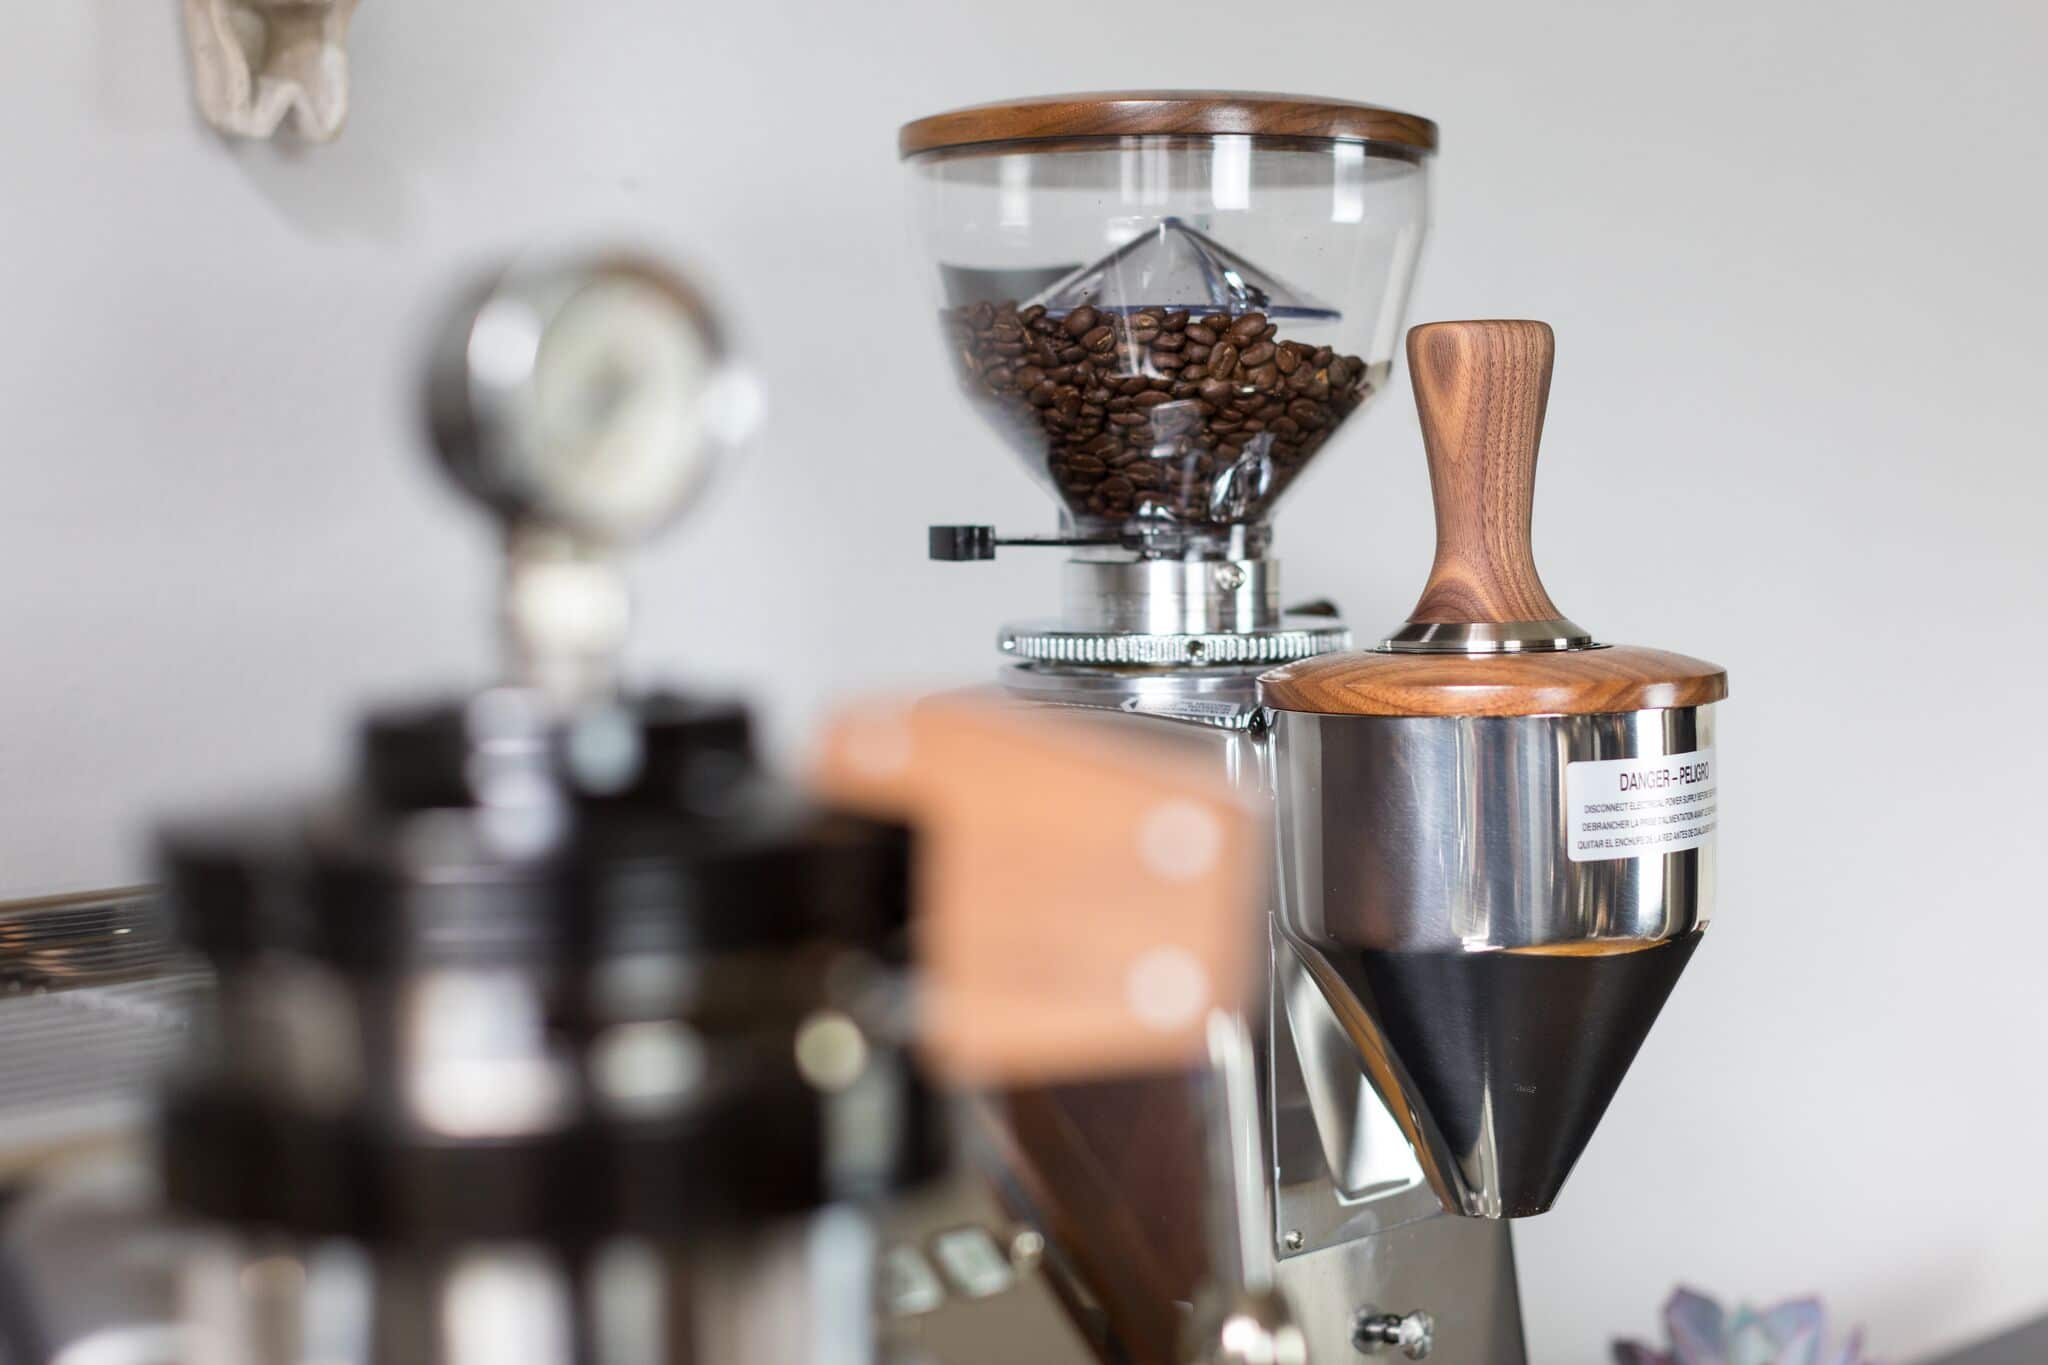
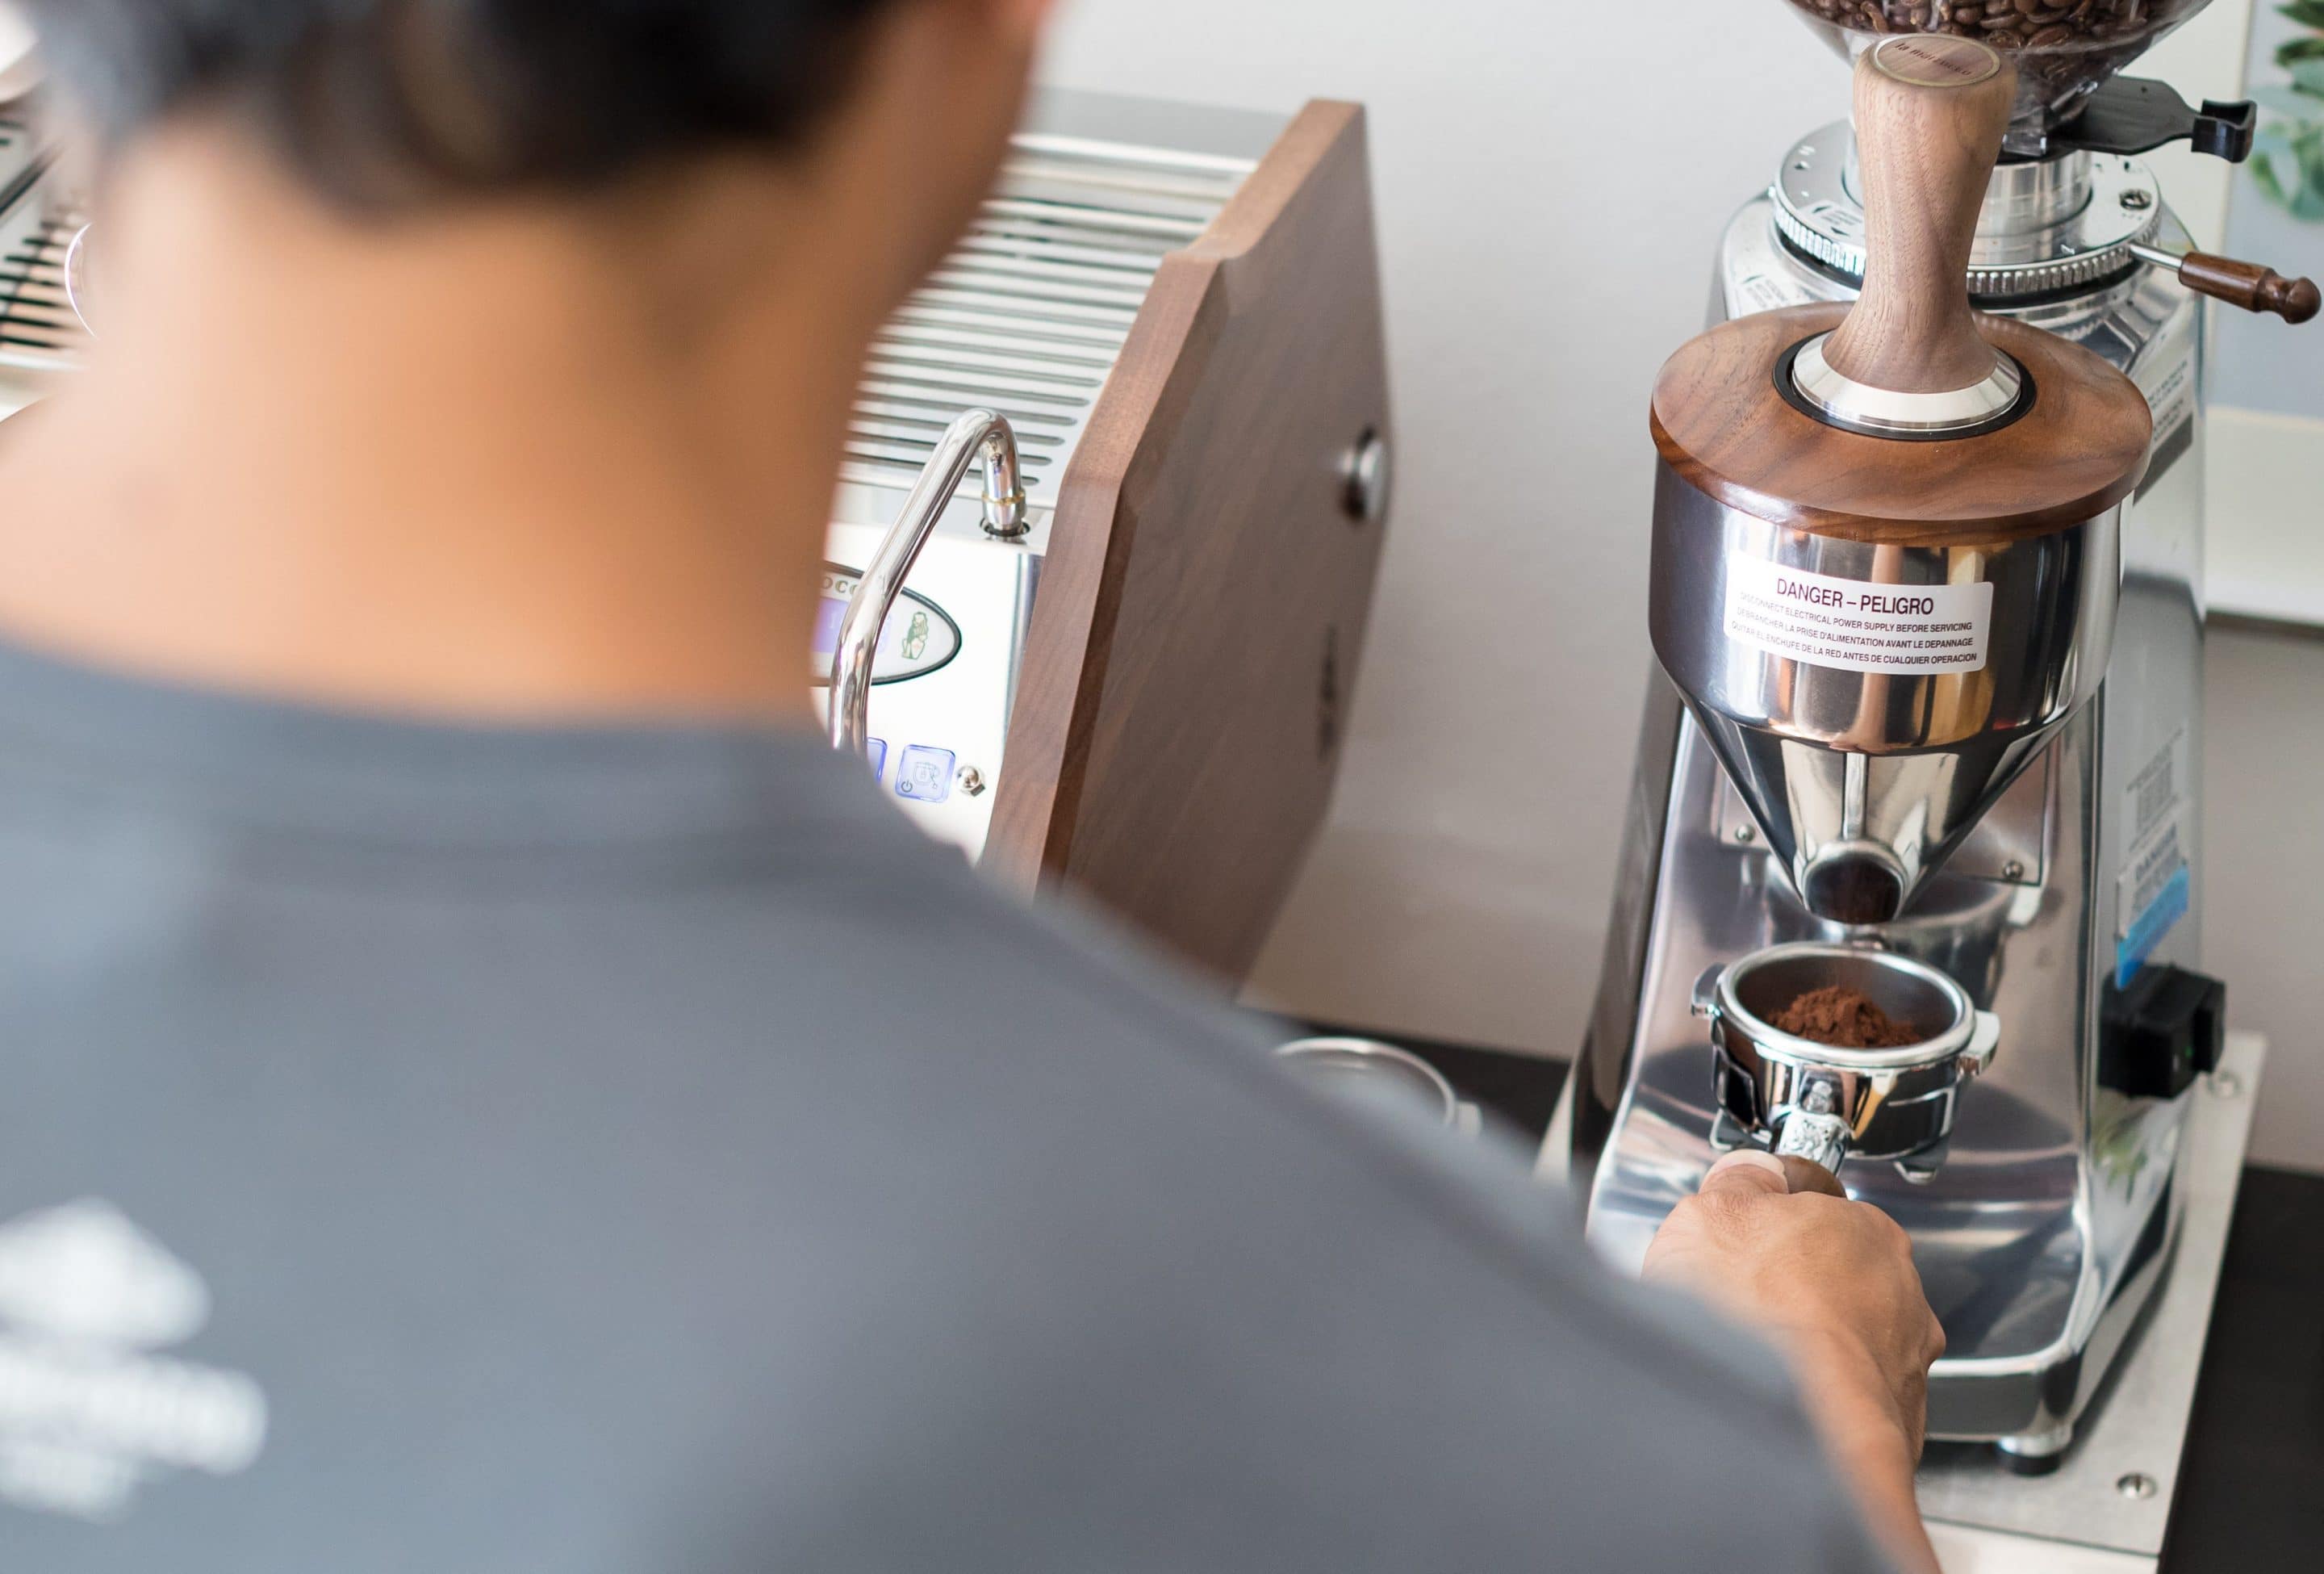
Remove the lid, pour your coffee in, and make sure the hopper safety is pulled out to allow beans to drop.
This makes sure there is no old coffee sitting in the chute and allows your new coffee to pass through the burrs. If you’re trying to dial in efficiently, using old grounds that haven’t been purged will set you back.
It’s one of the simplest, most accurate ways of maintaining consistency across shots, and across coffees. Whether you splurge for the incredible Acaia Lucar Scale, or grab one of your own, we can’t recommend having a scale enough.
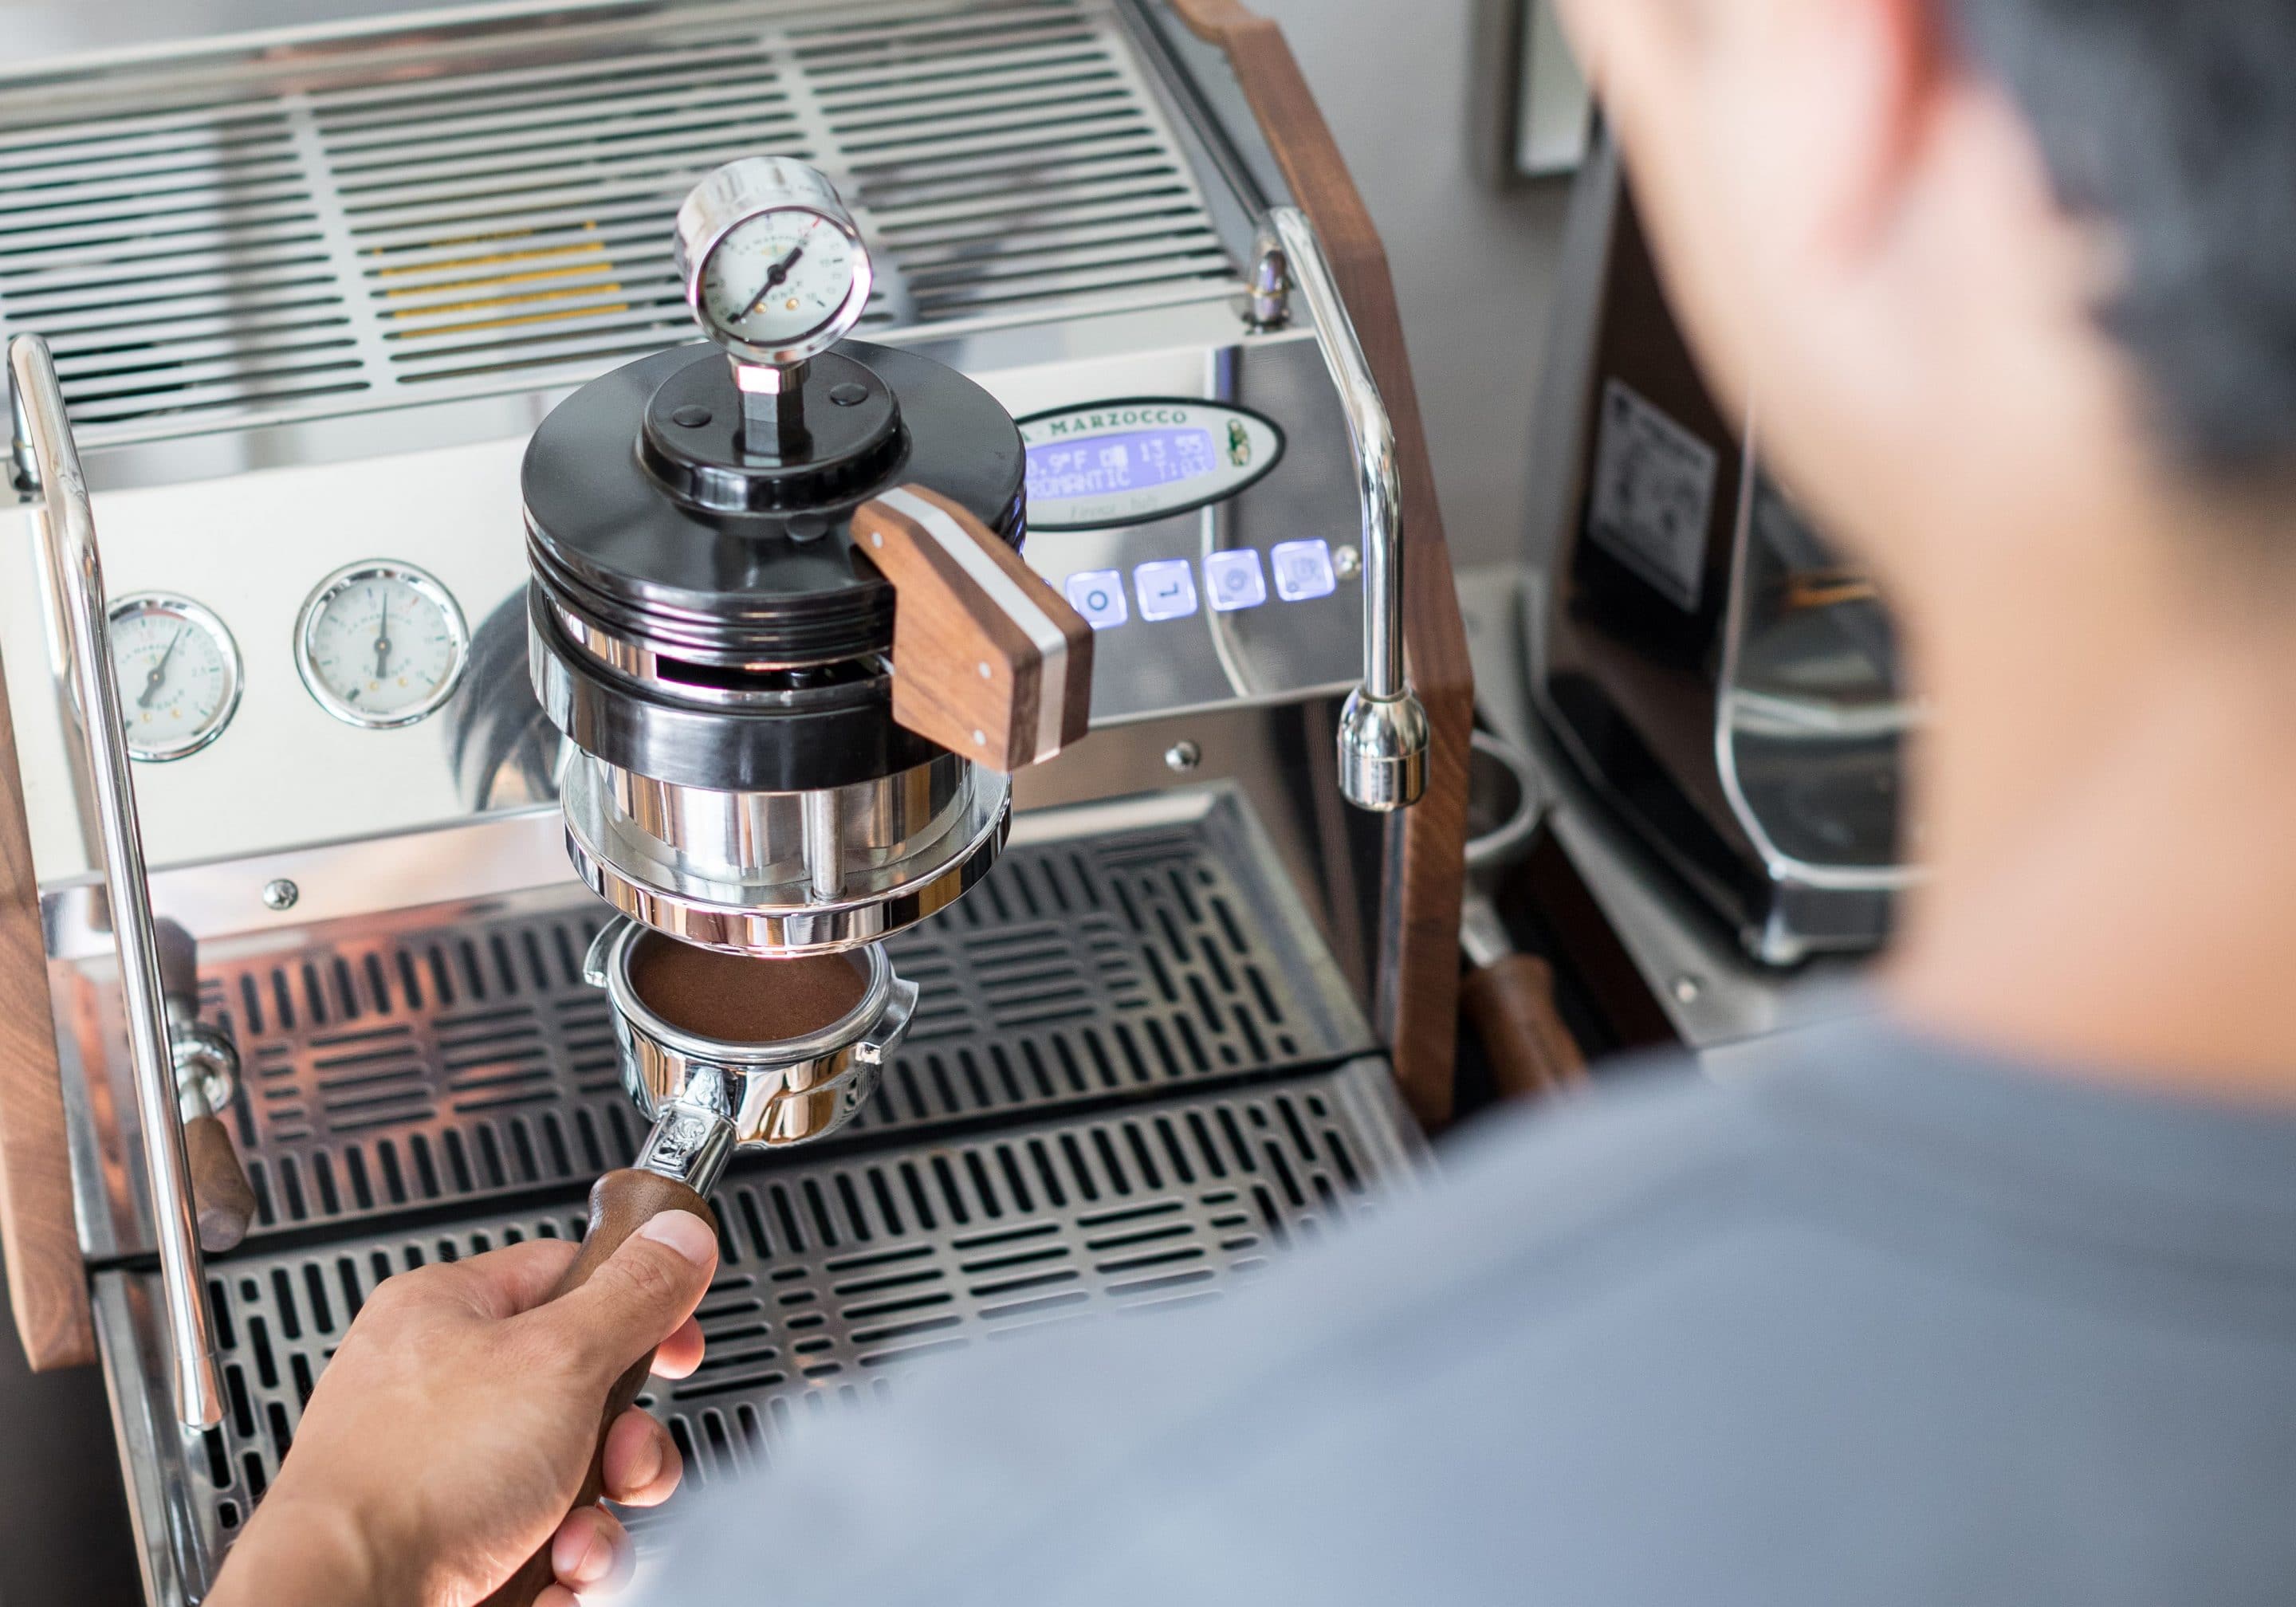
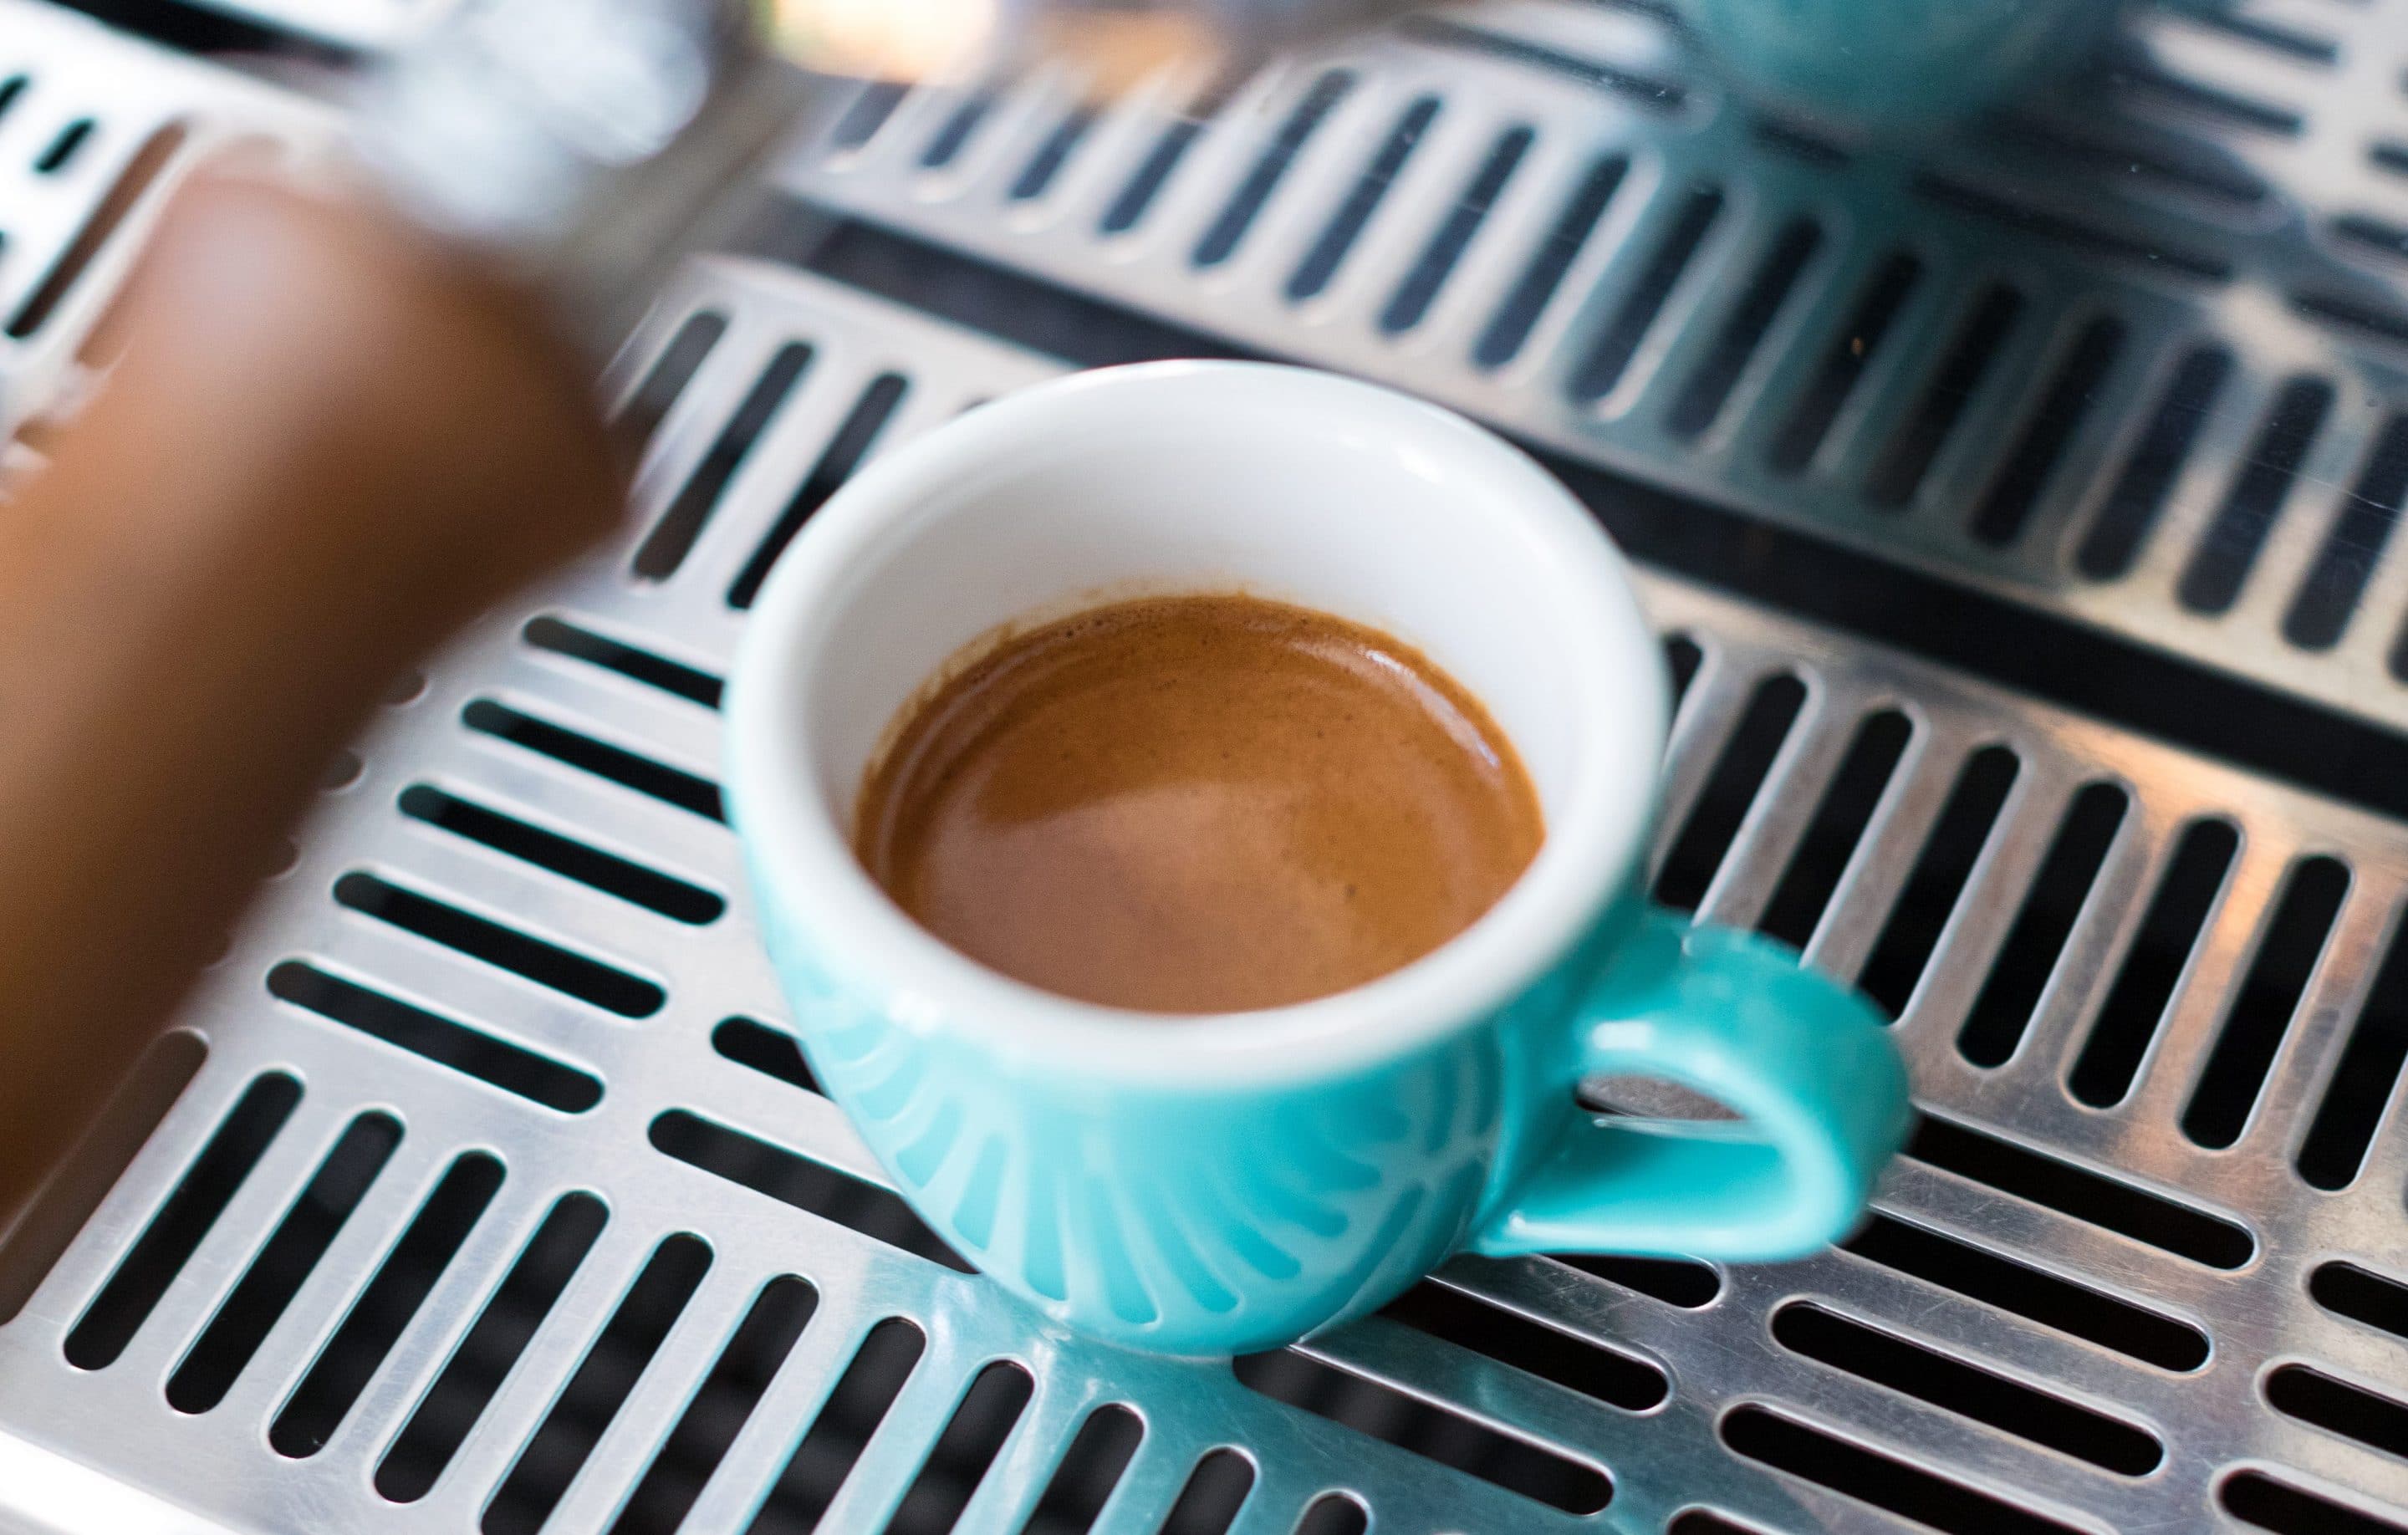
We typically start at a 1:2 ratio—for instance, a great starting place for a lot of coffees is 18g of espresso in (grounds), 36g of espresso out (liquid), in 26-30 seconds. You’ll probably want to make adjustments later, but to get your grinder into range, start with a brew ratio and recipe that you know and love.
In our example above, you’d stop your shot when you hit 36 grams of espresso. If you’re not using a scale, at least measure using a shot glass or some other volume measurement tool. Once you hit your desired volume, check to see where your time ended up.

If you’re shot finished way before your target time, then water is probably passing through your coffee bed far too quickly. You’ll need to adjust your grind finer to help slow down that water flow.
Same deal, only opposite. If all you get are drips at first, and your shot finishes way past your target time, go coarser. This will increase particle size and help water find a way through quicker.

Purge coffee out of the chute and allow the burrs to settle into their new position. You don’t want to be pulling a shot with coffee grounds that were set at your old grind adjustment, so make sure you purge a small amount through before moving on.
Keep everything the same. Brew ratio, recipe, time, etc. The only thing you should have changed at this point is your grind size.
The brew recipe isn’t some golden rule that magically makes your espresso taste good. But it’s a starting place. If you finished near your specs, go ahead and taste your shot.
10. Make small adjustments until you have balanced shot of espresso
You’re probably pretty close, but now that you know your grinder is in range, you can make small adjustments to things like brew ratio, time, temp, etc. to achieve the shot of your dreams.
1. Run your grinder when making any adjustments finer
2. New Grinder or changing your burrs? Your grind is probably really coarse. Grind some coffee and rub the grounds between your fingers. If the coffee stays between your fingerprints or clumps together, you’re getting close to an espresso grind. Every coffee is different
3. Use the Doser Lid on your grinder to grind into when adjusting your grinder
4. If your grinder won’t start after adjusting, you didn’t break your grinder! You probably just have beans stuck between the burrs. Adjust coarser to un-clog.
5. If you haven’t brewed coffee in awhile, purge a small amount of coffee to make sure you don’t have old grounds sitting in the chute.
6. The hopper lid makes a great Tamper stand
☕️
This is Dave. Dave knows espresso and he knows our machines. Have questions about owning your own La Marzocco? Shoot him an email at dave@lamarzocco.com or give him a call at (206) 258-2532, option 1.