It’s nice to have some instructions to follow when setting up a new espresso machine. There is important information to be aware of when owning high quality equipment such as a La Marzocco machine. Like all things worth having, they need care and attention to maintain their amazing performance. We will go over some machine information, start up details and then tackle a quick overview on brewing an espresso shot.
Ordering & Receiving Your La Marzocco
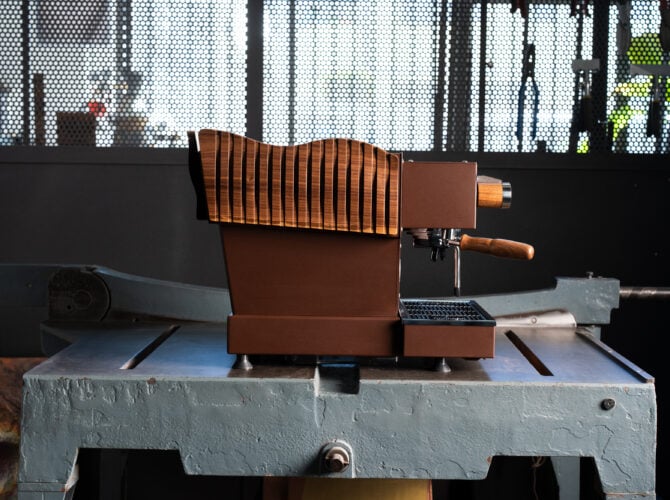
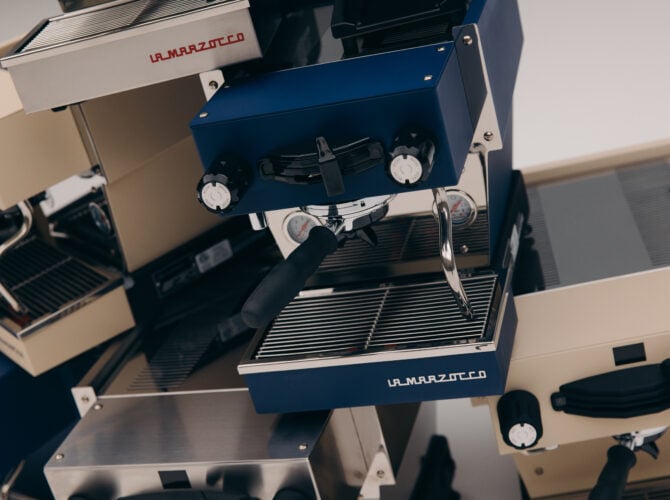
After an order has been placed for the Linea Micra, the machine will go through a quality control check before shipping out. Each customer will receive an email with the machine’s shipping and delivery appointment information once the machine is ready to go. La Marzocco machines are all hand built and the timelines fluctuate, check the shipping information tab on the order page to see the current estimated shipping timeline. The Linea Micra will be well packaged, with plastic bands holding the small pallet and box all together.
What’s in the Box?
- 12oz milk frothing pitcher
- 58m Tamper
- Bottomless portafilter
- Connectable single spout
- Connectable double spout
- 14 gram basket
- 17 gram basket
- Espresso machine cleaning powder
- Solid cleaning basket
- Power cord

The Startup Process
After unboxing the Linea Micra (you’ll need something to cut the bands off the box in order to remove it from the pallet), there are a few simple steps to get your machine up and running.
Step 1
Connect the power cord.
Step 2
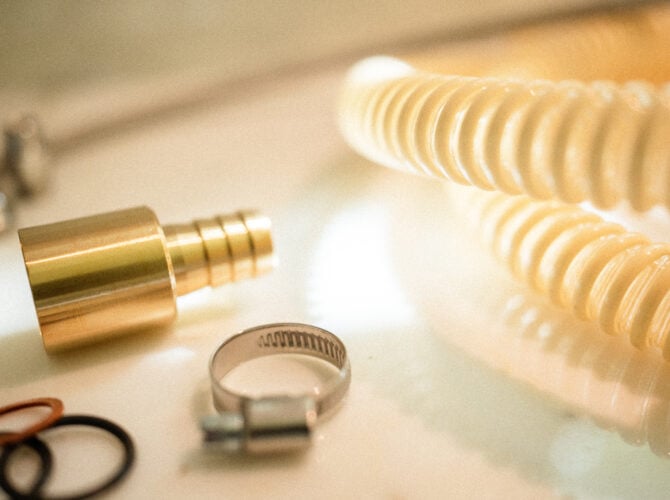
Fill the machine with water. Remember to use water that meets La Marzocco specifications. Check out our Water for Home Espresso post for more details.
Step 3
Turn on the power switch.

Step 4
The red and blue lights will start flashing. Open the paddle to the brewing position. Water will flow through the grouphead and shut off when it’s done. This should take approximately 10 seconds. Move the paddle back to the “off” position, and wait about 5 minute to allow the Linea Micra heat up. Once both the red and blue lights are solid, espresso can be brewed.
Brewing Your First Shot
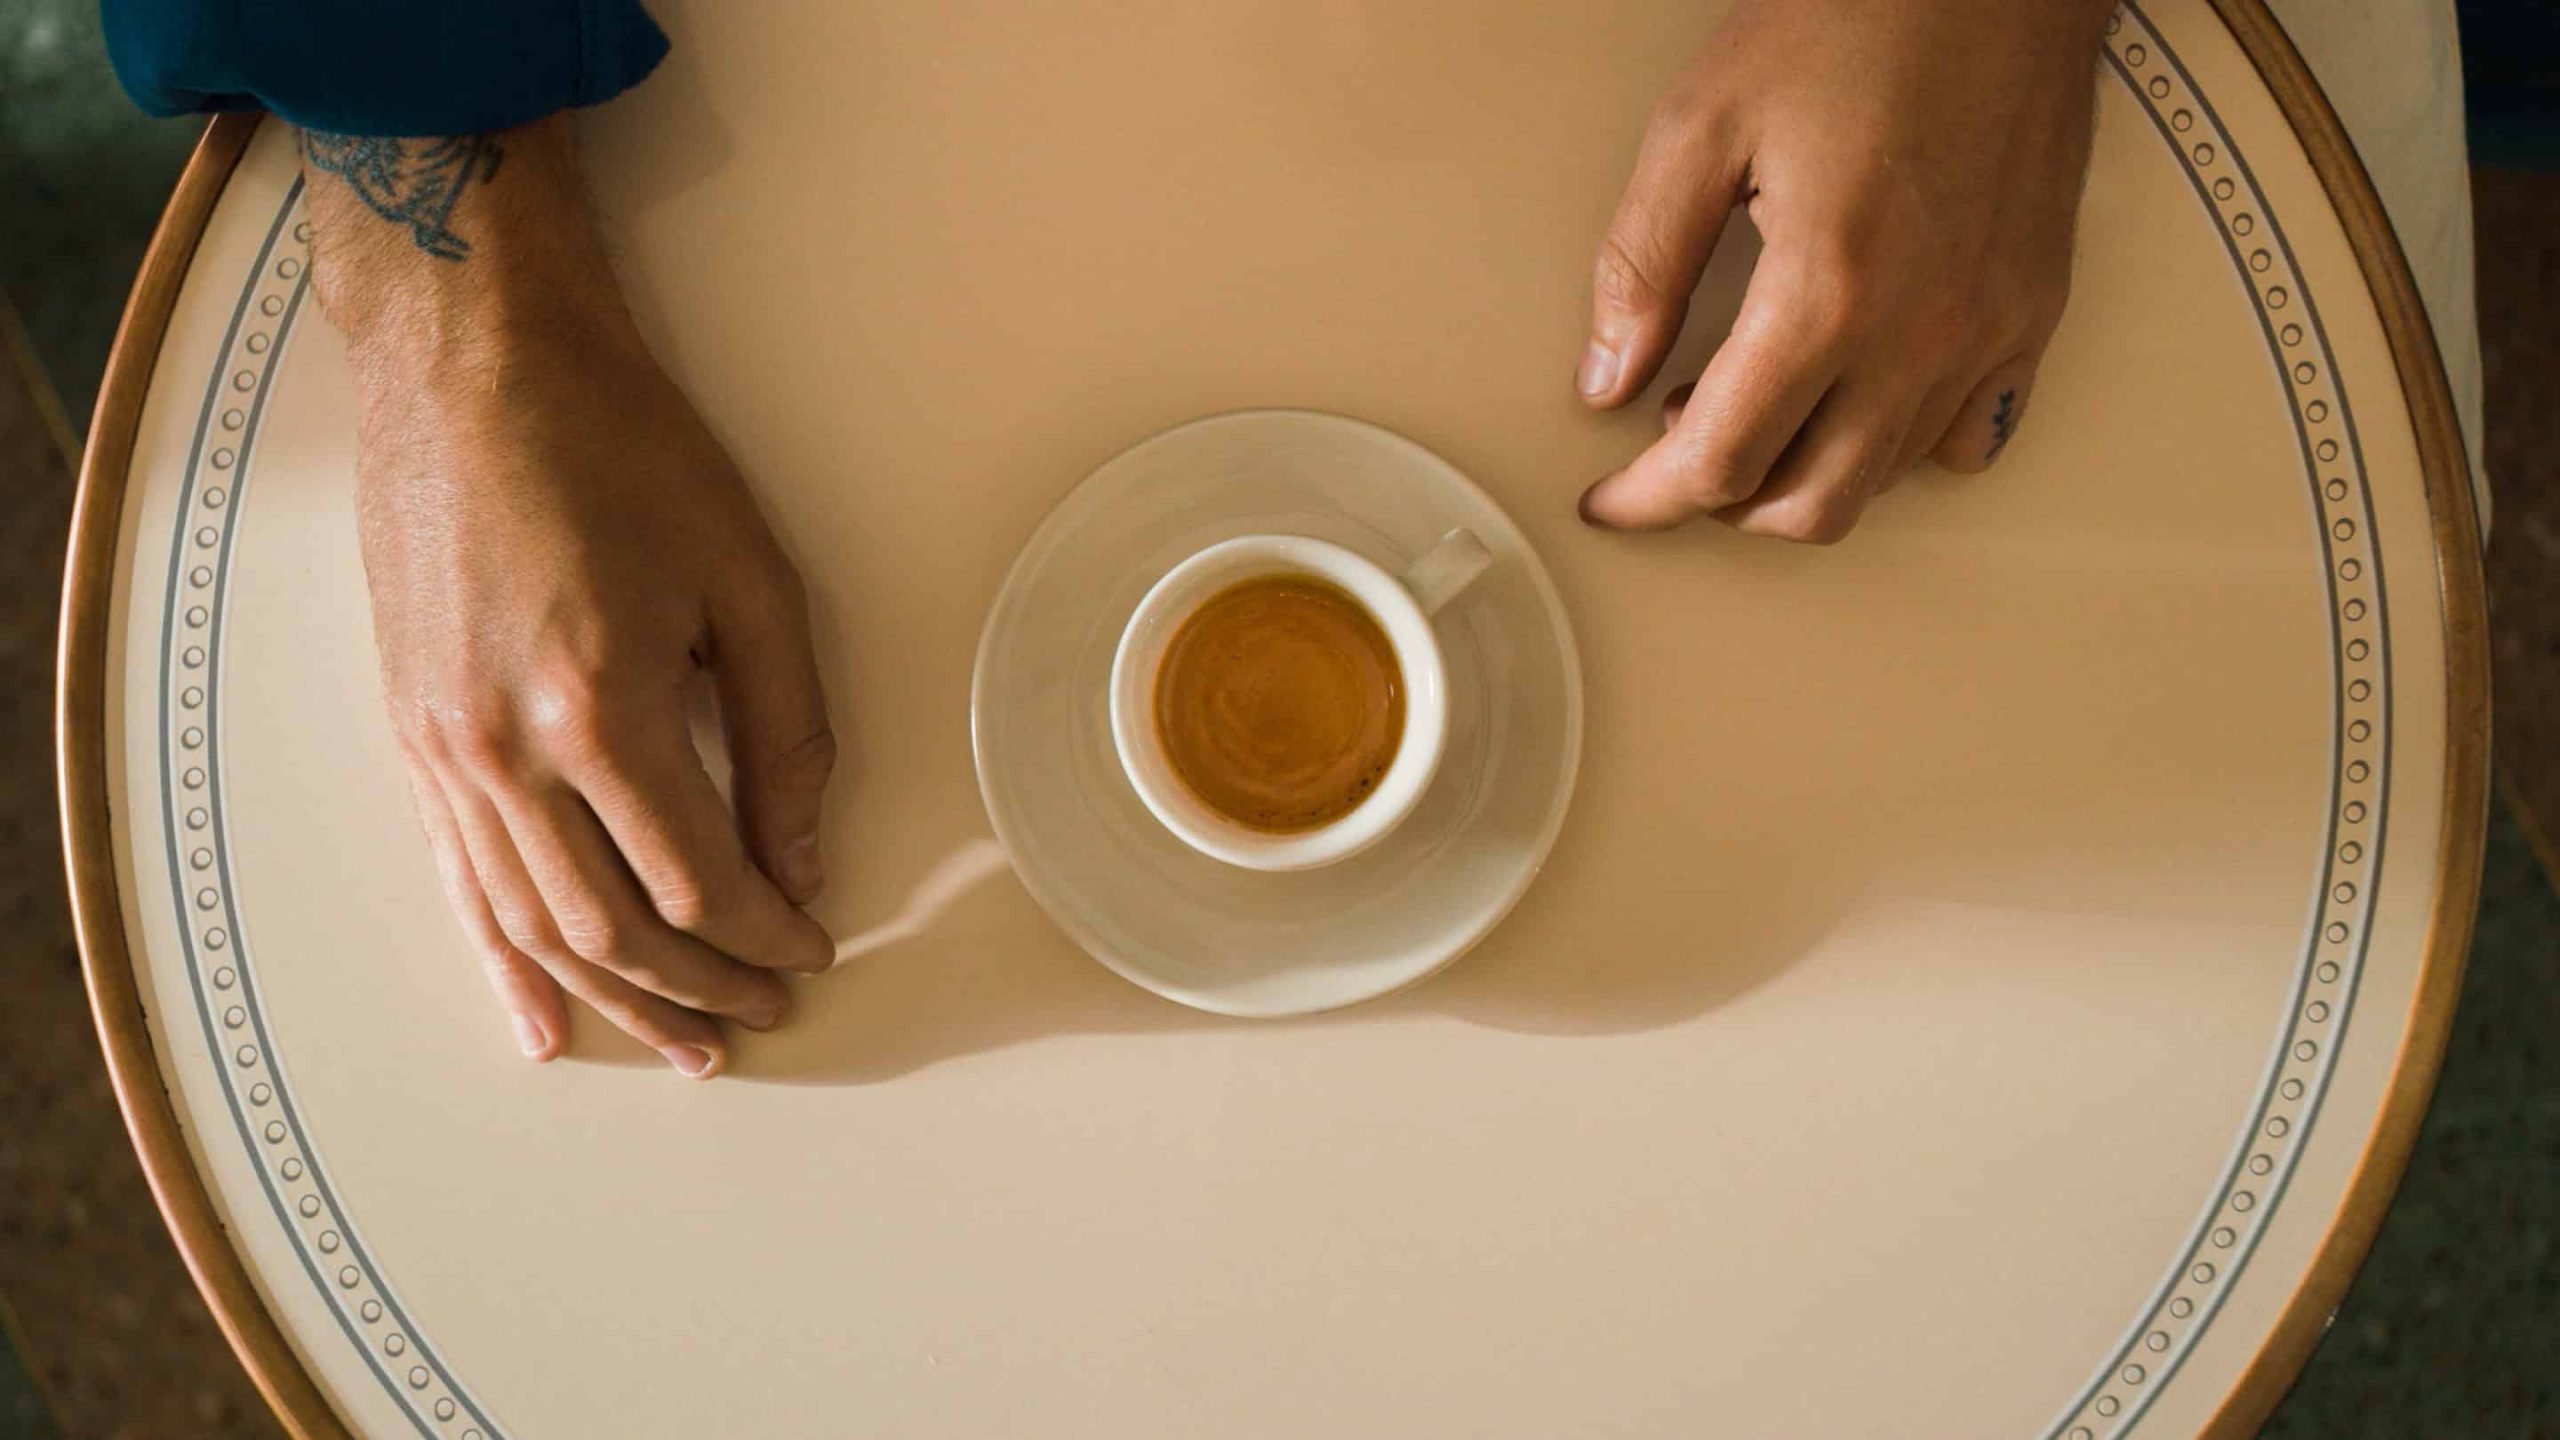
Let’s level here. While much anticipated, making that first on a new machine can also be a little daunting. After all, it’s a pretty big moment! This is major milestone on an espresso journey, and it’s one that should be remembered. Our advice? Take it all in. Remember everything about the moment. Then? Let it rip. It may get a bit messy; the grind may not be fully dialed in; it may come out too fast. That’s ok! Drink it anyway. Then, make adjustments and try again. Don’t put too much pressure on the first shot.
With that said, here are some simple steps to follow:
Step 1
Take a look at the basket inside the portafilter. Use the 14g basket for Italian style espresso and either the 17g or 21g basket for a modern espresso. Put the corresponding amount of coffee weighed out in grams into the basket. If you don’t have a scale, simply fill up the grounds to the line inside the basket.
Step 2
Tamp the grounds as evenly as possible. You’ll push down until feel the puck push back—no need to overdo it. Then, lock in the portafilter to the grouphead.
Note: Lock the portafilter into the grouphead, and before brewing an espresso shot, take it out to ensure there is no indent from the brew screw—if you see an indent, tamp down a bit more, or switch basket size to something larger. You can also grind a bit finer.
Step 3
Turn the brew paddle to the “on” position to begin brewing. Watch the espresso flow and try to remember how it looked. Let it run for 25-35 seconds, then turn the paddle back to the “off” position. The result should be about double the weight in grams of what was put into the basket.
If espresso seemed to flow too fast, or too slow, you’ll need to make some adjustments to the grinder. The grind size of our coffee is what makes the espresso flow fast or slow—and tamping it into a puck serves as some resistance. Too fast? Adjust the grind size towards finer, until the espresso shot is starting out very slowly. Too slow, adjust the grind size coarser.

That’s it! First shot down, and many more to come. It takes more than a few days to learn espresso. Our journey continues, as we make one step at a time towards understanding how to use this espresso setup to its full potential!
Questions? Book a virtual consultation with our La Marzocco Home educator Melissa