How to Install Pantechnicon Linea Mini Steam Knobs
A short picture guide to (carefully) swapping out your Linea Mini Steam Knobs
_ _ _
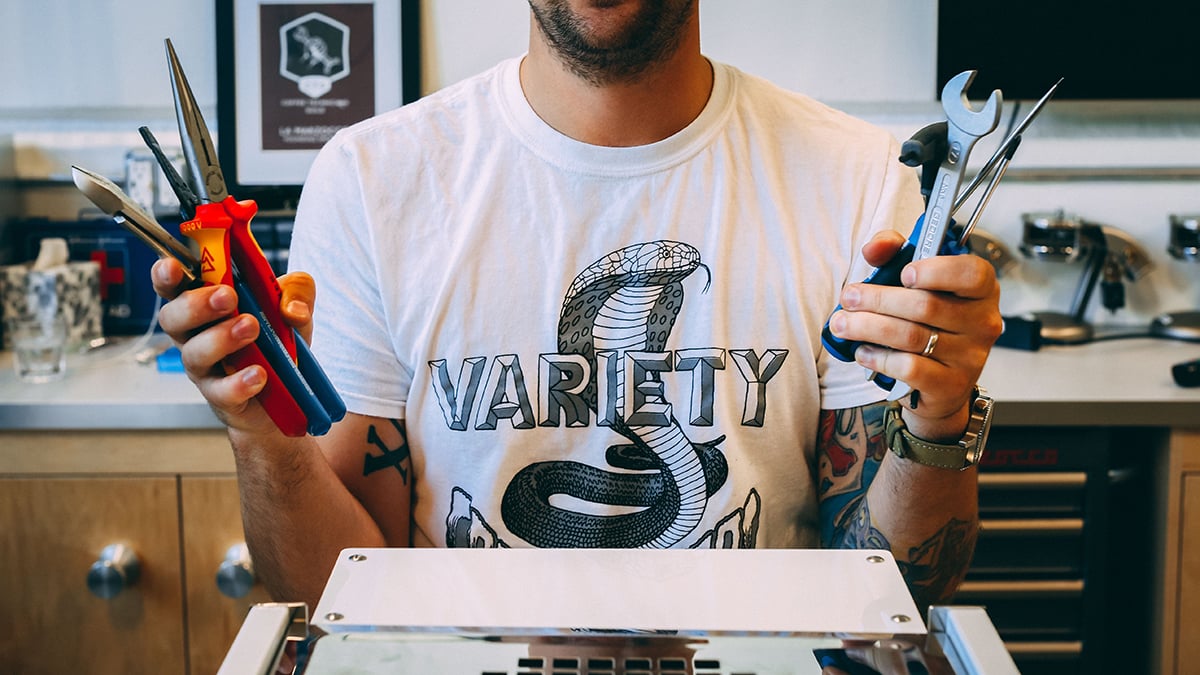
Tools Needed:
Flat-head Screwdriver
Philips Screwdriver
17mm Wrench
Adjustable Wrench
4mm Hex Key
Wire Cutters
Needle Nose Pliers
Standard Pliers
_ _ _
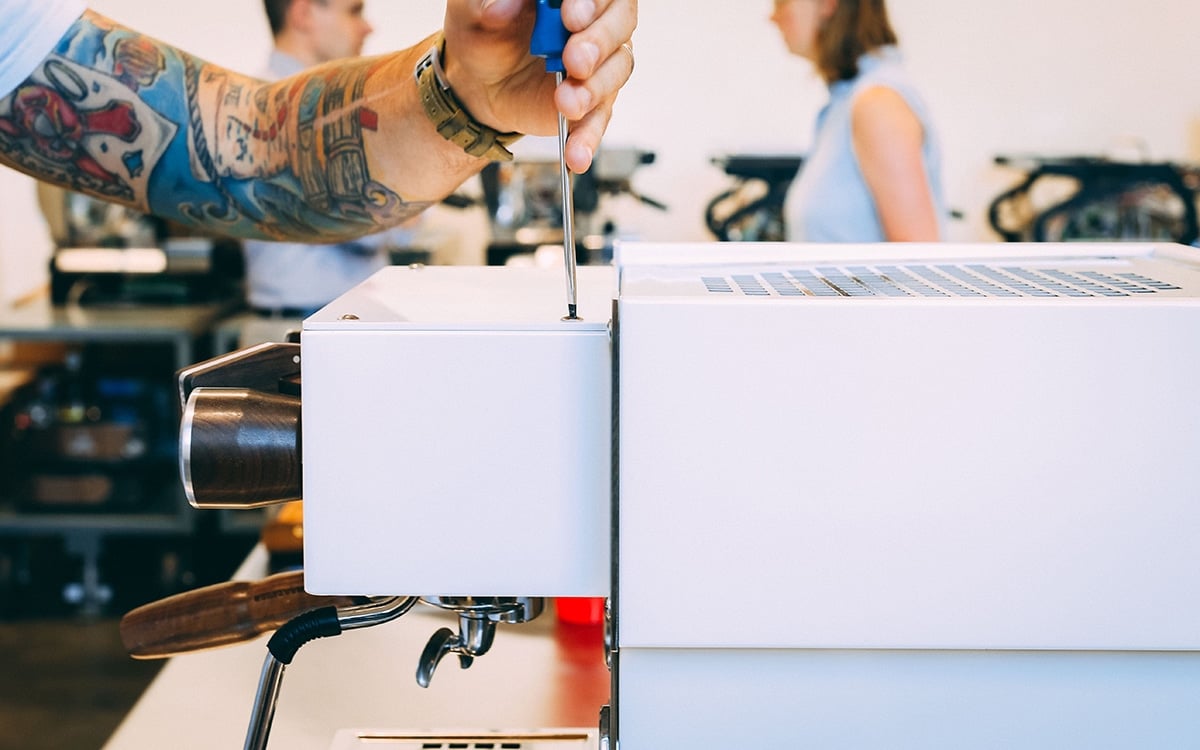
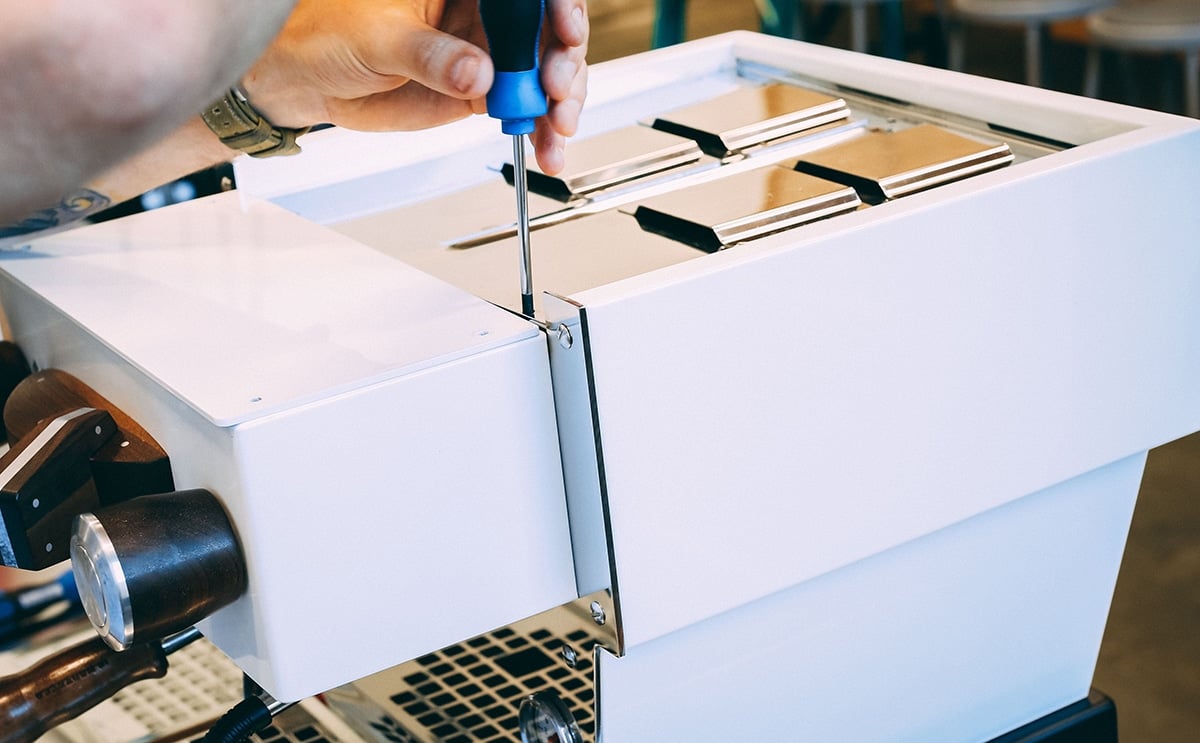
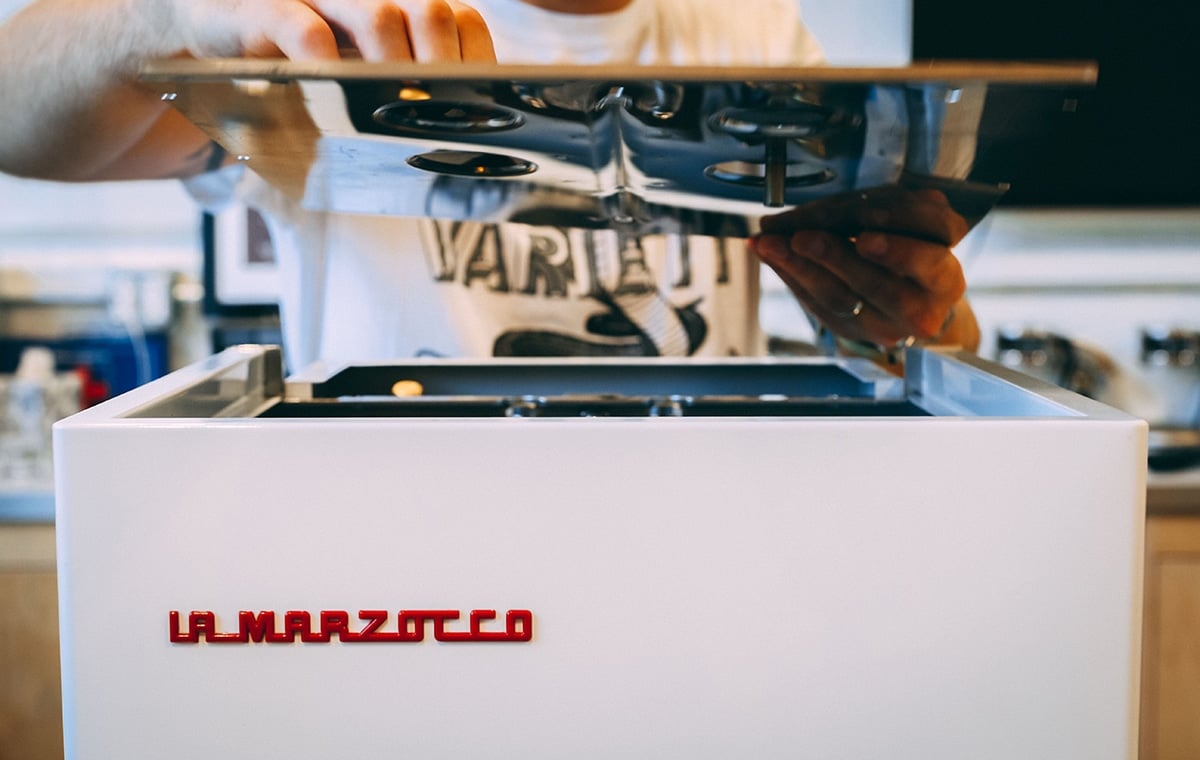
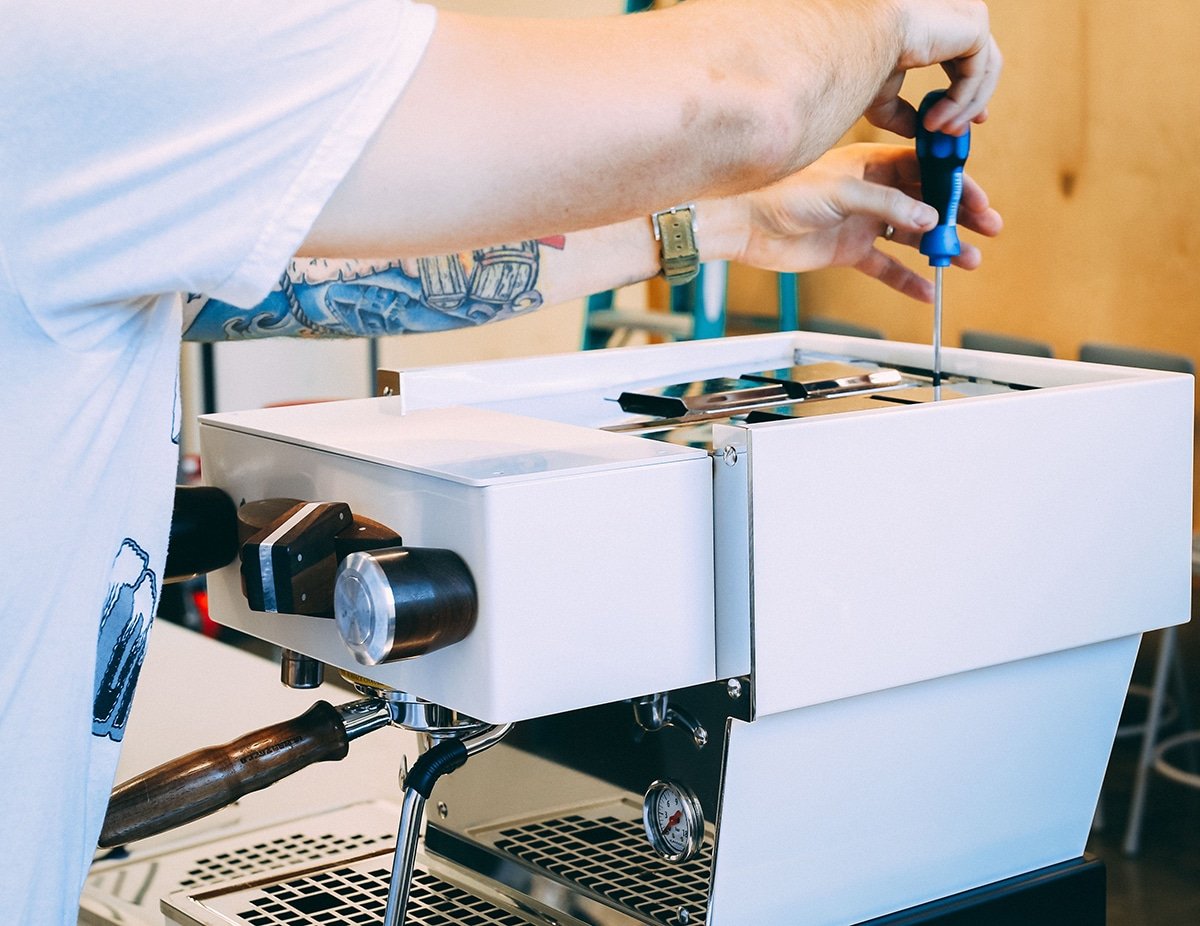
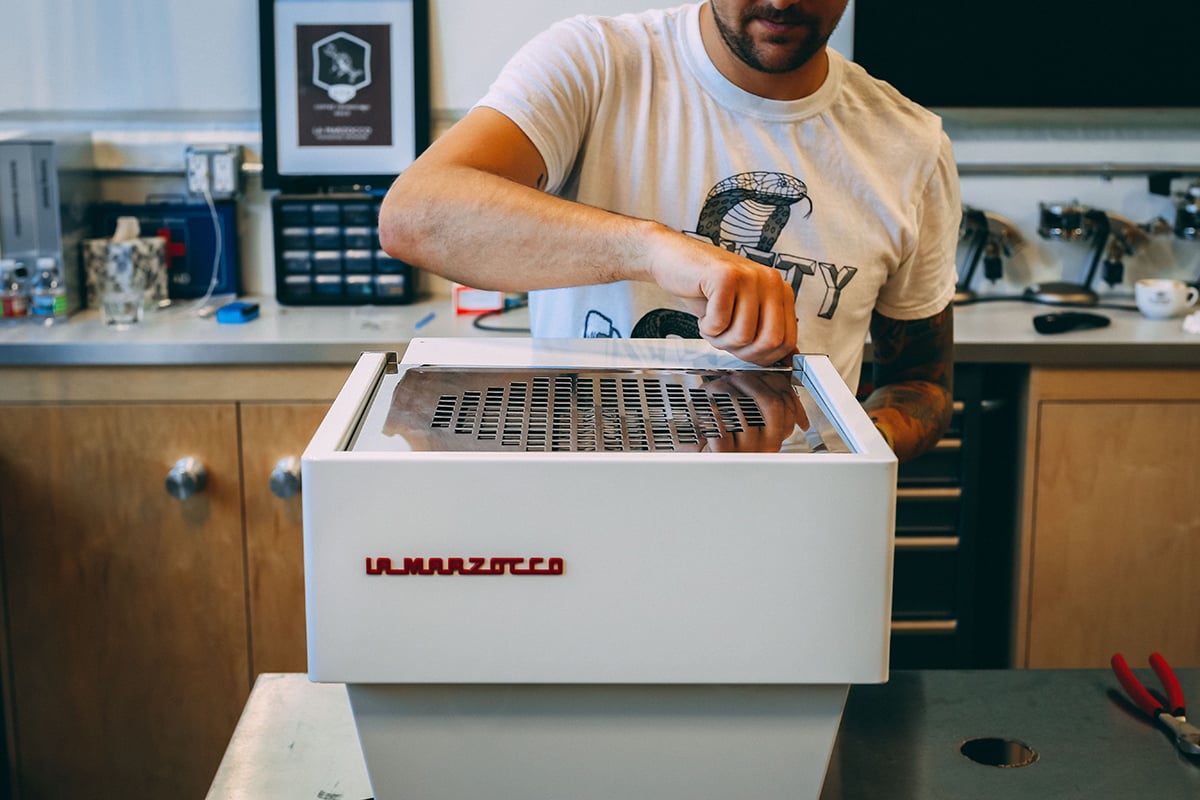
Step 1: Remove cup tray & group cover plate
(Phillips & Flathead Screwdriver)

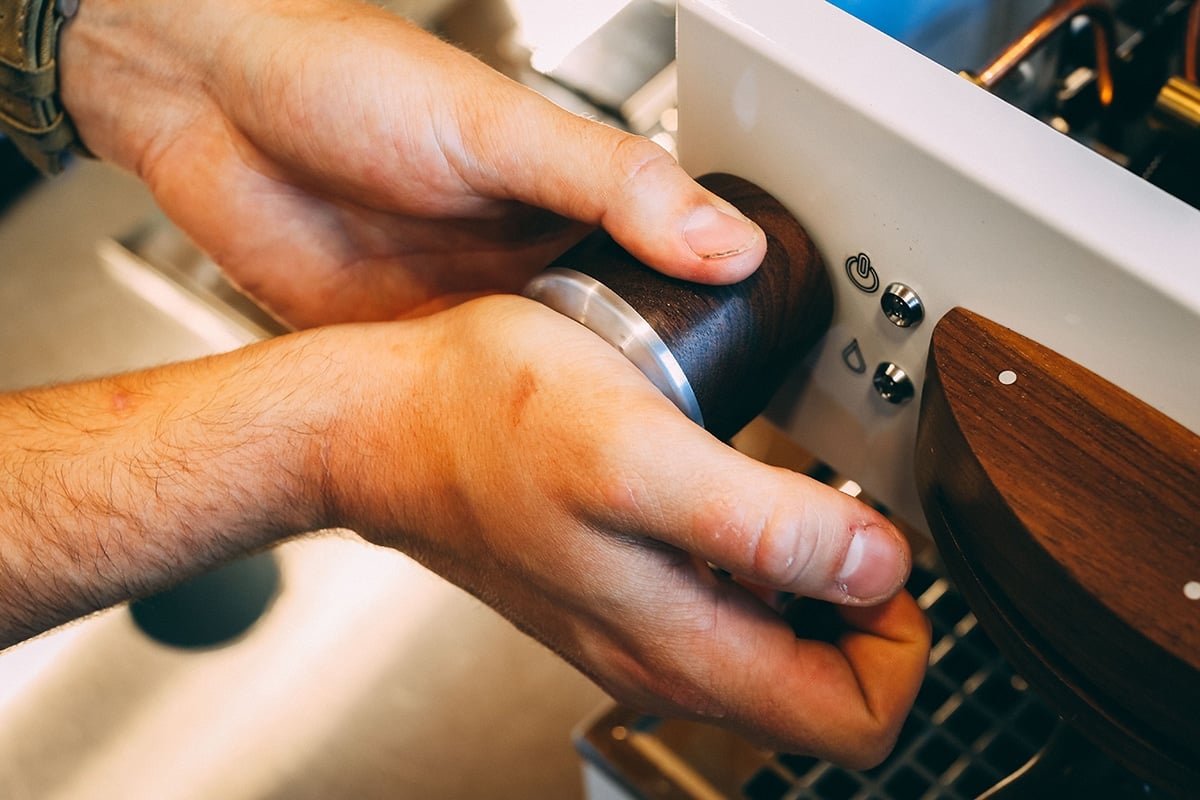
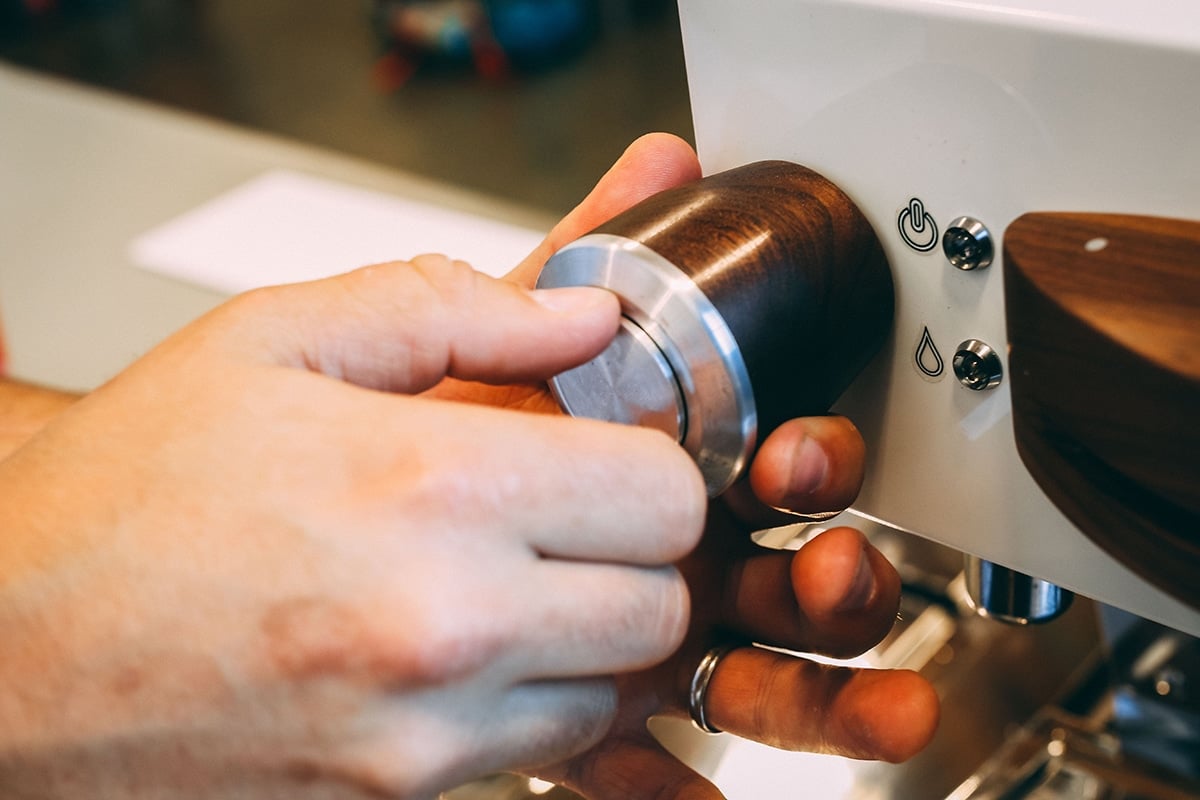
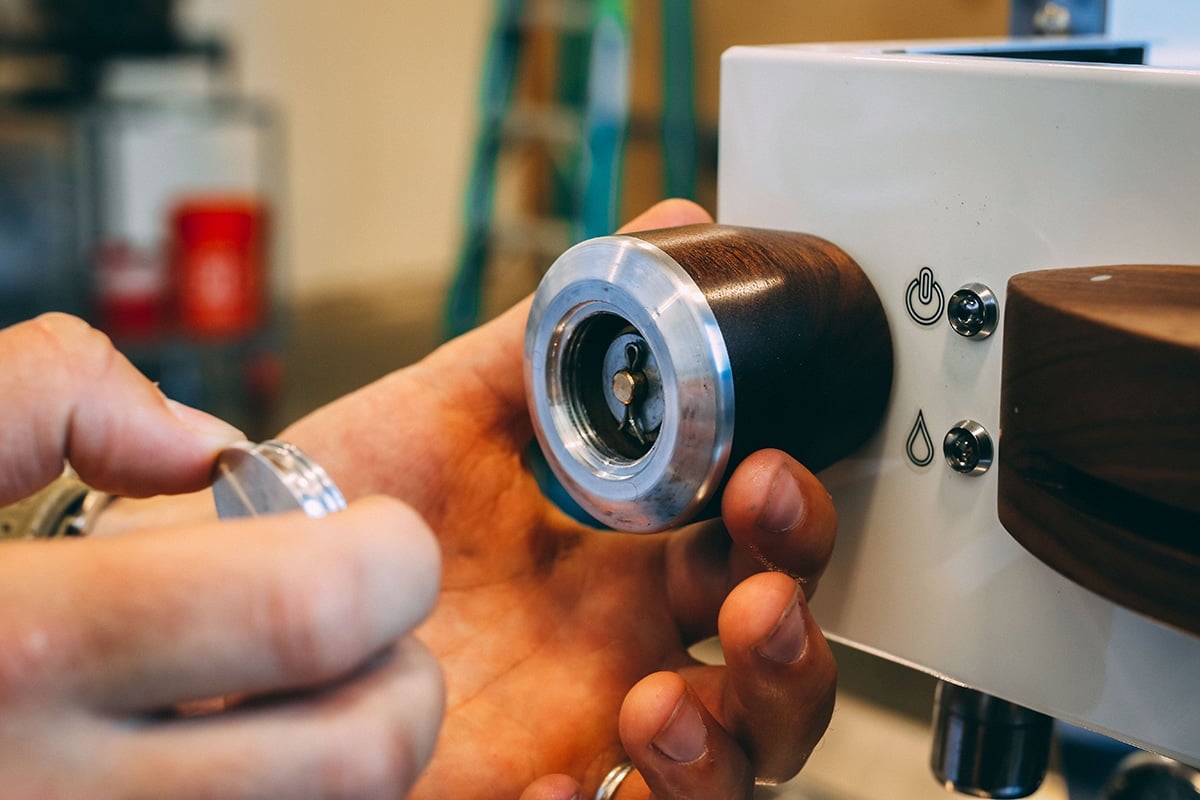
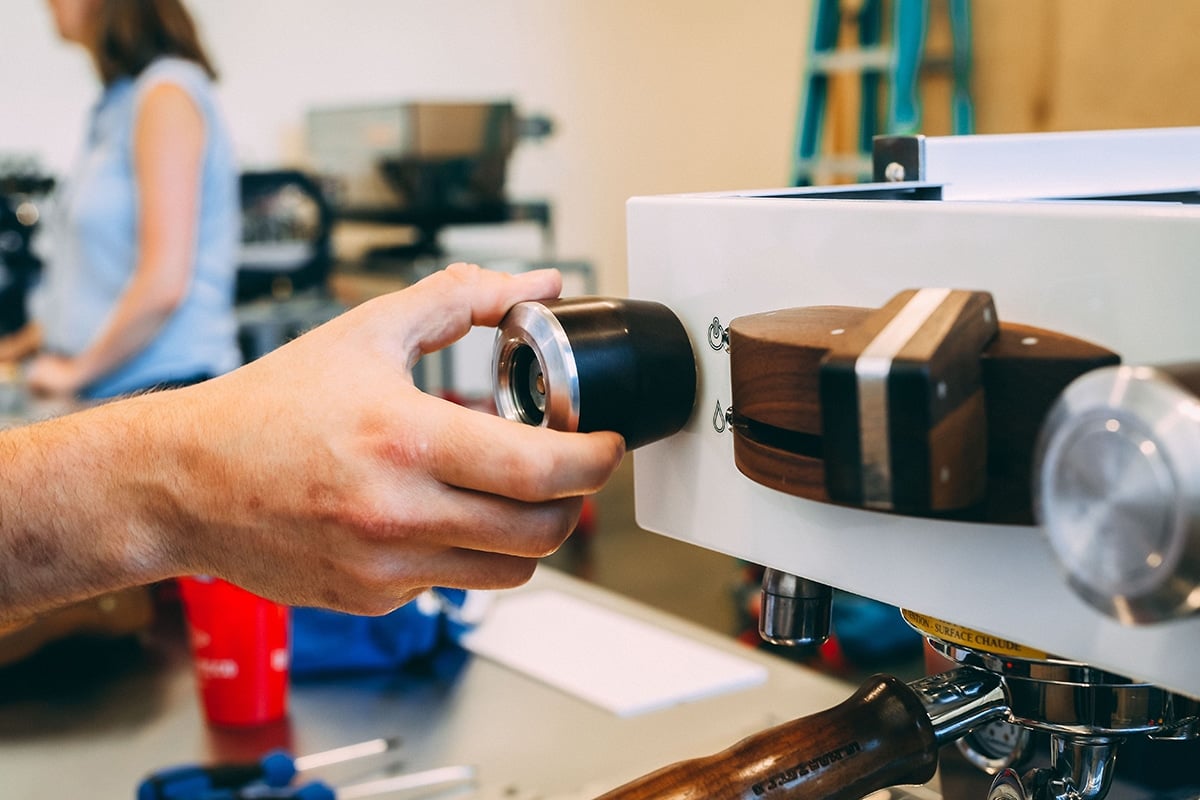
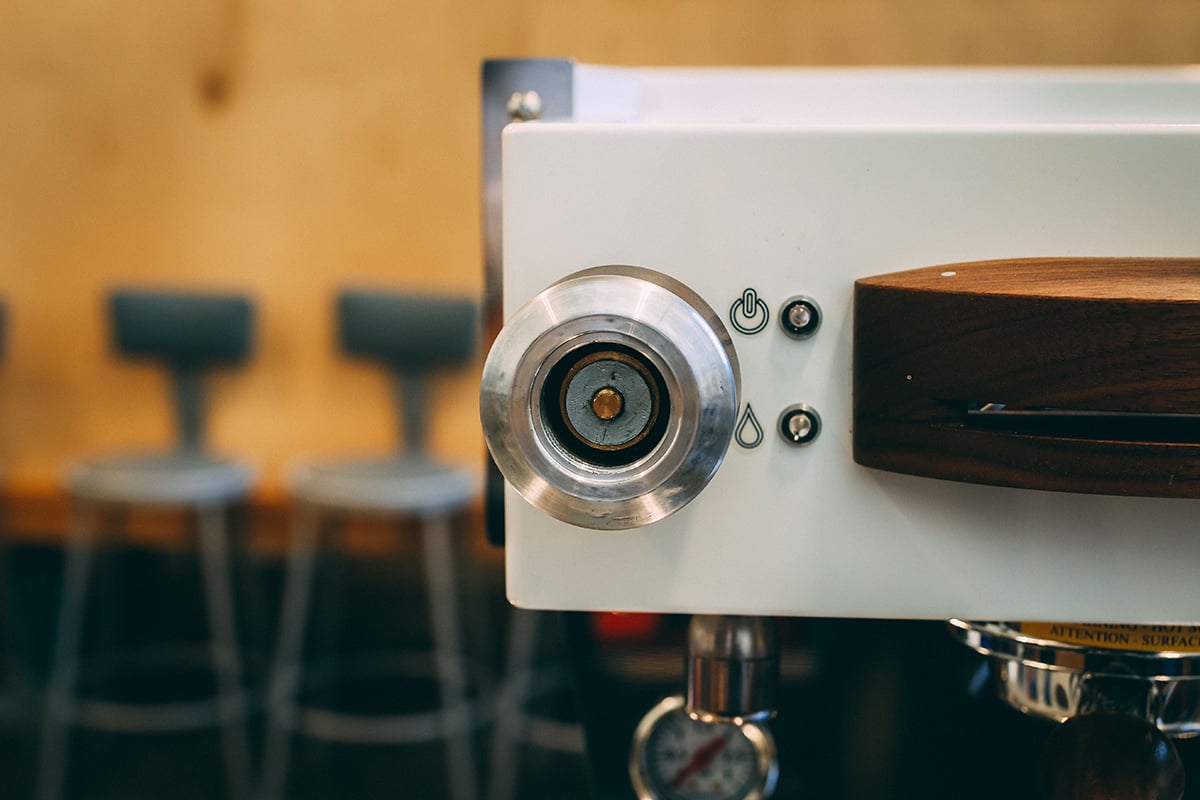
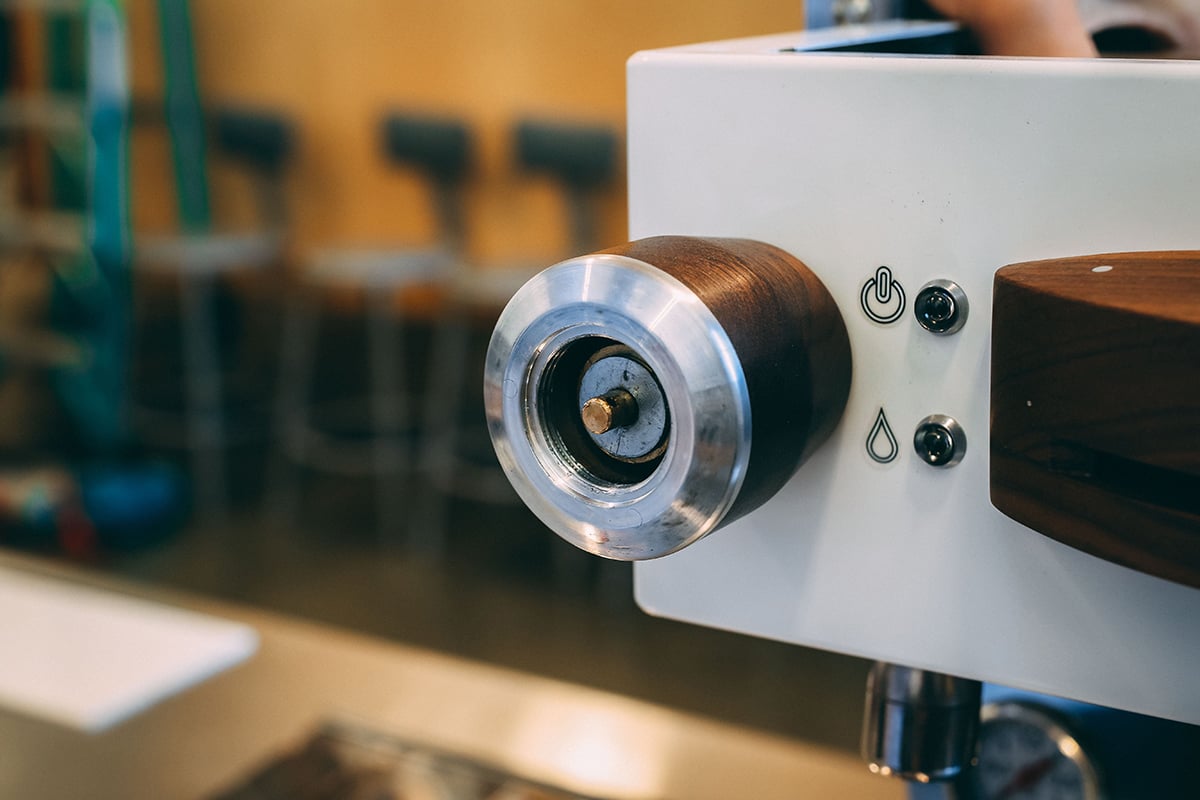
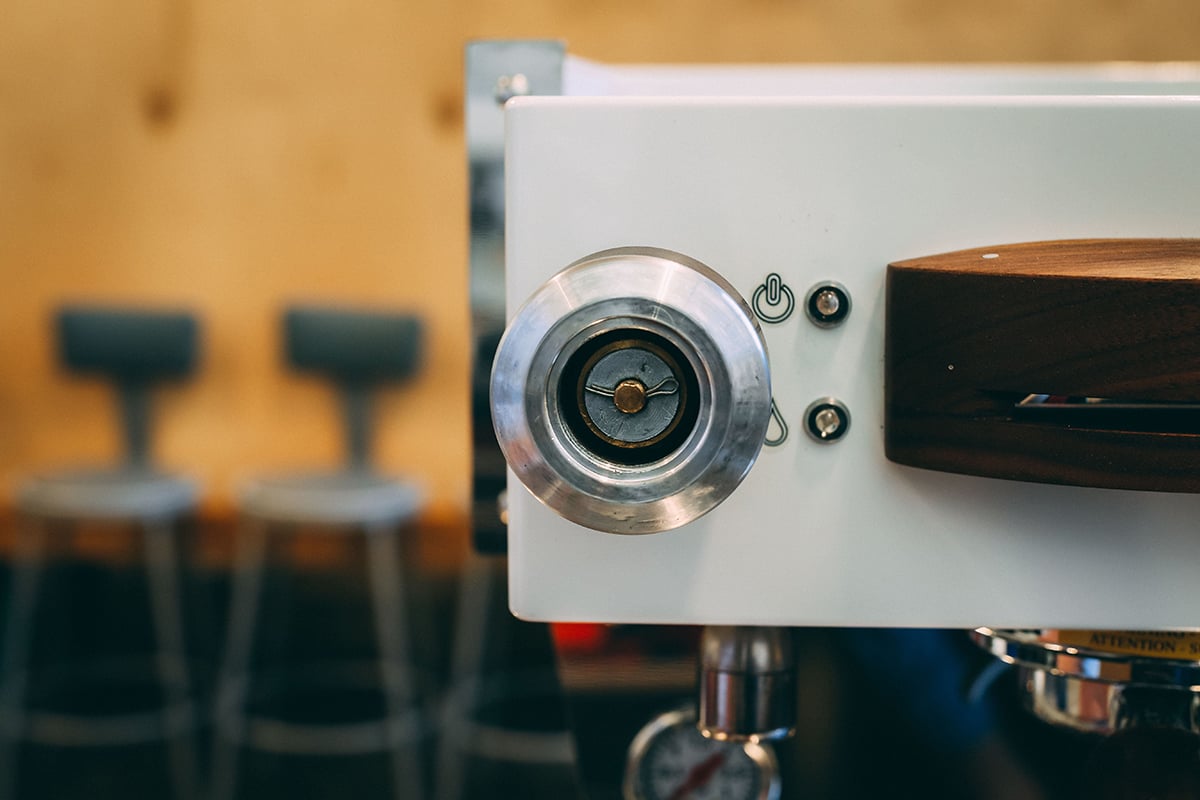
Step 2: Remove steam knob cap
(Use palm for custom knobs & screwdriver for stock knobs)
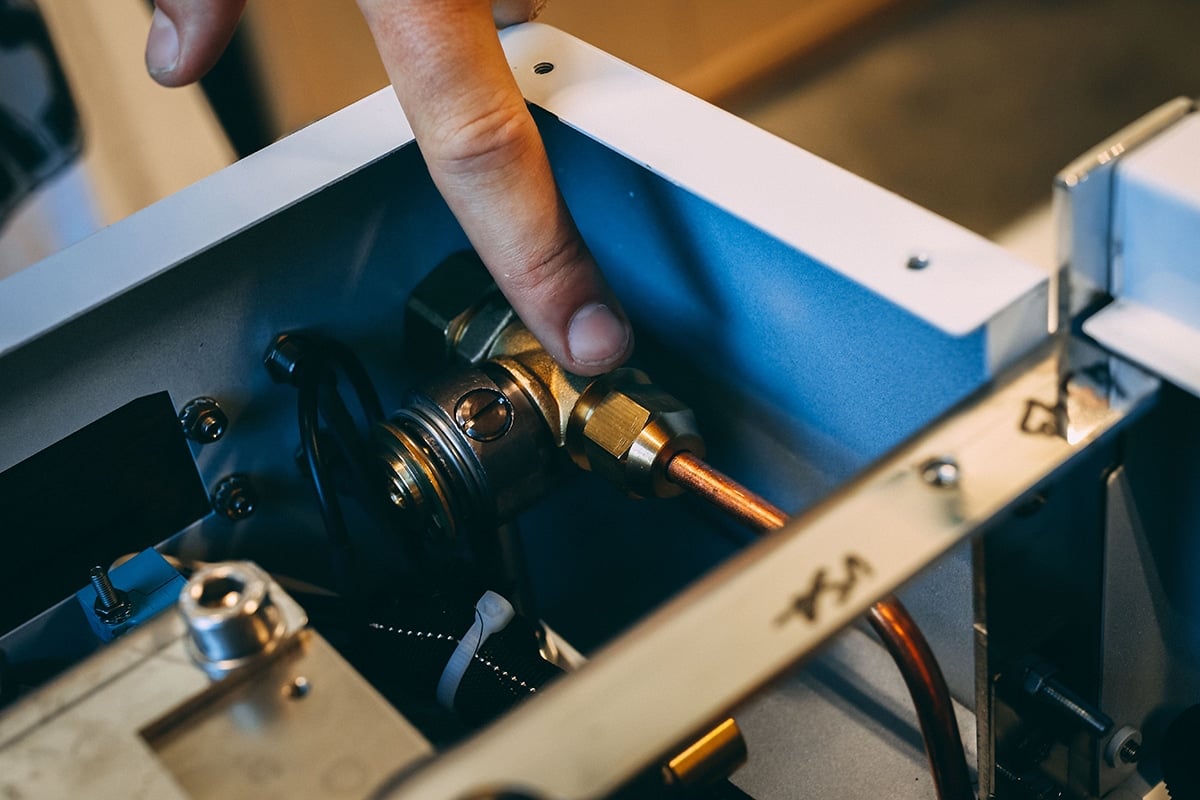
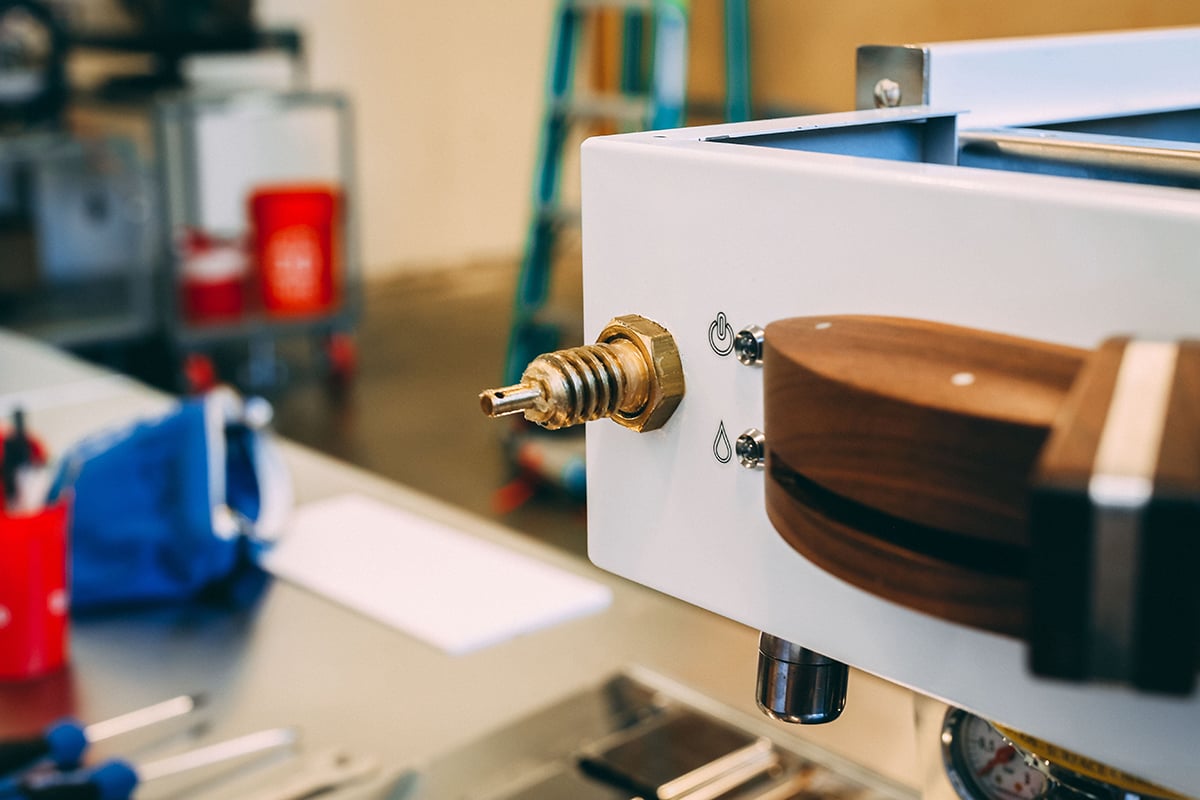
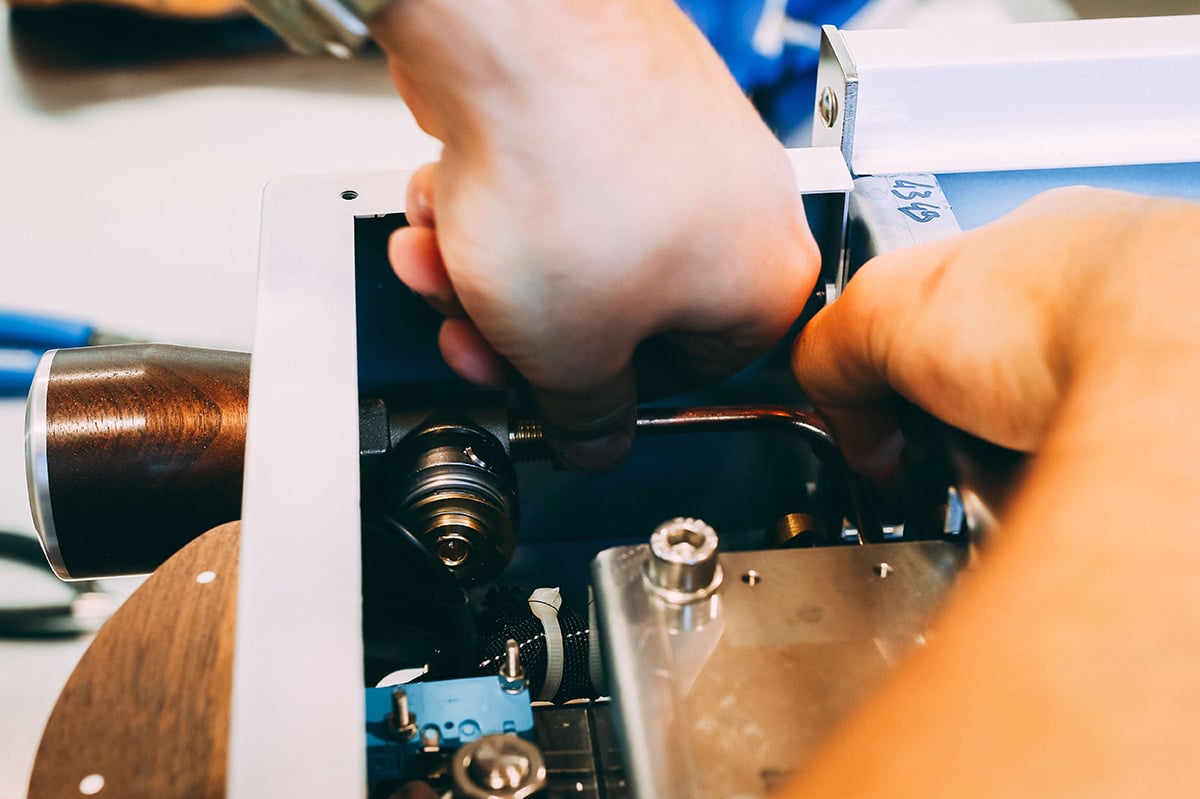
Step 3: Loosen & disengage the copper steam supply tube fitting from
the valve inlet.
Use adjustable wrench to secure valve in place while removing the steam supply tube
(17mm wrench & adjustable wrench)


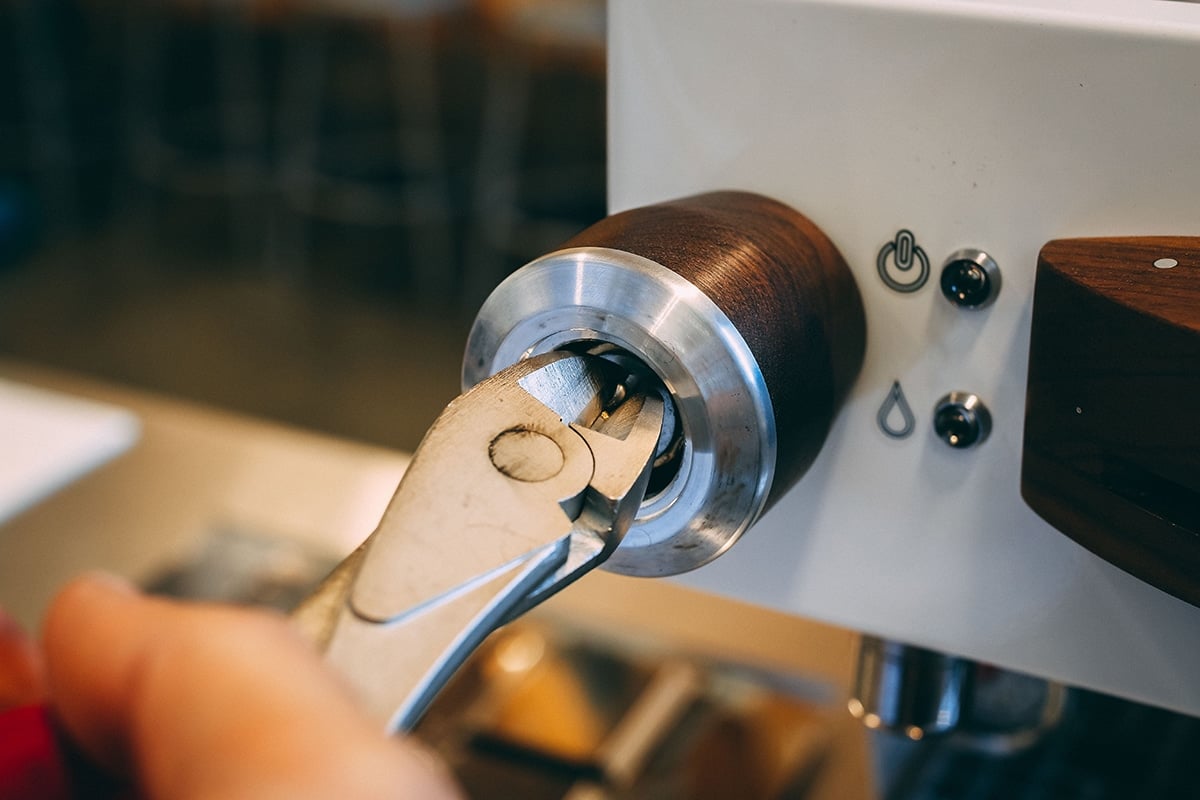
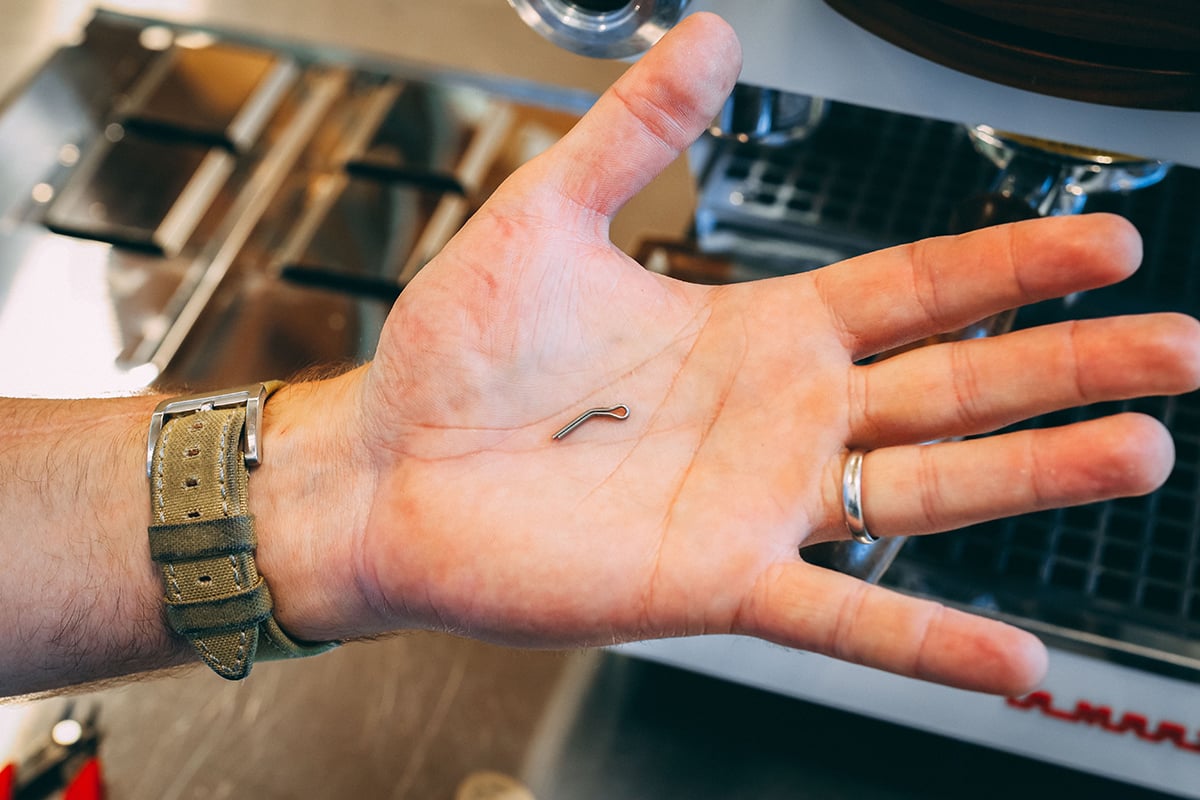
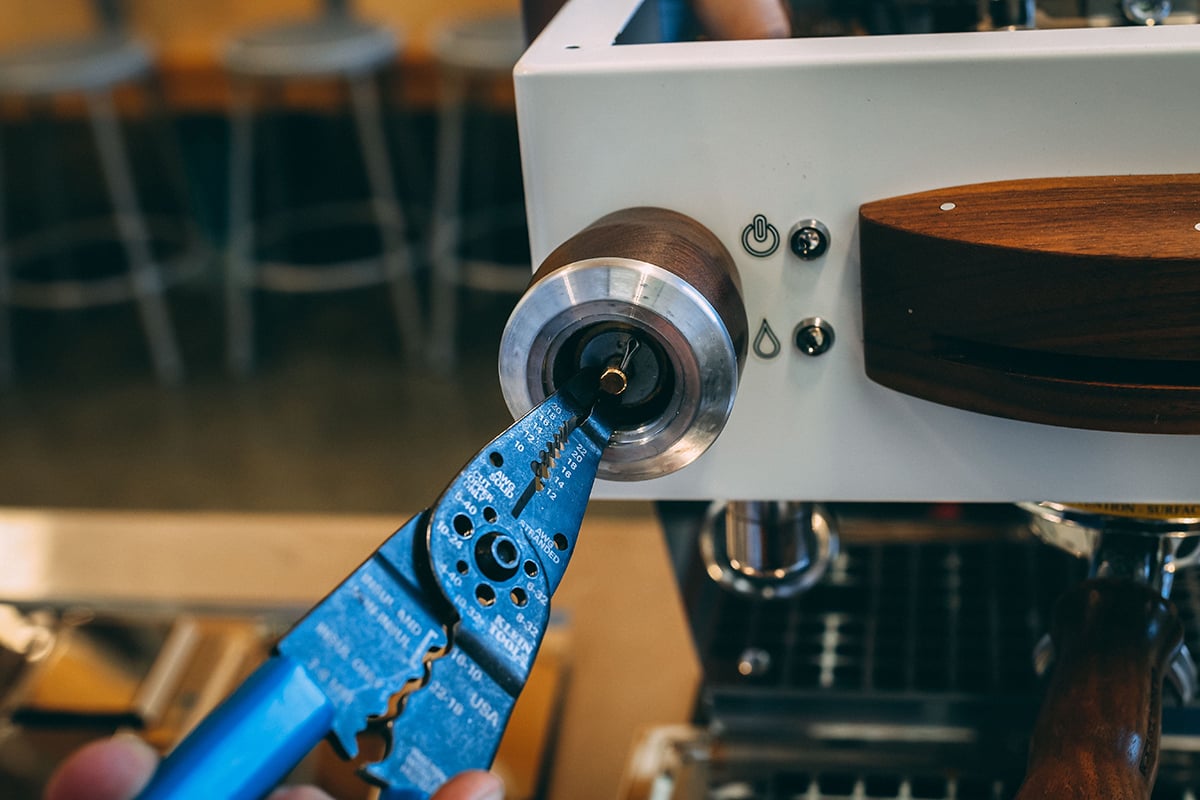
Step 4: Cut cotter pin and remove excess from the valve stem
(Wire Cutters)
* be careful not to touch internal knob threading with tools
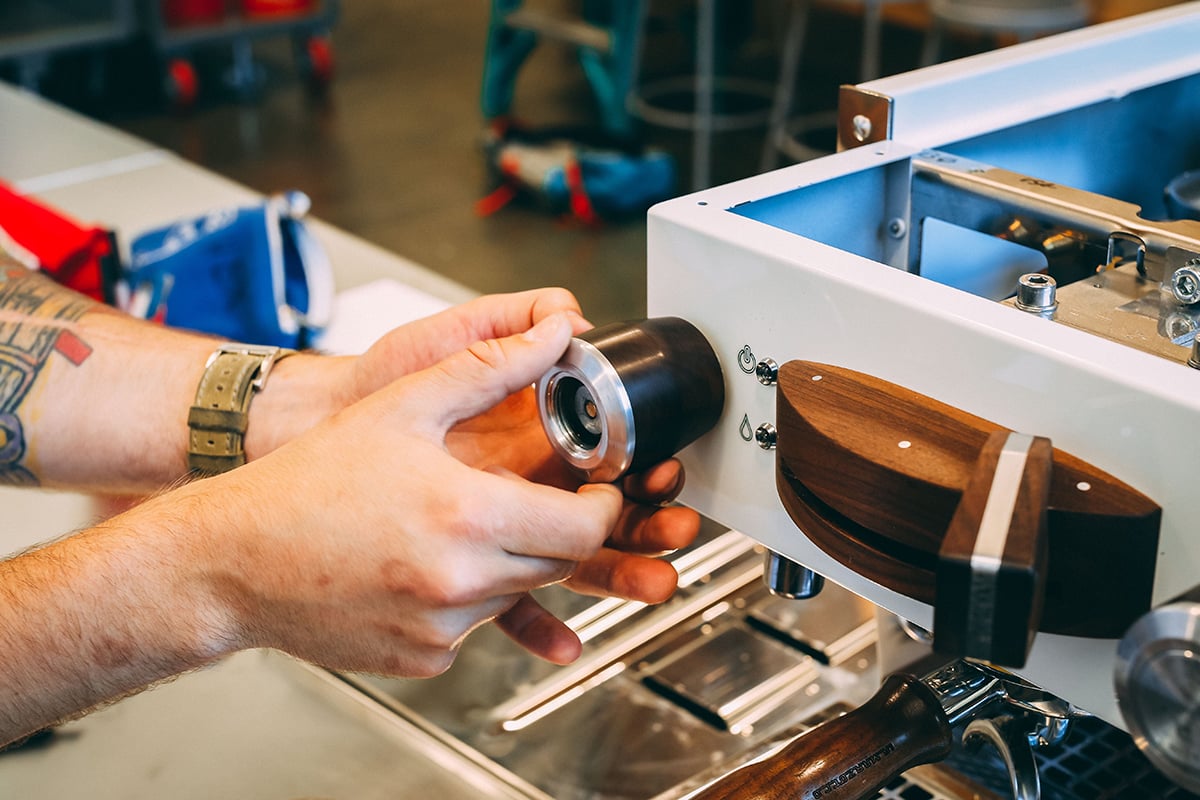
Step 5: Unscrew steam knob to remove from steam valve
* be sure to keep the washers in the same order
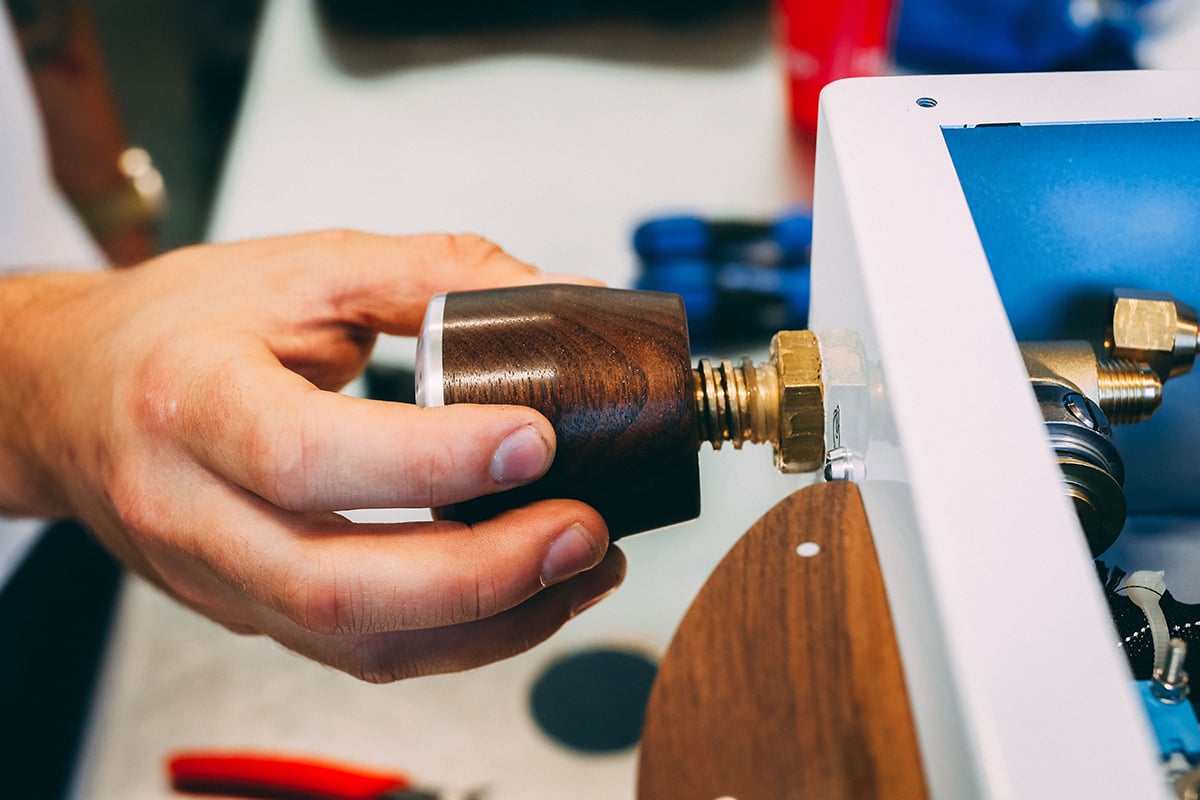
Step 6: Install replacement steam knob by screwing back onto the steam valve
* make sure the washers are in the same order as they were placed originally
Step 7: Insert 4mm wrench into the valve inlet to extend valve stem outward
* be sure not to use sharp tools as it can damage the valve seal


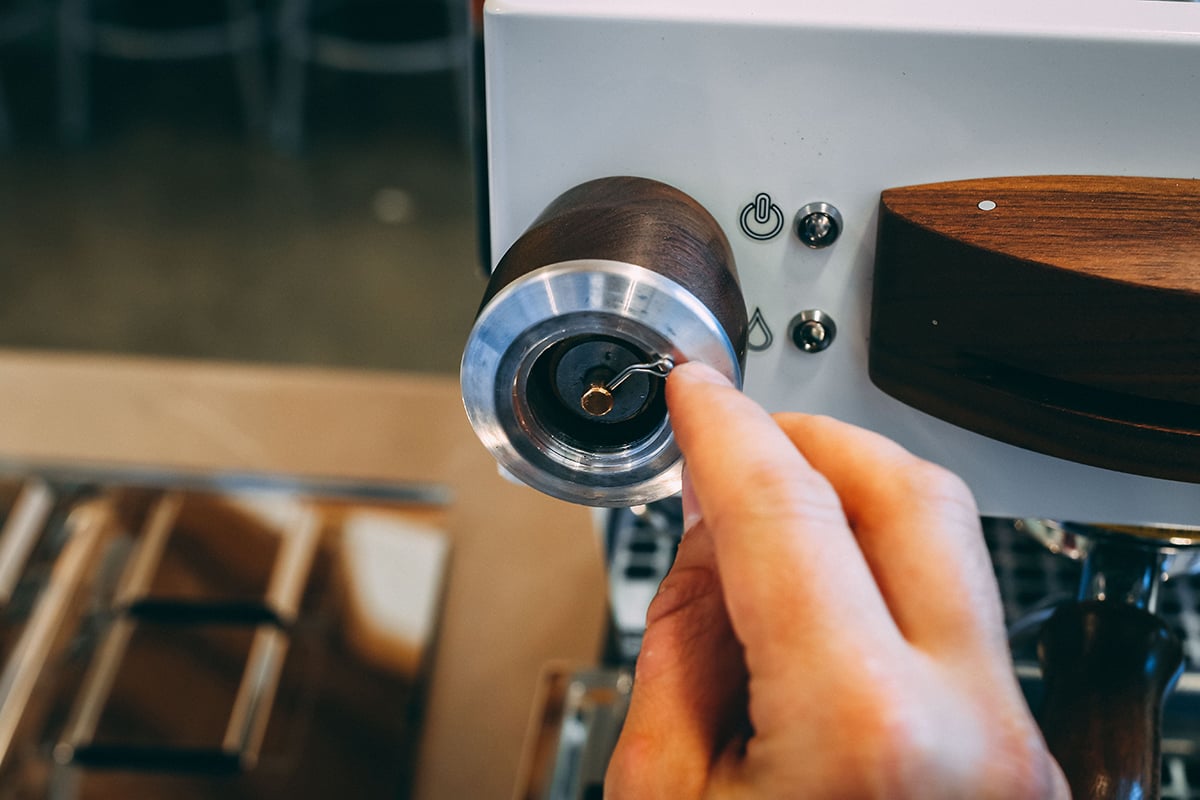
Step 8: Install bent cotter pin into the valve stem by hand
Remove 4mm tool from valve inlet when cotter pin is fully inserted
Step 9: Secure valve stem in place with standard pliers
Bend one side of the cotter pin with needle nose pliers

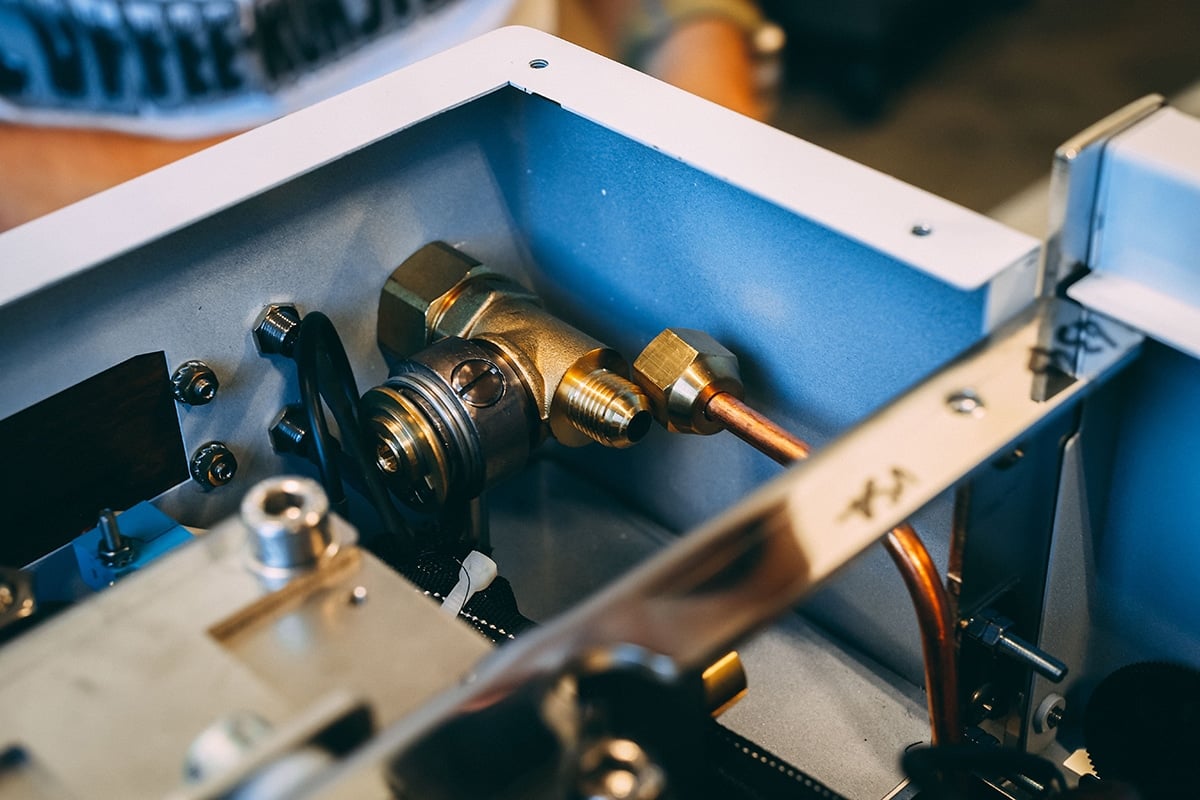
Step 10: Reinstall copper steam supply tube fitting to the valve inlet
(17mm wrench & adjustable wrench)

Step 11: Reinstall cup tray & group cover plate
(Phillips & Flathead Screwdriver)
Step 12: Install steam knob cap onto newly installed steam knob

☕️
Questions? Don’t hesitate to reach out. Send us an email at home.usa@lamarzocco.com, or drop us a comment below.
For a concise, picture-less guide, head here