Pro Tips for Latte Art
Our observations from teaching latte art over the years. Focus on these tips & tricks to improve your milk pouring at home.

—
We’ve had the privilege of teaching quite a few people how to pour latte art over the years. Whether it’s been in a class, at an Open House, or during a trade show or festival, milk pouring is one of our most talked about topics with home baristas. We thought it might be helpful to share a list of some observations we’ve made—little things we notice, things we find ourselves repeating, and possible shortcuts.
Below, you’ll find some helpful tips and tricks that might help you on your latte art journey. If you’re looking to brush up on latte art basics—check out our “Practicing Latte Art” video to give yourself a nice baseline.
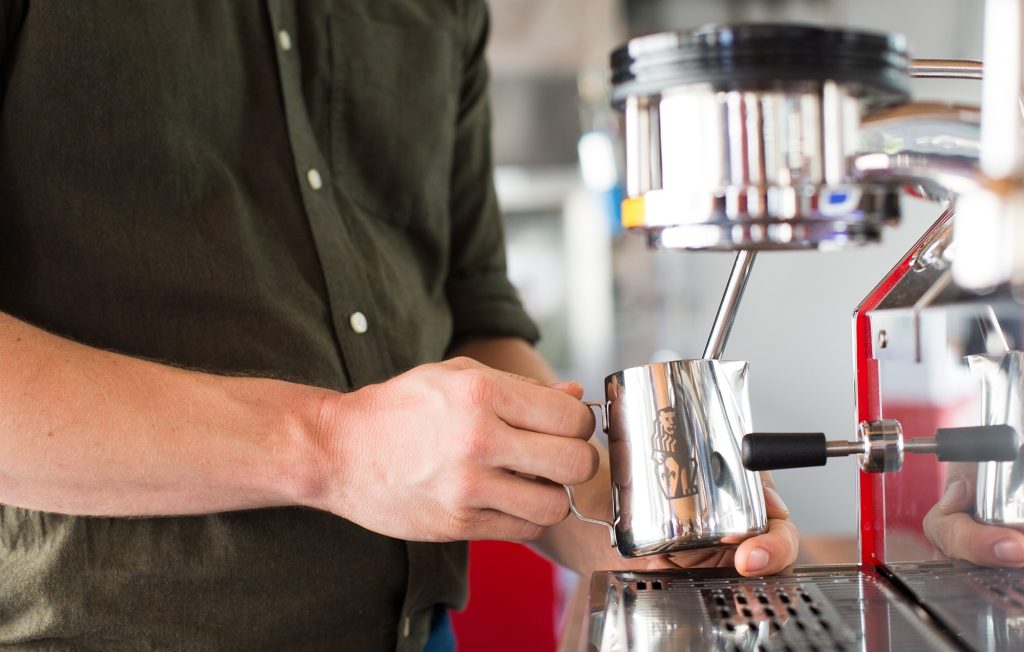
1. Prep your milk before pulling a shot
Getting everything in place will help you focus on the variables that matter. Prepping cold milk in a pitcher and having it ready to go can be a helpful workflow addition.
2. Steam milk that looks like wet paint
This may seem like a given, but focus on steaming good milk first. Not only will you set yourself up for success, but your drink will taste better, too.
If you add too much air? You’ll end up with thick and foamy milk. Too little air? You’ll end up with no texture. Too hot? Less sweet milk. It’s a lot to keep in mind, but finding the balance is worth it.
Equal milk texture from top to bottom looks like wet paint. It has some texture, but it also has movement. Adding too much air or not mixing properly gives you a rigid layer of foam on top and thin, hot milk on the bottom. That means when you pour, all the thin milk comes out first, leaving globs of foam for the very end. Not condusive to making patterns.
Learning to balance these variables while steaming milk are the building blocks to pouring good latte art. Check out some of our milk steaming videos to get practice in.
3. Give yourself a blank canvas at every step
Giving yourself a clean and even surface to pour onto can make everything look better. Mix your espresso before pouring to mix the crema, speckling, and air bubbles together. This will give you a blank espresso “canvas” to pour onto—all the same color and texture.
Likewise, before you drop the pitcher down to begin pouring your design, make sure you’ve mixed the espresso and milk evenly.
4. Pour into the center of the espresso
At the start, focus on pouring into the center of your espresso. Pouring into the center will push your design down slightly toward the edge of the cup, while starting too close to the sides of the cup will cause milk to shoot around the edges and can break the crema.
5. Focus on steaming the right amount of milk for your cup
Overfilling or underfilling your pitcher with milk can throw off your flow. Try to get a feel for the size of the cup you’re pouring into and what your espresso output will be. Use the right pitcher, too—we use a 12 oz. pitcher for macchiatos, cortados, and cappucinos, and a 16 oz. pitcher for anything larger.
Start with an amount of milk that will run out as you’re finishing your design—keeping in mind that milk will expand as you aerate it. A good rule of thumb is to fill the pitcher about a finger’s-width beneath the spout. Using the same cup over and over again will help you understand and adjust your milk volume.
If you want to get precise, or just get a visual, you can use a scale + this loose formula to get a rough estimate: Total cup capacity – (espresso volume * 2)= Total milk volume
Example: 250g cup – (32g espresso x 2) = 186g
Try it for yourself sometime—we don’t weigh our milk out every time, but it can give you a good visual for future pours.
6. Know what you’re trying to pour ahead of time
Start with a plan. This will help you focus and create meaningful movements as you transition through each step. Milk pouring is a quick process, and little movements matter a lot. Throwing a last-second decision at your brain sets you up for failure. Spontaneity can be fun at times, but not while you’re learning.
Before you begin your pour, decide what you’d like to end up with. This will help you notice little things that you can improve upon the next time you go to pour the same design.
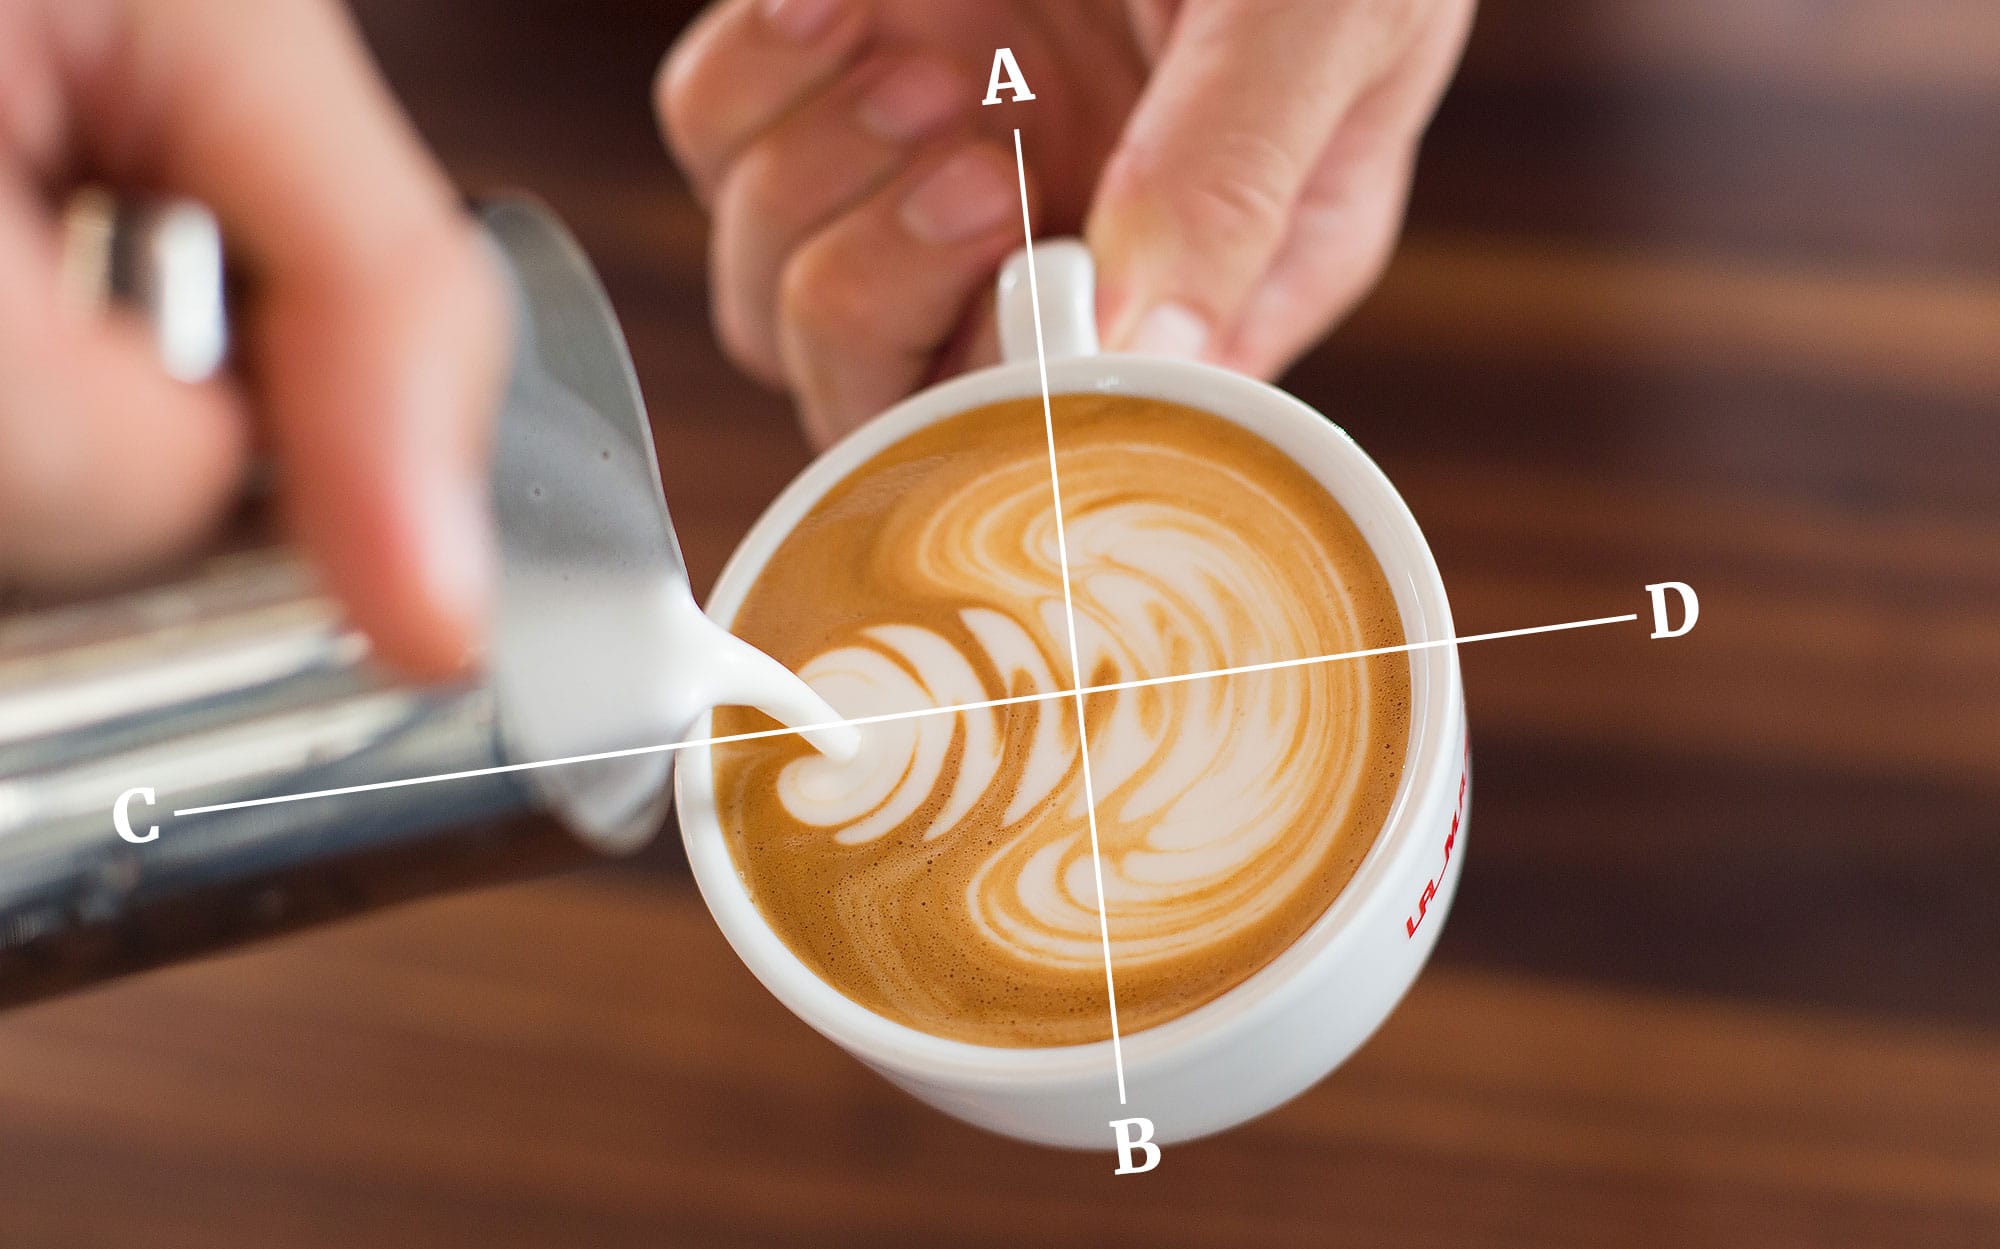
7. Create a right angle between the pitcher and the cup
Hold your cup by the handle, straight out in front of you. Almost like an extension of your arm (Line AB). Hold the pitcher out in front of you with your other hand (Line CD). Before pouring, rotate the pitcher over so that it’s perpendicular with AB. This will help with your pouring technique by giving you more range of motion. Plus, finishing your design so that it is perpendicular with the cup handle is a nice aesthetic. Stay on these axis’ the entire time.

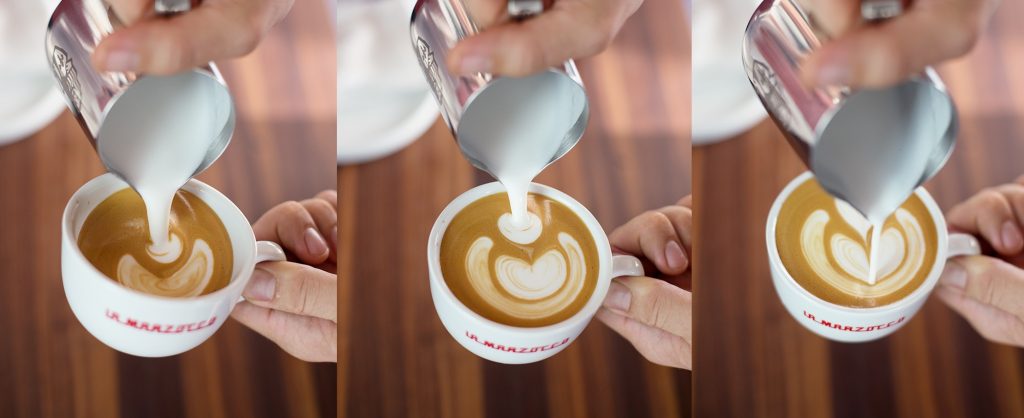
8. High & slow, then low & fast
With your cup tilted inward, start to pour a thick pencil-width stream about 4-5 inches from the surface of the espresso (keep it centered). The height and slow pour will help you mix your milk and espresso (blank canvas).
Once the milk + espresso mixture starts to reach the lid of the cup, drop the pitcher low toward the surface and pour faster by tilting the pitcher. Low, so that the milk doesn’t dive below the surface. Fast, because pouring faster helps the milk “fan” out and fill up more of the cup.
This is the beginning of your design. Pouring low and fast is, in essence, how to make latte art. Make sure to start tilting your cup back parallel to the floor as you pour faster.

9. Get closer to the surface
Closer than you think, even. Pouring from too high will sink your milk below the surface of the espresso. Getting close to the surface is almost like skipping rocks. It will help the milk skate right across the surface of the espresso. Dip it low, but not quite touching the liquid.
10. Don’t “wiggle” so fast
Wiggling or shaking the pitcher back and forth gives you striations in your drink. The brown and white pattern that emerges is not only beautiful, but can help you make more designs, like a rosetta, or a striated base for a tulip.
This movement is a learned movement and gets easier with muscle memory. When you begin, it’s easy to just shake the pitcher back and forth—almost spastically. Focus on slowing down your wiggle to a gentle rocking back and forth.
Rather than “shaking” your arm back and forth, think of it like making small scribble-marks on a piece of paper with your hand. When you get good at this subtle movement, the milk will start to sway back and forth inside the pitcher in a rhythmic way.
The more consistent you get, the more even and thick your striations will get, and the more you can begin to play with speed and flow.
11. Finish strong (don’t slug-trail your design)
For most designs, the pull through is the last step to complete the pour. The goal is to “slice” through the middle of your design, giving it symmetry and finishing the design itself.
Before you pull through your design, make sure you’re pouring a couple inches above the surface. Pulling through from the same height as you made your design will sink your design and paint a slug trail through it.
When the cup is full, you’re ready to pull through. Slow the speed back to a pencil-width stream and lift your pitcher up before moving across your design. Up, then over.
☕️
Have questions about pouring latte art? Drop them below!