Practicing Latte Art
An in-depth lesson from Charles Babinski
—
In 2015, we teamed up with ChefSteps for a free home barista class series on anything and everything Espresso. ChefSteps is a high-tech cooking company located right near us, in Pike Place Market, whose work in culinary education we’ve always respected. Together with ChefSteps and LA-based barista Charles Babinski (co-owner of G&B Coffee & Go Get Em Tiger), we created a first-of-its-kind, comprehensive class on all things espresso. We can’t recommend enough that you take the full course on ChefSteps, especially if you’re looking to grow and expand your home espresso knowledge. Nothing like it exists on the internet, or anywhere else. To whet your appetite, we’ll be sharing select snippets from the course. Enjoy!

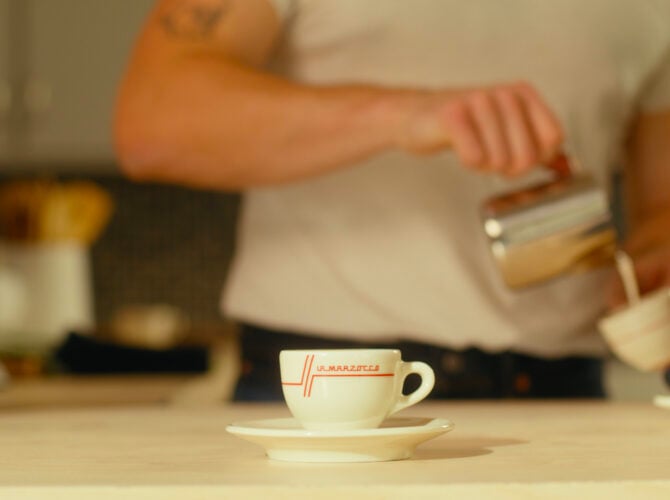
Adding latte art to your favorite milk drink is a satisfying finish to a carefully crafted process. But it doesn’t just *happen.* In our experience, creating beautiful latte art to your drink comes with repetition, practice, and patience. Having great steam power and learning to steam proper milk is an obvious first step, but how do you pull it all together? How do you drop the proverbial cherry on top of your drink? In this video, Charles Babinski explains his method—one that we’ve adopted and taught in our classes—and gives you advice on how you can take your art to the next level.
—
The Steps
1) Steam Great Milk—we’ll get further into this in another post, but for now, check out this “How to Steam Milk” post. It doesn’t matter how well you can pour latte art, if you can’t steam good milk, it won’t work out.
2) Swirl your espresso slightly—you want a blank canvas, so mix the cream and any speckling on your espresso
3) Tilt the cup
4) Pour a pencil width stream straight into the middle of the espresso—pour steady! The goal here is to mix milk and espresso. Keep the cup tilted.
5) Drop the pitcher close to the cup—still pouring in the center of the liquid, drop your pitcher down to the lip of the cup once the espresso + milk mixture is creeping close to the edge of the cup. Increase the speed of your pour—the closeness of the pitcher and the speed of the pour will help textured milk “skate” right out onto the surface. Stay centered and watch that you don’t spill! You’ll also need to begin slightly tilting the cup back as you fill it up.
6) Wiggle—optional, but to make striated latte art, or rosettas, you’ll need to form a good wiggle. While not a scientific term, wiggling is just a very slight, rhythmic back and forth motion with the pitcher. Don’t force it—it’s almost like making tiny scratch marks with a pencil on paper. The goal is to get the milk inside the pitcher to begin rocking side-to-side.
7) Untilt the cup, slow your pour, and cut through—Once you’re done wiggling, and the cup is nearly filled, you should be holding the cup level. Slow your pour slightly, raise the pitcher a half-inch or so, then drag it through your design.
That’s it! Remember this takes practice and repetition to get it right. If you don’t want to waste coffee and milk, we have a couple great videos that offer alternative ways to practice.
