How to Make Espresso
Learn to make amazing espresso on your home espresso machine using this quick guide.
What you’ll need:
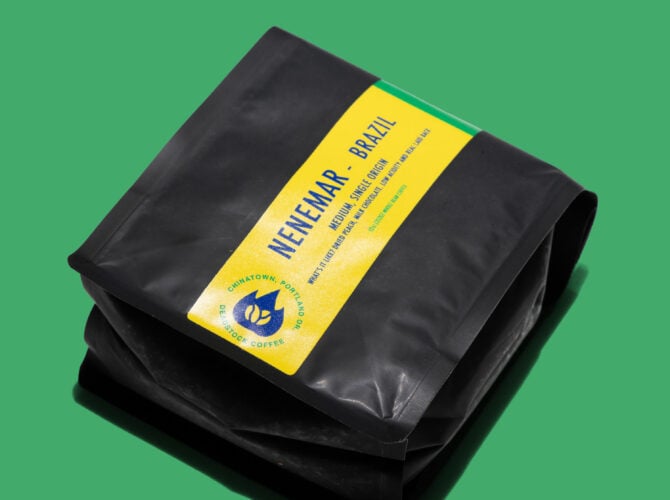
Whole Bean Coffee
Grinder
Tamper
Knock Box
Scale
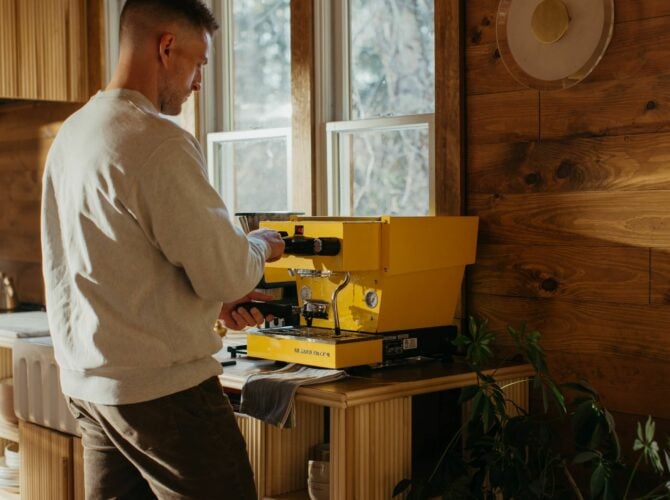
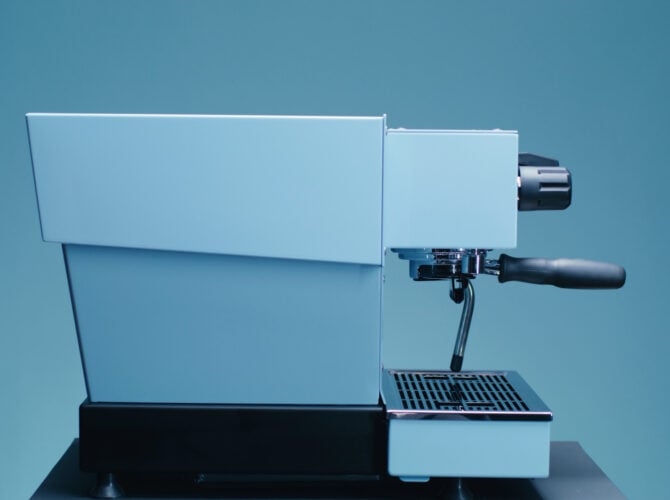
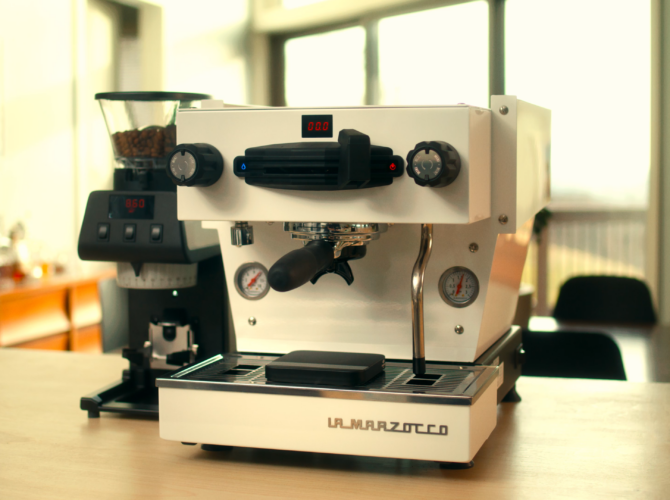
Espresso Machine
A quick note before we begin: Every coffee is different. That’s part of the joy of making espresso. No matter how much you know, dialing in a new coffee and pulling a shot is a constant pursuit.
When you put a new coffee into your grinder hopper, it’s a good idea to have a target brew ratio in mind—that is, how much ground coffee you’ll put in the portafilter to how much liquid espresso you’ll brew into the cup. Brew ratios balance three important variables: ground coffee (ins), liquid espresso (outs), and brew time. A good starting place for a new coffee is a 1:2 ratio in 25-30 seconds. From there, you can adjust as needed. For a good primer on dialing in, check out our Dialing-In post, or check out our Espresso Class with ChefSteps.
Step One: Remove the portafilter from the machine and wipe out the filter basket so that it is clean and dry.
You’ll want to make sure there is no moisture or old coffee inside of the portafilter basket. We like to have a dedicated towel used only for wiping out the portafilter basket at our workstation.
Step Two: Set the portafilter on the scale and tare it to zero.
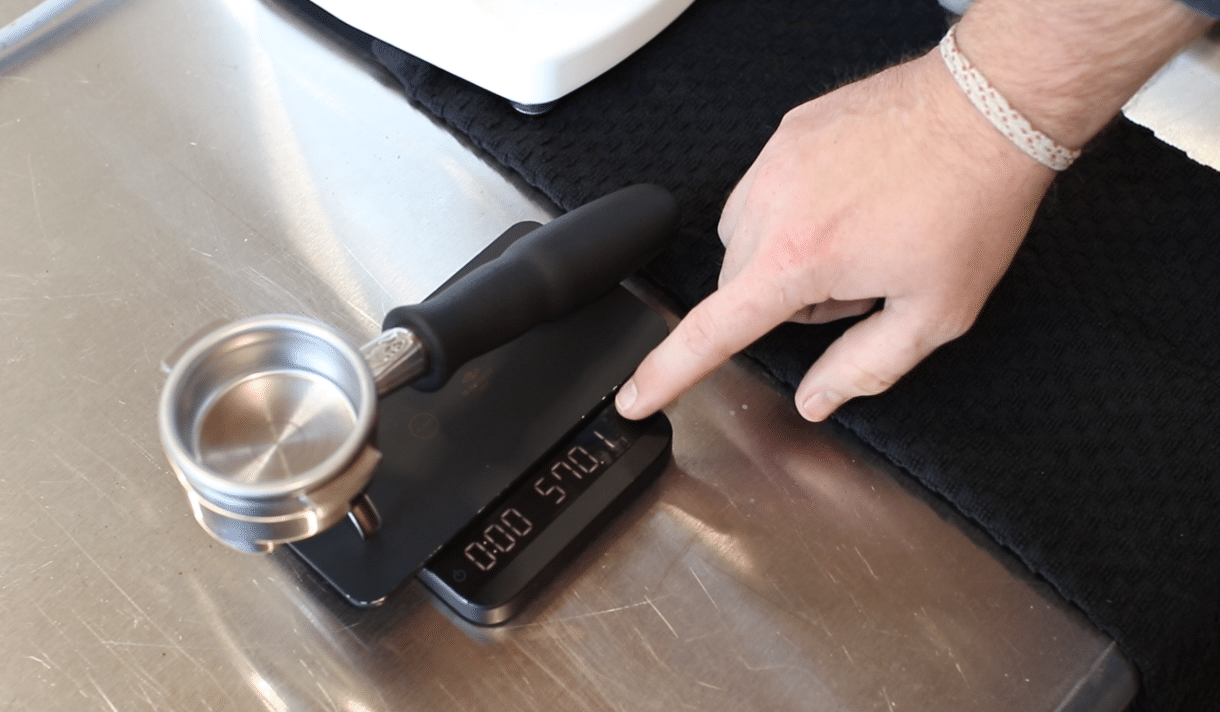
Using a scale allows you to be consistent, no matter what coffee you’re using. Different coffees have different densities, and can look different in the basket—take the guesswork out by investing in a scale.
Step Three: Dose the appropriate amount of coffee for the basket you’re using.

We tend to start with 18g of coffee in a 17g basket and adjust from there. You’ll want to adjust your dose depending on what basket size you’re using. If you’re using a 17g basket, dose between 16-19 g of coffee. For a 21 g basket, 19-21 g should work just fine. Check out our post on dialing in your coffee to learn more.
Step Four: Level out the mound of coffee in your portafilter.

There are a variety of different methods to doing this. To start, keep it simple and use your finger. Keep it flat on top of the basket and slide it in a N-S-E-W motion.
Step Five: Tamp the coffee.
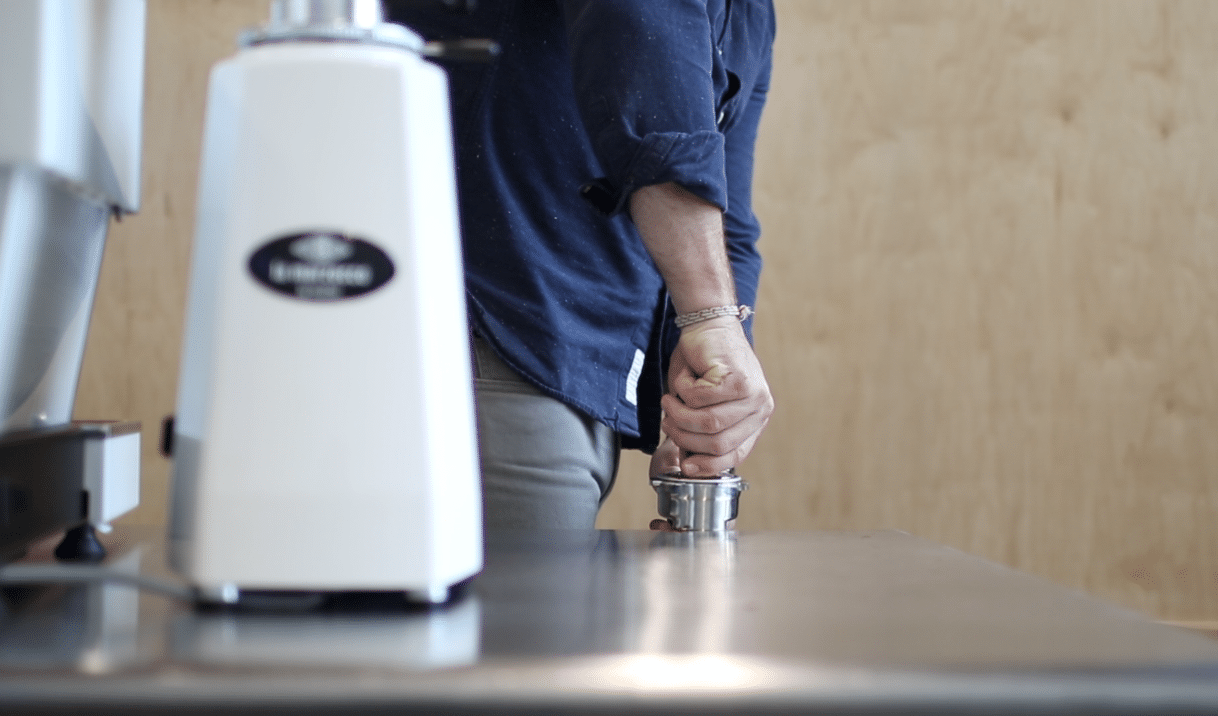
Tamp as even and level as possible, applying between 20-30 lbs. of pressure. Ultimately, the most important thing here is to be consistent. One trick we use? Once you feel the coffee “push back,” you’ve tamped hard enough. No need to overdo it. Tamping is simply the act of compressing coffee grounds into a puck.
Step Six: Flush the group to rinse any old coffee grounds or oils off.
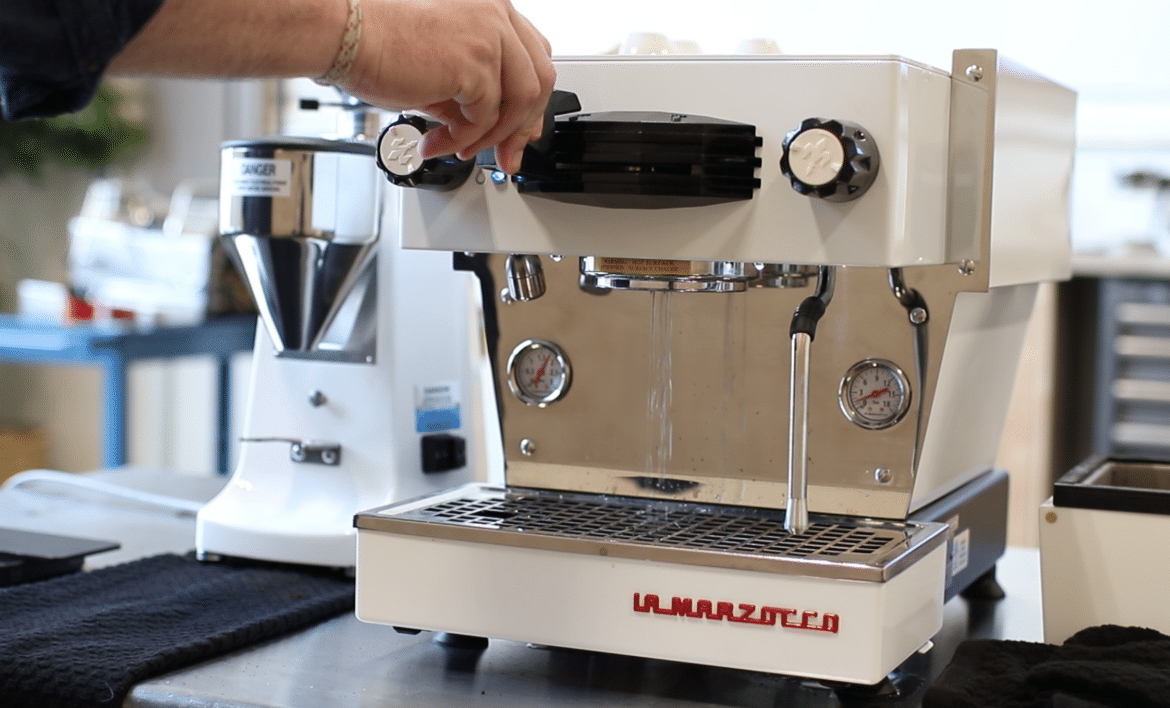
On some home espresso machines, this step is necessary to actually get the group up to temperature. If you’re using a La Marzocco, it’s not necessary for temperature—the saturated & integrated groups are already temperature stable. We add it in just for cleanliness’ sake.
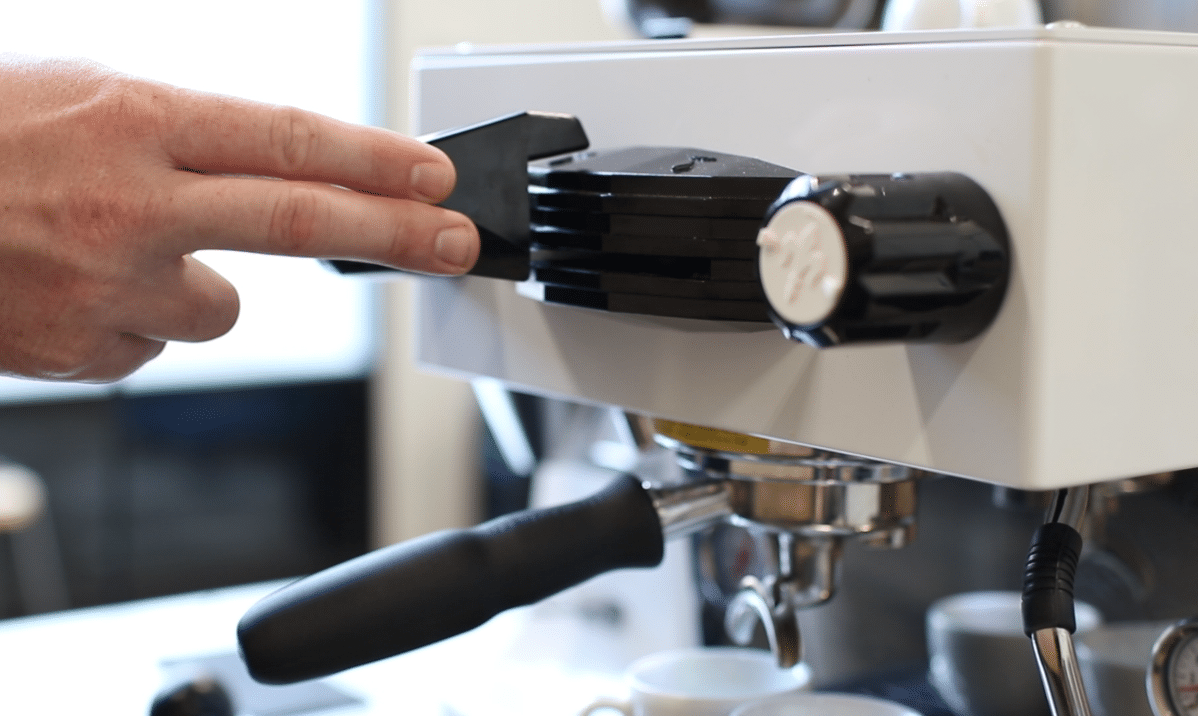
Step Seven: Insert the portafilter into the group head

Line the ears up with the grouphead and pull until snug to create a seal with the gasket.
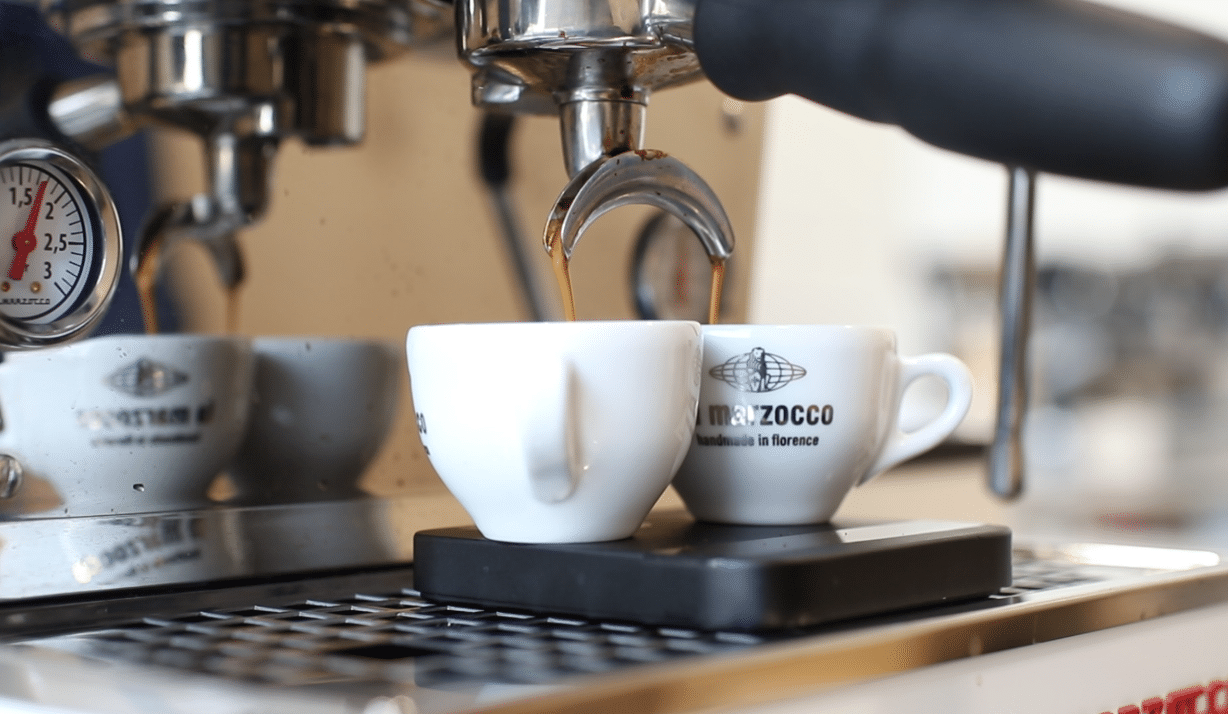
Step Eight: Place your cup(s) onto a scale underneath the portafilter and tare to zero.

Like weighing your dose, using a scale to weigh your espresso output can help you be consistent. We like to keep track of three major variables while brewing: dose (how much ground coffee), yield (how much liquid espresso in the cup), and time (how long it takes to brew). By keeping tack of these three variables, we can develop a preferred brew ratio and replicate it—it’s also extremely helpful in keeping your grinder dialed in.
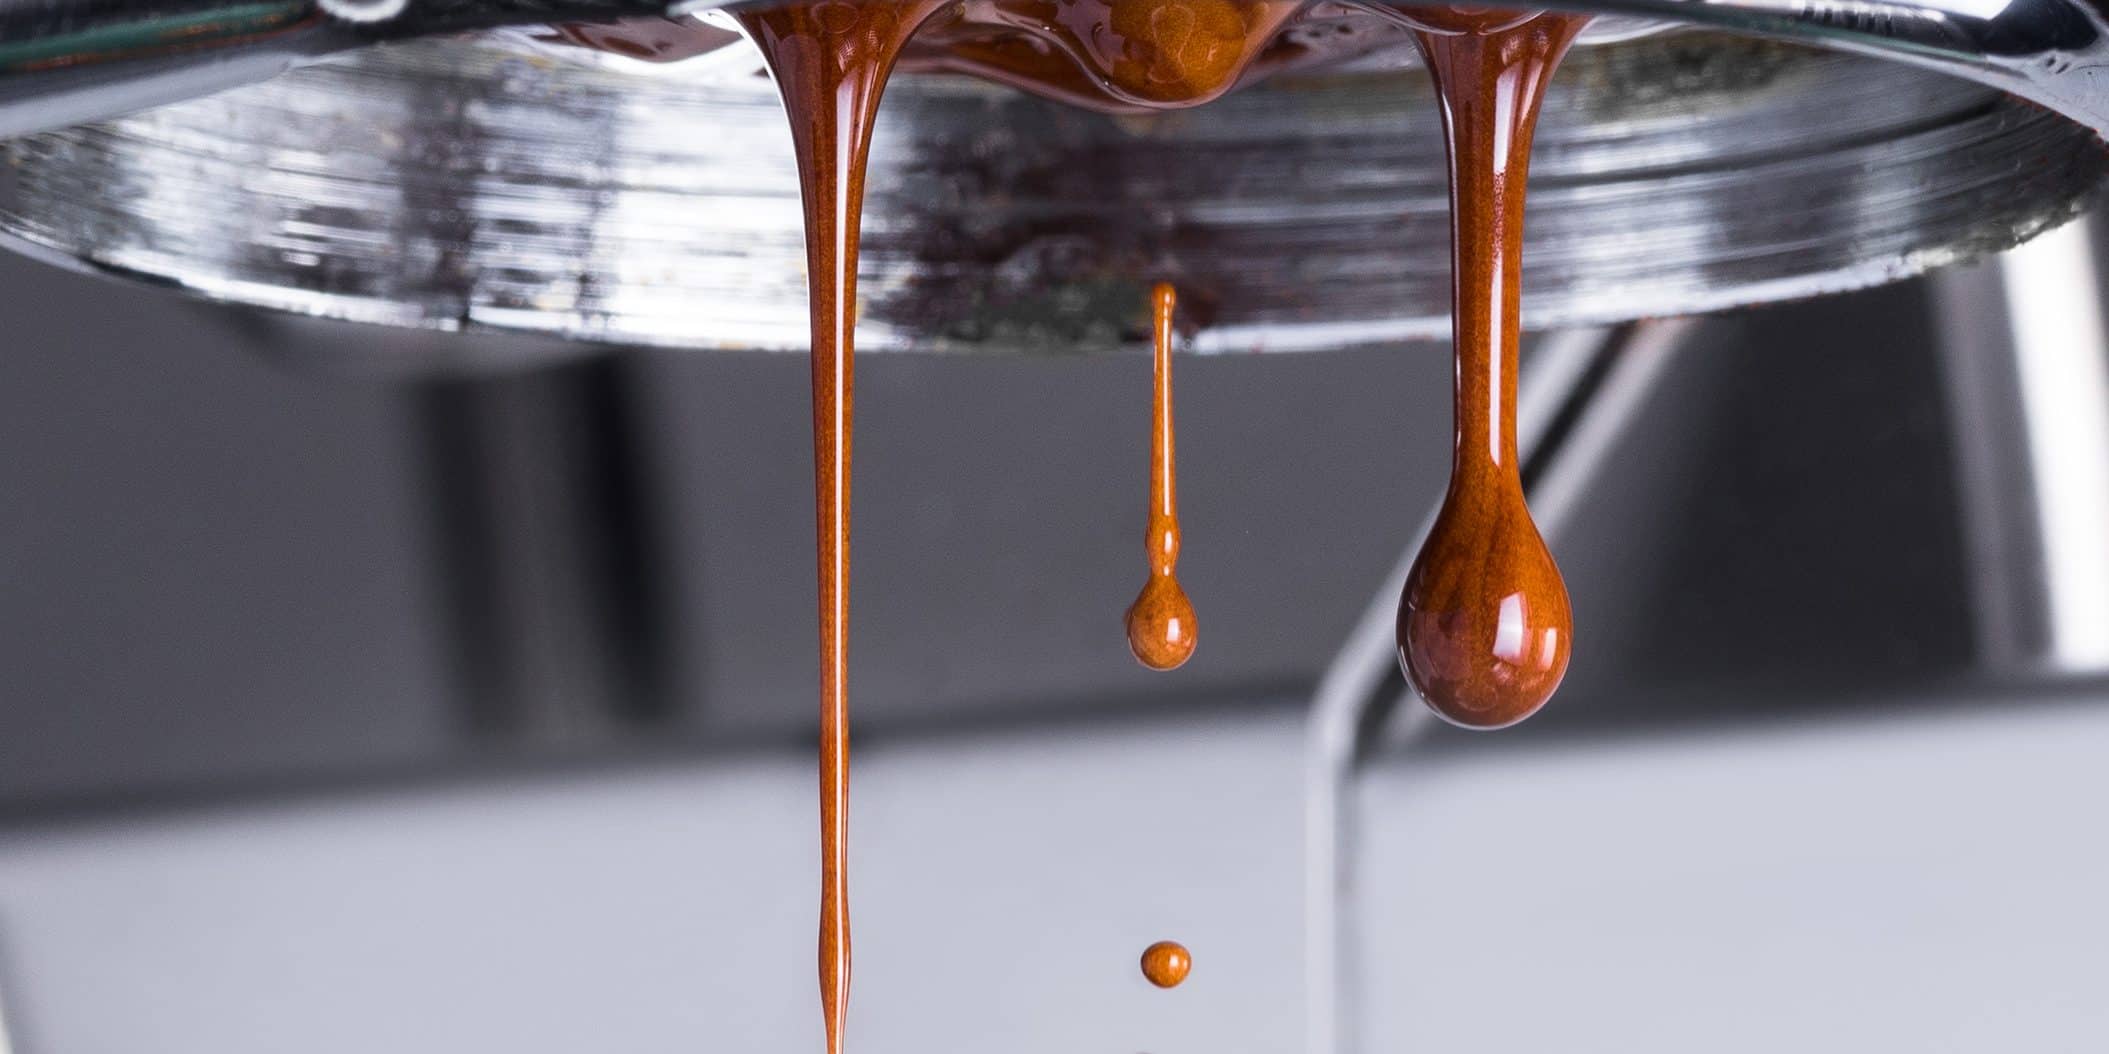
Step Nine: Start the brewing process
If you don’t have a timer on your machine, start one once you start the brewing process. Watch for visual cues. Does your espresso drop suddenly and flow fast? Does it drip out and slowly increase in flow? What color is it? What time do you see the first drops? These are all good things to pay attention to, but they don’t necessarily mean a shot will taste good or bad. We use visual cues a lot for coffees we use frequently and have already dialed in.
Step Ten: Stop the brewing process when you’ve reached your desired output.
This will change depending on your preferred brew ratio—but a good place to start is to target 28-36 grams of espresso in 25-30 seconds.
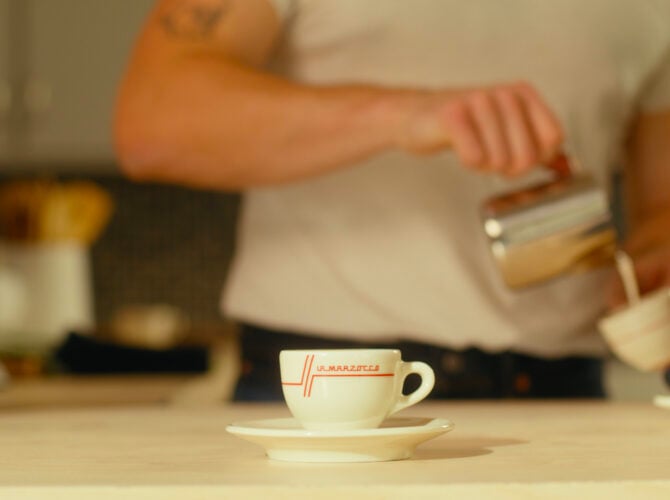
Serve & Enjoy!
☕️
Be sure to subscribe to our YouTube Channel for more Home Barista Tips & Tricks! To go more in-depth and further your home espresso education, check out our full online Espresso Class with Chefsteps, or sign up for one of our upcoming classes.